Stereolithography (SLA) is a powerhouse in the 3D printing world, known for producing parts with exceptional detail and a smooth surface finish. Unlike the hobbyist-friendly FDM printers that melt plastic filament, SLA uses a precise laser to solidify liquid resin. This article serves as your complete guide to the SLA process, from the basic principles of photopolymerization to the nitty-gritty of post-processing, helping you determine if this technology is the perfect fit for your next innovation.
How Does SLA 3D Printing Actually Work?
At its core, SLA is an additive manufacturing process that builds objects layer by layer using a vat of liquid photopolymer resin. Think of it as growing an object out of a pool of goo, using light as the magic wand. The magic is called photopolymerization. The resin contains photo-initiators that react when hit with a specific wavelength of ultraviolet (UV) light. This reaction triggers a chain link, turning the liquid molecules into a solid polymer. This process is repeated thousands of times to form a complete, highly detailed part.
What Are the Core Components of an SLA Printer?
Understanding the parts of an SLA printer helps you appreciate the precision involved. It's a carefully orchestrated system with three main components:
- UV Light Source: This is the engine. In laser-based SLA, a single point of light traces each layer. In DLP (Digital Light Processing) systems, a digital projector flashes an entire layer's image at once, which can be faster.
- Build Platform: This is the foundation. It starts at the top of the resin tank and lifts (or lowers) incrementally as each new layer is cured, pulling the model out of the resin.
- Resin Tank: A container with a transparent, non-stick silicone window at the bottom, holding the liquid photopolymer.
The SLA Printing Process: A Step-by-Step Guide
Let's walk through the journey of a print, from a digital idea to a physical object you can hold.
Step 1: From Concept to CAD (Model Preparation)
Every print starts with a 3D model, created in CAD software like Fusion 360 or Blender. For SLA, the model must be watertight (manifold) to print correctly. This digital file is then exported, usually as an .stl file, which describes the surface geometry of the model.
Step 2: The Digital Surgery (Slicing)
This is where the magic gets planned. Slicing software (like Chitubox or Lychee Slicer) takes your .stl file and digitally cuts it into dozens or thousands of ultra-thin horizontal layers. Here, you'll set critical parameters:
- Layer Height: Typically 0.05mm to 0.1mm. Thinner layers = smoother finish but longer print times.
- Orientation: You must decide how the model will sit on the build platform. Angling the model is key to reducing suction forces and improving success rates.
- Supports: The software generates delicate scaffolding to hold overhanging parts in place, as the printer can't print on thin air.
Step 3: The Print Cycle (Layer by Layer)
With the instructions loaded, the printer begins its work. The build platform dips into the resin tank, leaving a thin gap at the bottom. The UV light cures the first layer onto the platform. The platform then peels the cured layer away from the tank bottom—a step known as peeling—allowing fresh resin to flow underneath. This cycle repeats, building the object upside down, layer by agonizing layer, until complete.
Step 4: From Goo to Glory (Post-Processing)
This is the least glamorous but most critical step. A print isn't finished just because it's off the printer.
- Cleaning: The part is submerged in isopropyl alcohol (IPA) to wash away all uncured liquid resin.
- Support Removal: The delicate supports are carefully clipped away, leaving small marks that may need sanding.
- Post-Curing: The cleaned part is placed in a UV curing chamber to ensure the resin reaches its full mechanical strength and stability.
SLA vs. Other Technologies: A Quick Comparison
To help you visualize where SLA fits, here’s how it stacks up against its main competitors.
| Feature | SLA (Stereolithography) | FDM (Fused Deposition Modeling) | SLS (Selective Laser Sintering) |
|---|---|---|---|
| Materials | Photopolymer Resins (various properties) | Thermoplastic Filaments (PLA, ABS, Nylon) | Thermoplastic Powders (Nylon, TPU) |
| Surface Finish | Excellent, smooth | Noticeable layer lines, rough | Grainy, matte |
| Accuracy | High (±0.15mm) | Medium | High |
| Strengths | Detail, smoothness, waterproof parts | Low cost, strong parts | No supports, functional, durable |
| Weaknesses | Brittle, requires post-curing | Low detail, anisotropic strength | High cost, rough finish |
| Best For | Prototypes, jewelry, dental models | Large parts, functional prototypes | Complex geometries, end-use parts |
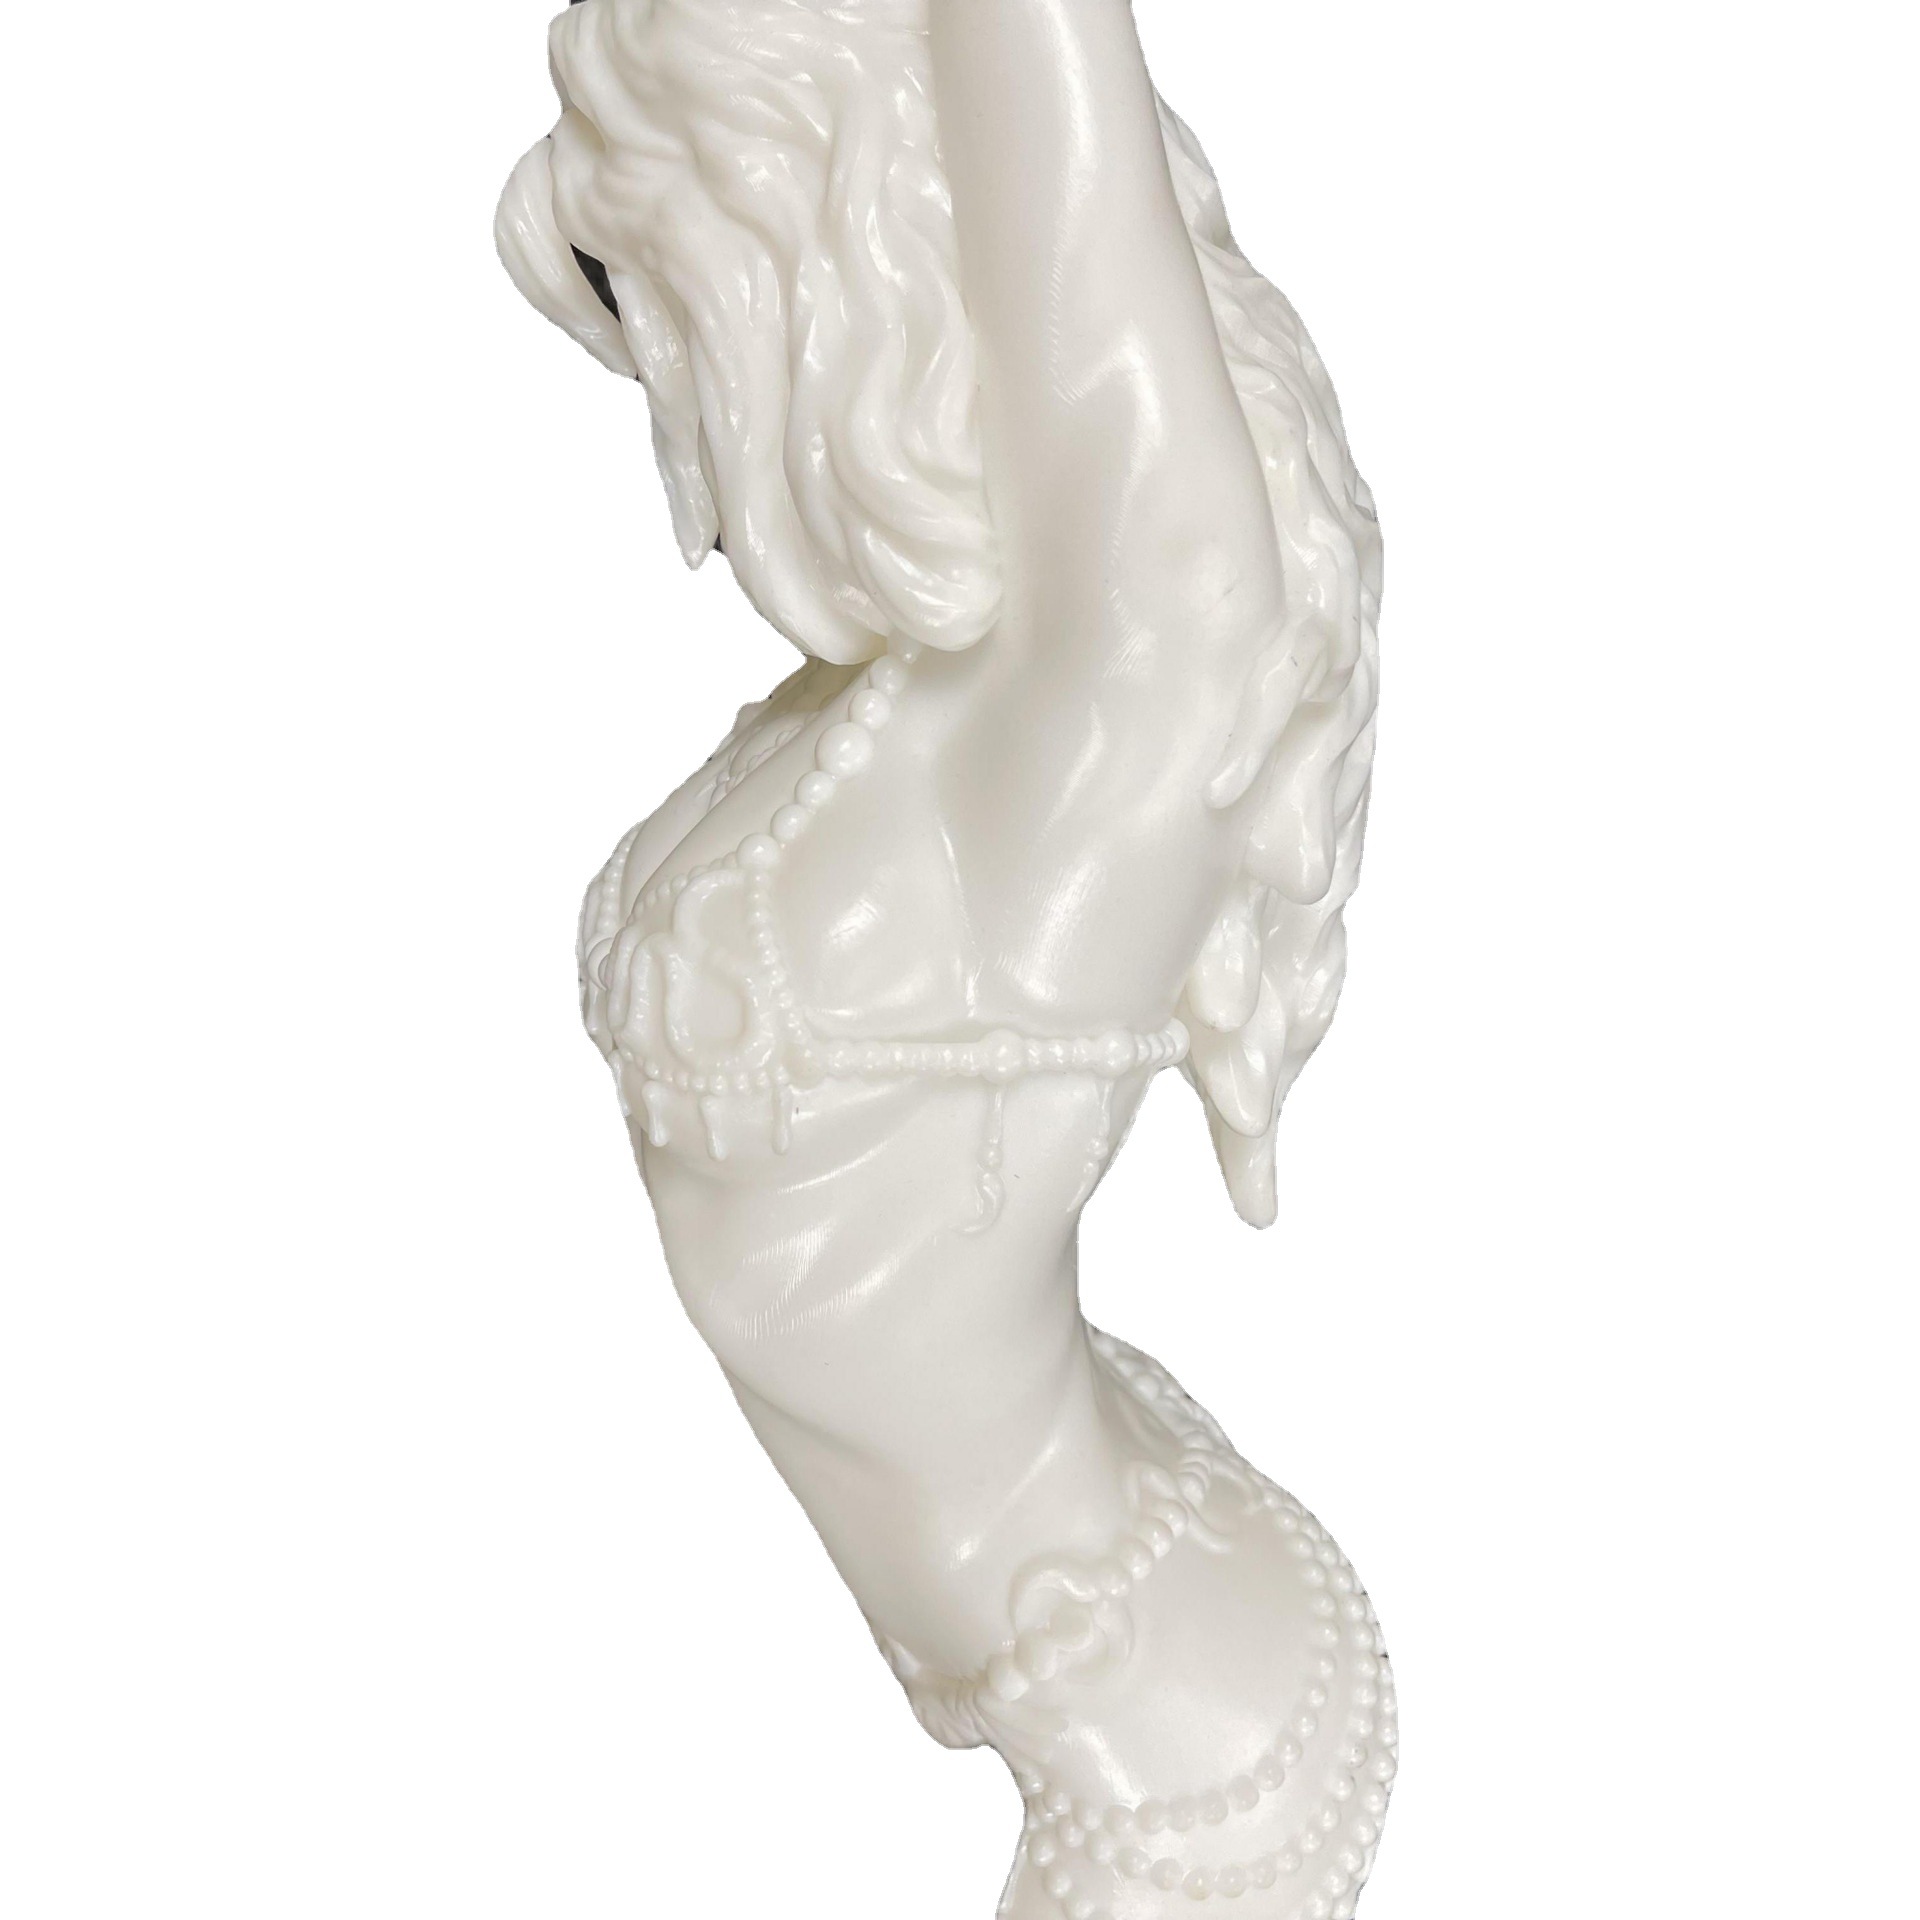
What Can You Actually Make with SLA? Real-World Applications
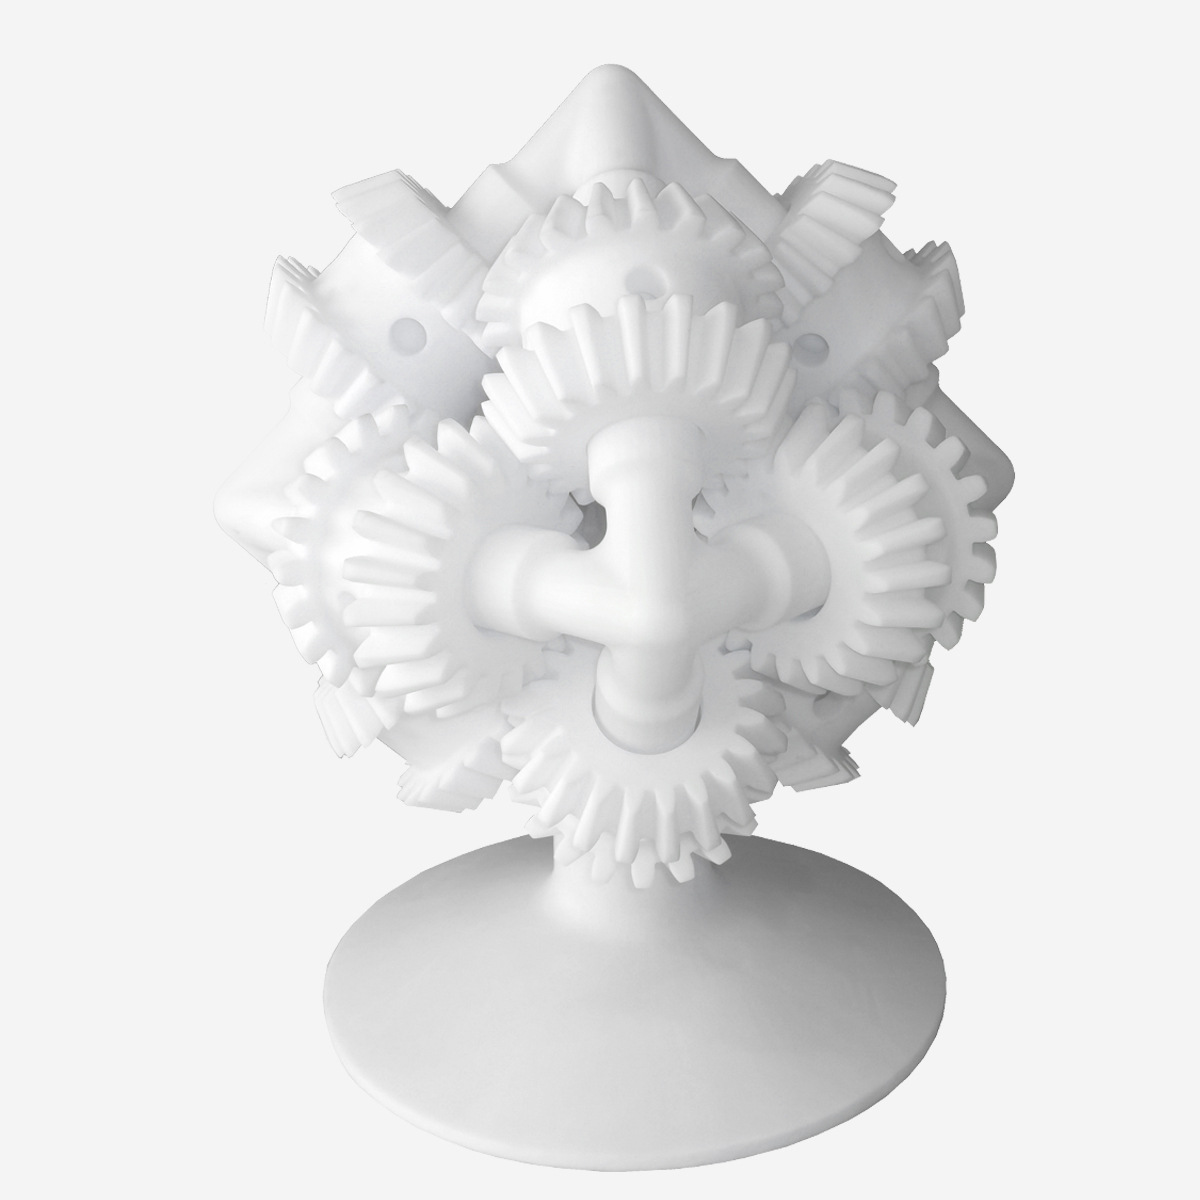
The unique properties of SLA—namely its precision and smooth finish—make it the go-to choice for specific industries.
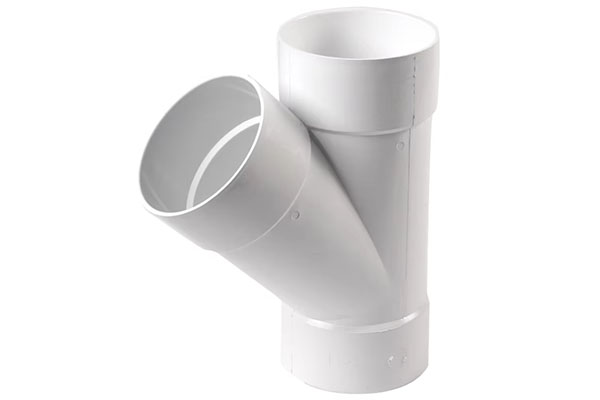
- Engineering & Product Design: Creating fit-for-purpose prototypes that look and feel like the final injection-molded product. We worked with a client designing a new ergonomic power tool handle. SLA allowed them to print multiple iterations with complex contours, testing the grip and feel in user trials before committing to expensive tooling.
- Jewelry & Art: Jewelers use castable resins to print master patterns for lost-wax casting, capturing intricate filigree details that are impossible to carve by hand.
- Healthcare & Dental: SLA is the industry standard for producing precise dental models, surgical guides, and hearing aids, customized perfectly to a patient's anatomy.
- Consumer Goods: From detailed miniatures for board games to custom-fit shaving razors, SLA brings high-detail consumer products to life.
Choosing the Right Resin for the Job
Not all resins are created equal. Selecting the right one is crucial for your part's success.
- Standard Resin: The workhorse for general prototyping. It's affordable and offers a great surface finish but can be brittle.
- Tough & Durable Resin: Formulated to resist impact and stress without snapping. Perfect for snap-fit enclosures or functional components that need to bend.
- High-Temperature Resin: Used for parts that must hold their shape when things heat up, like hot air flow tests or heat-resistant housings.
- Flexible & Elastomeric Resin: Creates parts that can bend, compress, and spring back to shape, mimicking rubber. Ideal for gaskets, seals, or soft-touch handles.
- Castable Resin: Burns out cleanly with minimal ash, designed specifically for the jewelry investment casting process.
Conclusion: Is SLA the Missing Piece in Your Workflow?
SLA 3D printing offers an unbeatable combination of high resolution and surface quality, bridging the gap between a rough concept and a production-ready prototype. While it requires more hands-on post-processing than FDM and the materials are generally more sensitive, the level of detail it unlocks is unmatched for its price point. If your project demands intricate features, a smooth finish, or parts that need to be clear or waterproof, SLA is not just an option—it’s the solution.
Frequently Asked Questions
What is the main difference between SLA and DLP 3D printing?
Both use UV light to cure resin. The key difference is the light source. SLA uses a single laser point that traces the layer. DLP uses a digital projector to flash an entire layer at once. DLP can be faster for some parts, while laser SLA can sometimes offer sharper detail.
Is SLA 3D printing safe to do at home?
Liquid photopolymer resin can cause skin irritation and its fumes can be harmful. You must always wear nitrile gloves and work in a well-ventilated area. Uncured resin should be handled as chemical waste, not poured down the sink.
How do I remove supports without ruining my print?
After cleaning the print but before post-curing, the resin is slightly softer. Use a flush cutter to snip the supports away from the model, leaving a small nub. After post-curing, you can sand the nubs down with fine-grit sandpaper for a perfectly smooth finish.
Can SLA parts be used as final products?
Yes, depending on the application. With the development of advanced engineering resins (like tough, durable, or temperature-resistant), SLA is increasingly used for short-run production and creating end-use parts that don't require extreme impact resistance or high melting points.
Contact Yigu technology for custom manufacturing
Navigating the world of 3D printing can be complex, especially when you need parts that are not only precise but also meet stringent performance standards. At Yigu technology, we bridge the gap between prototyping and production. As an expert in non-standard plastic and metal custom manufacturing, we don't just run printers; we engineer solutions. Whether you need high-fidelity SLA prototypes to validate your design or are ready to move into small-batch production with advanced materials, our team has the expertise to guide you. Contact us today to discuss your project and discover how we can bring your most intricate ideas to life.