Introduction
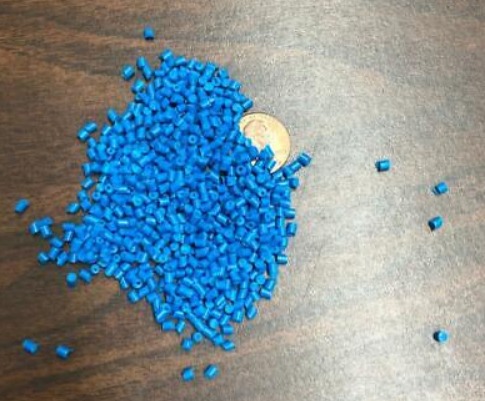
Every injection molding cycle starts with the same simple action: plastic pellets flow from a hopper into the machine. This funnel-shaped container might seem like a minor component. But in reality, it controls material flow, ensures consistent feeding, and sets the foundation for part quality.
A poorly designed or improperly maintained hopper causes problems that ripple through the entire process. Inconsistent feeding leads to uneven melting. Contamination ruins batches. Moisture causes voids and splay. Understanding the hopper—how it works, how to maintain it, and how it integrates with the rest of the system—is essential for reliable production.
This guide explores the hopper’s role in injection moulding. We’ll cover key components, the process from feeding to ejection, and practical tips for maintenance and troubleshooting.
What Is Hopper Injection Moulding?
Hopper injection moulding is the standard process where plastic pellets flow from a hopper into an injection machine. The machine heats the material to a molten state, forces it under high pressure into a mould cavity, and cools it to form a finished part.
The hopper is the starting point. It stores pellets and controls their delivery rate. From there, the injection unit melts and injects the material. The mould shapes it. Cooling solidifies it. Ejection completes the cycle.
This process matters because it enables:
- Mass production of precise, complex parts
- Flexibility with different plastics (PE, PP, ABS, and more)
- Cost-effectiveness at scale—per-part cost drops as volume increases
What Are the Key Components of Hopper Injection Moulding?
The Hopper Itself
The hopper is typically funnel-shaped or cylindrical . It has a wide top for loading pellets and a narrow outlet at the bottom for controlled flow. Gravity moves material downward.
Materials :
- Stainless steel : Preferred for industrial settings. Resists corrosion and handles high temperatures—essential for engineering plastics that require high melt temperatures.
- HDPE (high-density polyethylene) : Cost-effective and lightweight. Suitable for less demanding applications.
Some hoppers include feeding mechanisms:
- Vibrating tray : Gentle agitation prevents bridging (pellets locking together) and ensures consistent flow.
- Screw feeder : A rotating screw pushes pellets toward the injection unit at a controlled speed.
Injection Unit
The injection unit receives pellets from the hopper and transforms them into molten plastic.
Heating system : Multiple heating zones along the barrel. Each zone has independent temperature control:
- Zones near the hopper: Lower temperatures for gradual pre-heating
- Zones near the nozzle: Higher temperatures for complete melting
Heating methods:
- Electric resistance : Simple, cost-effective, widely used
- Induction : Faster heating, better temperature control
Screw or plunger : In screw-type units, the screw rotates to convey, compress, and mix the plastic. Once molten, the screw moves forward, forcing material through the nozzle into the mould.
Injection pressure : Ranges from several hundred to several thousand psi. Higher pressures fill complex, thin-walled cavities. Lower pressures work for simpler parts.
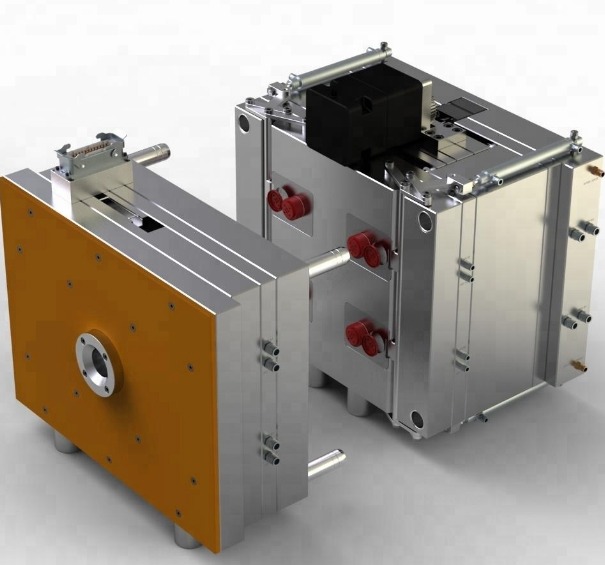
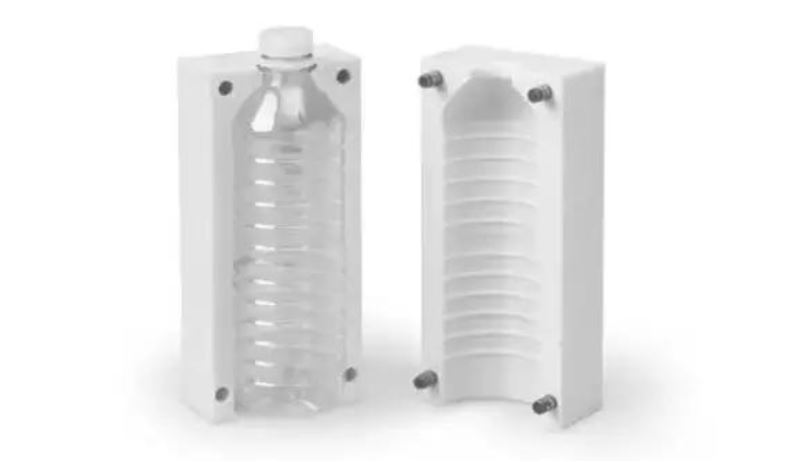
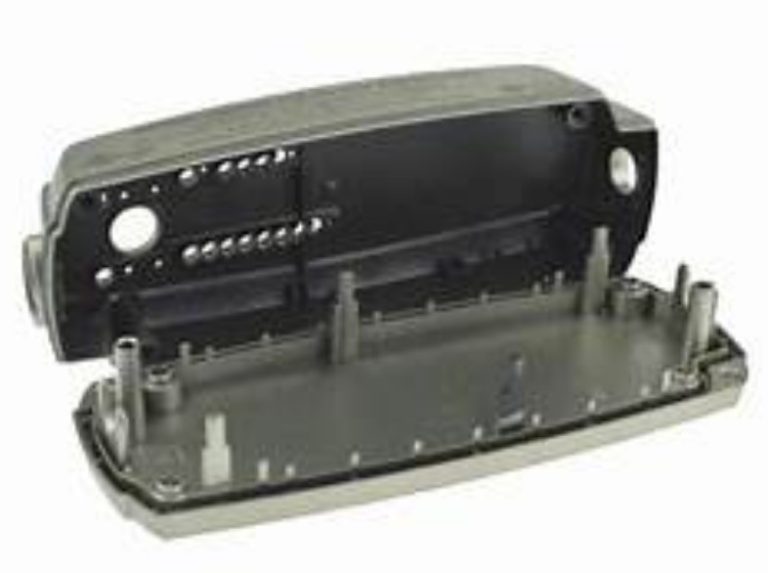
Mould
The mould determines the final shape and quality. Moulds are made from high-strength metals:
| Mould Material | Advantages | Disadvantages |
|---|---|---|
| Steel | Excellent durability; high-temperature resistance | Higher cost; longer machining time |
| Aluminium | Lower cost; higher thermal conductivity (faster cooling) | Less durable; shorter tool life |
Mould design is complex. Considerations include:
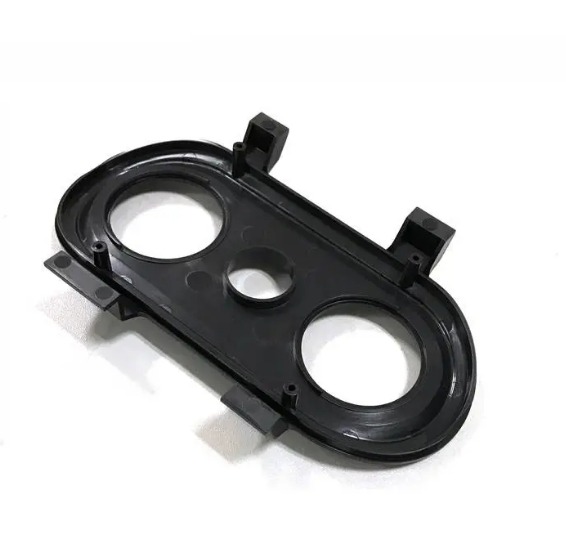
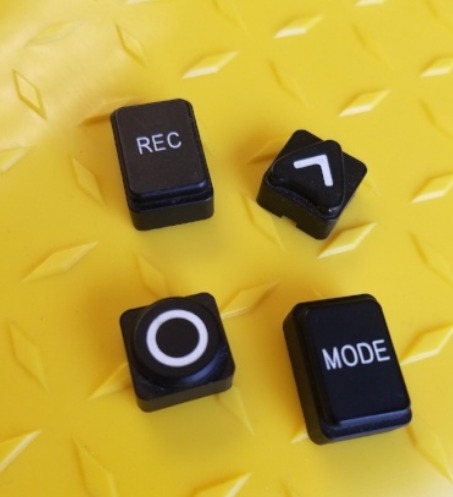
- Cavity count : Single-cavity for large or complex parts; multi-cavity for high-volume small parts (e.g., dozens or hundreds of buttons per cycle)
- Surface finish : Smooth finish produces glossy parts; textured finish imparts patterns
- Ejection mechanisms : Ejector pins, air ejection, or specialized systems to remove parts without damage
How Does the Hopper Injection Moulding Process Work?
Feeding: Starting the Cycle
Pellets load into the hopper. Gravity moves them toward the outlet. But consistent flow requires more than gravity alone.
Vibrating feeders : Gentle vibration prevents bridging. Pellets that lock together in the hopper create gaps in flow. Vibrating breaks these locks.
Screw feeders : A rotating screw at the hopper bottom pushes pellets toward the injection unit. Screw speed adjusts to match production requirements.
Feeding rate is critical:
- Too high: Over-packing, inconsistent melting, uneven injection pressure
- Too low: Starved injection—incomplete parts, defects
Melting and Injection: Transforming Pellets to Liquid
Pellets enter the injection unit’s barrel. Multiple heating zones raise the temperature progressively.
Pre-heating zones : Lower temperatures near the hopper warm pellets gradually. This avoids thermal shock and prepares material for complete melting.
Melting zones : Higher temperatures near the nozzle bring plastic above its melting point. The screw rotates, compressing and mixing the melt. Compression expels trapped air. Mixing ensures uniform temperature and composition.
Injection : Once enough melt accumulates, the screw moves forward rapidly. Hydraulic pressure forces the melt through the nozzle into the mould. Injection pressure can exceed 20,000 psi for highly viscous plastics or complex moulds.
Cooling and Ejection: Solidifying the Part
After the cavity fills, cooling begins. The mould contains cooling channels. Coolant—usually water—circulates, drawing heat from the plastic.
Cooling time depends on:
- Part thickness : Thicker parts need longer cooling. A small button cools in seconds; a large bumper takes minutes.
- Material : Different plastics transfer heat at different rates.
- Cooling system efficiency : Channel placement and flow rate matter.
Ejection : Once solidified, the mould opens. Ejection mechanisms remove the part:
- Ejector pins : Cylindrical rods push the part out. Common and effective.
- Air ejection : Compressed air blows parts out—useful for delicate or complex shapes.
What Are Common Hopper-Related Problems and Solutions?
| Problem | Cause | Solution |
|---|---|---|
| Bridging | Pellets lock together; poor flow | Add vibrating feeder; adjust hopper angle |
| Contamination | Foreign material in hopper | Clean hopper regularly; use filters |
| Inconsistent feeding | Worn screw feeder; incorrect speed | Inspect feeder; adjust speed |
| Moisture absorption | Material left in hopper too long | Use heated hopper dryer; reduce residence time |
| Over-packing | Feeding rate too high | Reduce screw feeder speed |
A Case Study in Hopper Maintenance
A manufacturer producing ABS electronic housings experienced intermittent defects—surface splay and voids. Investigation revealed inconsistent feeding from the hopper. Pellets were bridging, causing the injection unit to run starved for some cycles, over-packed for others.
The fix: installing a vibrating feeder to ensure consistent flow. Defects dropped by 80% . Production stabilized.
How Do You Maintain a Hopper Injection Moulding Machine?
Regular Cleaning
- Hopper : Clean with compressed air or soft brush to remove dust and debris
- Injection unit, nozzle, mould : Prevent contamination that affects part quality
- Frequency : After each material change; weekly for continuous runs
Lubrication
Moving parts need regular lubrication:
- Screw
- Guide rails
- Ejector pins
Use appropriate lubricants. Over-lubrication attracts dust; under-lubrication causes wear.
Inspection of Key Components
| Component | What to Check | When |
|---|---|---|
| Heating elements | Even heating; no hot spots | Monthly |
| Thermocouples | Accurate temperature readings | Monthly |
| Pressure sensors | Consistent readings | Monthly |
| Mould | Wear, cracks, damage | After each run |
Replace faulty components immediately. Inaccurate temperature or pressure control leads to defects.
How Does Hopper Injection Moulding Compare to Other Processes?
Injection Molding vs. Compression Molding
| Aspect | Injection Molding | Compression Molding |
|---|---|---|
| Cycle time | Fast (seconds to minutes) | Slow (minutes) |
| Part complexity | High—intricate details, thin walls | Limited |
| Tooling cost | High initial | Lower initial |
| Material waste | Minimal; runners recycled | Some waste from over-molding |
Injection Molding vs. 3D Printing
| Aspect | Injection Molding | 3D Printing |
|---|---|---|
| Production volume | High volume | Low volume; prototyping |
| Surface finish | Smooth | Often rough; post-processing needed |
| Material options | Wide range | Limited |
| Speed per part | Fast (seconds) | Slow (minutes to hours) |
For high-volume production, injection molding is unmatched. For prototyping or low-volume, 3D printing offers flexibility without tooling investment.
Yigu Technology's Perspective
At Yigu Technology , we understand that the hopper is more than a storage container. It’s the first control point in the molding process. Consistent feeding means consistent melting. Consistent melting means consistent parts.
We use stainless steel hoppers with vibrating feeders to ensure steady material flow. For moisture-sensitive materials, we integrate heated hopper dryers that remove moisture before pellets enter the barrel.
Our maintenance schedules include regular cleaning, lubrication, and component inspection. We track feeding rates and adjust screw speeds to match production requirements.
For custom projects—especially plastic-metal composite parts—the hopper’s role becomes even more critical. Consistent feeding ensures the right material volume for precise integration of different components.
Conclusion
The hopper in injection moulding may seem like a simple component. But it controls the material flow that determines everything downstream. Consistent feeding enables consistent melting. Consistent melting enables consistent part quality.
Understanding the hopper’s role—how it works, how to maintain it, and how to troubleshoot common problems—is essential for reliable production. A well-maintained hopper, paired with proper feeding mechanisms, sets the foundation for efficient, high-quality injection molding.
FAQ
What are the common materials used in hopper injection moulding?
ABS : High strength, impact resistance, dimensional stability. Used for automotive parts, electronics housings. PP (polypropylene) : High strength-to-weight ratio, chemical resistance, cost-effective. Used for food containers, automotive components. PE (polyethylene) : LDPE for flexible applications (bags, films); HDPE for rigid applications (pipes, containers). Each material requires specific drying and processing conditions.
How do you maintain a hopper injection moulding machine?
Regular cleaning : Remove dust and debris with compressed air or soft brush. Clean hopper, injection unit, nozzle, and mould surfaces. Lubrication : Lubricate moving parts (screw, guide rails, ejector pins) with appropriate lubricants. Component inspection : Check heating elements, thermocouples, pressure sensors, and mould for wear or damage. Replace faulty components immediately.
Can hopper injection moulding be used for small-batch production?
Yes. Quick-change mould technology allows rapid mould changes, reducing downtime between runs. Modern machines offer precise control, enabling high-quality parts even in small quantities. While per-part cost is higher than high-volume runs, the flexibility makes it viable for prototyping, testing, or customized products.
What causes inconsistent feeding from the hopper?
Common causes: bridging (pellets locking together), worn screw feeder , incorrect feeder speed , or material contamination . Solutions: add vibrating feeder, inspect and replace worn components, adjust feeder speed, clean hopper.
How does moisture in the hopper affect part quality?
Moisture turns to steam during heating. This causes voids, bubbles, surface splay, and reduced mechanical strength . Hygroscopic materials like nylon and ABS require drying before processing. Use heated hopper dryers to maintain moisture content below 0.05% .
Contact Yigu Technology for Custom Manufacturing
At Yigu Technology , we bring precision to every stage of injection moulding—starting with the hopper. Our stainless steel hoppers with vibrating feeders and heated drying capabilities ensure consistent material flow. We maintain strict feeding control to support complex moulds and demanding materials. From custom plastic parts to plastic-metal composites, we deliver quality and reliability. Contact us today to discuss your injection moulding project.