Introduction
Every hardware team hits this wall. You have a new product design. It needs validation. But you don't know whether to send it to a CNC machining shop or fire up a 3D printer. Both options have trade-offs. 3D printing is fast and cheap for one-offs. But CNC gives you real metal parts that behave like the final product.
This is not a simple "A vs. B" question. The right answer depends on your prototype goals, your material needs, and your project timeline. In this guide, I'll break down exactly when CNC machining beats 3D printing for prototyping. I'll also share real cost-saving strategies, material rules, and workflow tips from years of hands-on experience in custom manufacturing.
Whether you're a startup founder or a seasoned product engineer, this article will help you make the right call — fast.
Why Prototyping Exists at All
Before we compare CNC and 3D printing, let's get clear on what a prototype actually does.
A good prototype serves three core purposes:
| Purpose | What It Validates | Why It Matters |
|---|---|---|
| Design Validation | Does the shape and size work? | Catches fit issues before tooling costs |
| Function Validation | Does the part perform under load? | Proves the product won't fail in use |
| Manufacturability Validation | Can this actually be mass-produced? | Avoids expensive redesigns later |
Not every prototype needs to do all three. But if you skip any of them, you risk costly surprises during production.
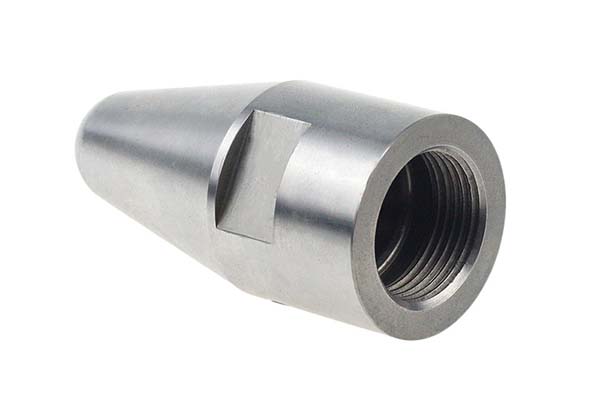
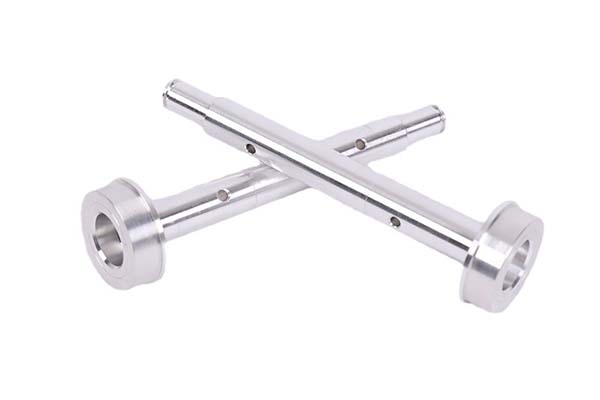
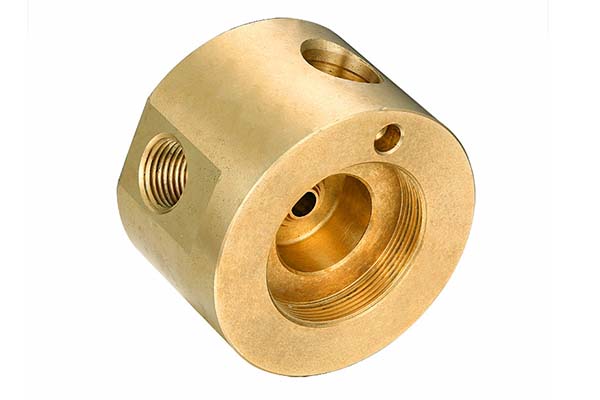
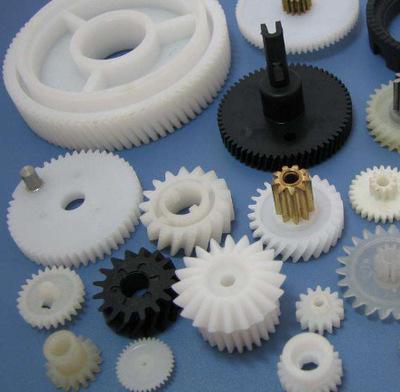
CNC Machining: Where It Shines in Prototyping
CNC machining is not just for mass production. In the prototyping world, it holds a unique position that 3D printing simply cannot fill in certain scenarios.
Let's dive into when CNC is the only sensible choice.
Material Truth Matters Most
This is the biggest reason to pick CNC. 3D printing uses plastic filaments or resin. Even metal 3D printing (DMLS/SLM) produces parts with different grain structures than machined metal.
When you need to test how a metal bracket flexes under load, or how a PEEK plastic housing handles heat, CNC gives you the real answer.
Real-world example: A robotics startup was testing a motor mount. They first 3D printed it in nylon. It cracked under vibration. They switched to a CNC-machined 6061 aluminum prototype. It held up perfectly. The nylon part had lied to them.
| Material Need | 3D Printing | CNC Machining |
|---|---|---|
| Standard plastics (PLA, ABS) | ✅ Excellent | ❌ Overkill |
| Engineering plastics (PEEK, POM) | ⚠️ Limited options | ✅ Full range |
| Aluminum (6061, 7075) | ⚠️ DMLS only, expensive | ✅ Standard |
| Steel (304, 316) | ⚠️ Very rare | ✅ Standard |
| Titanium | ⚠️ Extremely rare | ✅ Available |
Precision and Surface Quality
If your prototype needs to fit into an existing assembly, tolerances matter. CNC machining routinely holds ±0.01mm to ±0.05mm tolerances. Most desktop 3D printers struggle to stay within ±0.2mm.
For optical tests, seal fitting, or threaded connections, this difference is not small. It's the difference between "it works" and "it leaks."
Matching Production Reality
Here's a hard truth: your 3D printed part is not your production part. The surface texture, internal structure, and material properties are all different.
If you validate a design with a 3D print, you might approve something that fails in injection molding or die casting. CNC prototypes give you a much closer preview of the real thing.
This is why CNC is the go-to choice right before mold development. It's your last chance to catch design flaws cheaply.
Handling Design Changes Fast
One of the biggest pain points with CNC prototyping is design iteration. You change the CAD file. Now you need to re-program, re-tool, and re-clamp. That takes time.
But there are smart ways to cut that time in half.
Parametric Programming Saves Hours
Modern CNC shops use parametric CAM software (like Fusion 360 or Mastercam). Instead of rewriting code from scratch, you update the model parameters. The toolpaths regenerate automatically.
Pro tip: Ask your CNC shop if they use parametric programming. It can reduce re-programming time from 2 hours to 15 minutes.
Soft Tooling and Quick Fixtures
Traditional CNC fixtures are precision-made. They're great for production. But for prototyping, they slow you down.
Soft tooling — like 3D-printed jigs, vacuum tables, or modular clamp systems — lets you swap parts in minutes. This is a game-changer when you're running 5+ design iterations in a week.
| Fixture Type | Setup Time | Best For |
|---|---|---|
| Precision steel fixture | 30–60 min | Final production runs |
| 3D-printed soft jig | 5–10 min | Prototyping, 1–5 parts |
| Vacuum table | 2–3 min | Flat parts, fast swaps |
| Modular clamp system | 5–15 min | Irregular shapes |
Version Control for CNC Parts
When your team is pushing daily design updates, version chaos kills productivity. Use a simple system:
- Name every file with a version number (e.g.,
bracket_v3.step). - Log every CNC job with the file version, date, and operator.
- Keep old prototypes labeled so you can compare side by side.
This sounds basic. But I've seen teams waste entire days hunting for the "right version" of a prototype.
Controlling Costs for One-Off Parts
Let's talk money. Single-piece CNC machining is expensive. Why? Because 70% of the cost is setup time — programming, tooling, clamping, zeroing. The actual cut time might be 20 minutes. But the prep takes 2 hours.
Here's how to bring that cost down.
Compress Prep Time
| Strategy | How It Works | Savings |
|---|---|---|
| Standard blank sizes | Use common stock (e.g., 100x100mm aluminum plate) | Eliminates custom stock ordering |
| Pre-set tool library | Shop keeps common end mills ready | Saves 15–30 min per job |
| Template programs | Reuse code for similar parts | Saves 30–60 min programming |
Ask your CNC shop: "Do you have a standard blank library and tool presets?" Shops that do will quote you 20–30% less for prototypes.
Optimize Material Usage
CNC machining is subtractive. You start with a block and cut away material. That means waste.
Smart shops use nesting software to arrange multiple parts on one plate. They also reuse offcuts for smaller parts. This can reduce material cost by 15–25%.
Get Transparent Quotes
Don't just accept a lump-sum price. Ask for a cost breakdown:
| Cost Component | What It Covers |
|---|---|
| Fixed fee | Programming, setup, tooling |
| Variable fee | Machine time, material usage |
| Post-processing | Deburring, anodizing, painting |
This transparency helps you negotiate better and understand where your money goes.
Do Prototype Materials Need to Match Production?
This is the question every team asks. The short answer: it depends on what you're testing.
Appearance-Only Prototypes
If you're just checking how the product looks, you don't need production materials. A 3D print in white resin, or a CNC part in cheap ABS or MDF, works fine.
Example: A consumer electronics company used CNC-machined high-density foam blocks painted to match the final color. Cost: $15 per unit. Purpose: photo shoot and investor demo. Worked perfectly.
Functional Prototypes
If you're testing strength, heat resistance, or chemical exposure, the material must match production. No shortcuts.
| Test Type | Material Rule |
|---|---|
| Drop test | Use production plastic (e.g., PC+ABS) |
| Heat test | Use production-grade material (e.g., PEEK) |
| Load/stress test | Use production metal alloy |
| Chemical resistance | Use exact production polymer |
Regulated Industries: No Exceptions
For medical devices or aerospace parts, there is zero flexibility.
| Industry | Requirement |
|---|---|
| Medical (ISO 13485) | Biocompatible materials, full traceability |
| Aerospace (AS9100) | Certified alloys, heat treatment records |
| Automotive (IATF 16949) | Material certs, process validation |
In these cases, even your prototype must use certified materials from approved suppliers. CNC machining makes this possible. 3D printing often cannot.
Ensuring Complete Functional Validation
A prototype that looks right but tests wrong is worse than no prototype at all.
Surface Texture Affects Fit
CNC machining leaves tool marks on the surface. Injection molding leaves a smooth or textured mold surface. These are different.
For parts that need to slide, seal, or feel right in hand, you need to simulate the production surface.
| Production Finish | CNC Equivalent |
|---|---|
| Injection mold (smooth) | Fine polishing (Ra 0.4–0.8μm) |
| Injection mold (textured) | Bead blasting or EDM texture |
| Die cast (smooth) | Anodizing or chromate coating |
| Die cast (textured) | Sandblasting (Ra 3.2–6.3μm) |
Case study: A wearable device team found their CNC prototype felt "too slippery" compared to the injection-molded version. Adding a fine bead-blast finish (Ra 1.6μm) solved the problem. The fit test results then matched production.
Solid vs. Hollow: The Internal Structure Gap
CNC makes solid parts. Injection molding and die casting make hollow or ribbed parts. This affects weight and stiffness.
| Property | CNC Solid Part | Injection Molded Part |
|---|---|---|
| Weight | Heavier | 30–50% lighter |
| Stiffness | Higher (solid) | Lower (hollow walls) |
| Cooling time | N/A | Matters for cycle time |
How to handle this: For functional tests, add weight to the CNC part to match the production weight. Or use hollowing strategies in CAM to remove internal material while keeping wall thickness.
Test Fixture Design
Your prototype needs to interface with real-world components. Design test fixtures that use the same datum points as the production part.
This ensures your test results are directly comparable to production performance.
Post-Processing: The Hidden Bottleneck
CNC machining is only half the job. Post-processing — anodizing, painting, plating — is where many prototypes fall apart.
Matching Process Windows
Every surface treatment needs a specific surface condition from CNC.
| Surface Treatment | CNC Surface Requirement | Common Mistake |
|---|---|---|
| Anodizing | Ra 0.8–1.6μm, clean aluminum | Rough surface → patchy anodize |
| Chrome plating | Ra 0.2–0.4μm, mirror finish | Tool marks show through |
| Painting | Ra 1.6–3.2μm, deburred | Burrs cause paint drips |
| Electroplating | Ra 0.4–0.8μm, no oils | Oils cause peeling |
Always tell your CNC shop what post-processing you plan. They will adjust feeds, speeds, and finishing passes accordingly.
Multi-Supplier Coordination
Many teams use one shop for CNC and another for finishing. This creates problems:
- Dimension shifts after anodizing (adds 10–25μm per side)
- Color mismatches between paint batches
- Communication gaps on tolerance stack-ups
Best practice: Use a shop that offers in-house post-processing. Or use a single supplier who manages both stages. This eliminates 80% of post-processing defects.
Speed Up Appearance Prototyping
| Process | Typical Cycle Time | Speed-Up Tip |
|---|---|---|
| Spray painting | 2–3 days | Use pre-mixed color, skip primer |
| Anodizing (clear) | 1–2 days | Standard thickness, no dyeing |
| Silk screening | 1 day | Use pre-made screens for logos |
| Electroplating | 2–4 days | Thin plating for prototypes only |
Conclusion
So, is CNC machining better than 3D printing for prototyping? It depends on what you need to prove.
Here's a simple decision tree:
| If You Need To... | Use CNC | Use 3D Printing |
|---|---|---|
| Test metal strength or heat | ✅ Yes | ❌ No |
| Validate fit with tight tolerances | ✅ Yes | ⚠️ Maybe |
| Check visual appearance only | ⚠️ Overkill | ✅ Yes |
| Iterate design 10+ times fast | ❌ Too slow | ✅ Yes |
| Match production material exactly | ✅ Yes | ⚠️ Limited |
| Meet medical/aerospace compliance | ✅ Yes | ❌ No |
My recommendation for hardware teams: Use 3D printing for early concept models. Switch to CNC machining for functional and pre-production prototypes. This two-stage approach saves money and catches problems early.
Don't let the "CNC is slow" myth stop you. With the right shop, the right processes, and the right material strategy, CNC prototyping is the closest thing to holding your final product in your hands — before you spend $50K on a mold.
FAQ
Is CNC machining always more expensive than 3D printing for prototypes?
Not always. For 1–3 metal parts, CNC is often cheaper than metal 3D printing. For 10+ plastic parts, 3D printing wins on cost.
How fast can I get a CNC prototype?
Standard lead time is 3–7 business days. With a shop that has standard blanks and tool presets, you can get parts in 2–3 days.
Can CNC prototypes look as good as production parts?
Yes — with the right post-processing. Anodizing, polishing, and painting can make CNC parts indistinguishable from production.
What's the minimum order for CNC prototyping?
Most shops accept 1 piece. Some charge a minimum setup fee. Always ask about single-piece pricing upfront.
Should I use CNC or 3D printing for investor demos?
For look-and-feel demos, 3D printing is faster and cheaper. For functional demos (e.g., "watch this motor run"), CNC is the only honest choice.
Contact Yigu Technology for Custom Manufacturing
Need CNC machining prototypes that actually behave like your final product? Yigu Technology specializes in rapid CNC prototyping with in-house post-processing. We work with startups and enterprise teams alike.
📞 Get a quote today — tell us your material, tolerance, and quantity. We'll respond within 4 hours.
Yigu Technology — Precision Prototyping, Delivered Fast.