Introduction
You have a design that works. You have tested 3D-printed prototypes. Now you need parts that behave like the final product—same material, same strength, same feel. But moving straight to production tooling feels risky. The cost is high, and you are not ready for millions of parts. This is where rapid tooling prototyping fits. It bridges the gap between one-off prototypes and full-scale production. You get functional, injection-molded parts in weeks, not months. For designers, understanding how to choose the right process and partner makes the difference between a smooth transition and a frustrating delay.
What Is Rapid Tooling Prototyping?
Rapid tooling prototyping is an approach that uses faster methods to create prototype-grade molds. These molds run on standard injection molding machines to produce low to medium volumes of functional parts.
The core value is speed. A traditional production steel mold takes 12 to 20 weeks. A rapid tool can be ready in 2 to 6 weeks. This compressed timeline allows you to:
- Validate design with true production materials
- Conduct real-world functional testing
- Run small market trials
- Produce parts while final tooling is being built
How Does It Differ from Conventional Mold Making?
Understanding the trade-offs helps you set realistic expectations.
| Aspect | Production Tooling | Rapid Tooling Prototyping |
|---|---|---|
| Primary Goal | Maximize durability for millions of cycles | Minimize time to first part |
| Typical Material | Hardened steel (H13, P20) | Aluminum, soft steel, printed metal |
| Lead Time | 12–20+ weeks | 2–6 weeks |
| Tool Cost | $30,000–$150,000+ | $3,000–$25,000 |
| Tool Life | 1,000,000+ shots | 100–10,000 shots |
| Modifications | Difficult, slow, expensive | Easier, more cost-effective |
| Best For | High-volume mass production | Prototyping, pilot runs, bridge production |
A designer developing a new consumer product does not need a million-shot steel mold to test market response. An aluminum rapid tool producing 500 parts is sufficient—and costs a fraction of production tooling.
What Technologies Are Available?
Rapid tooling uses several methods. Each suits different needs.
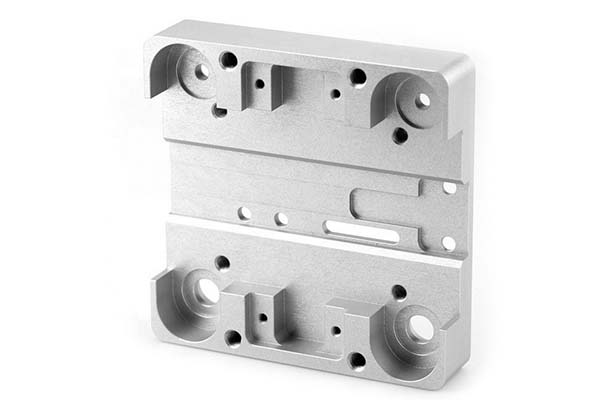
High-Speed CNC Machining (Aluminum)
This is the most common approach. Soft aluminum blocks are machined into mold cores and cavities.
- Best for: Most projects requiring 50 to 5,000 parts
- Advantages: Good surface finish, reasonable tolerances, fast turnaround
- Limitations: Aluminum wears faster with abrasive materials
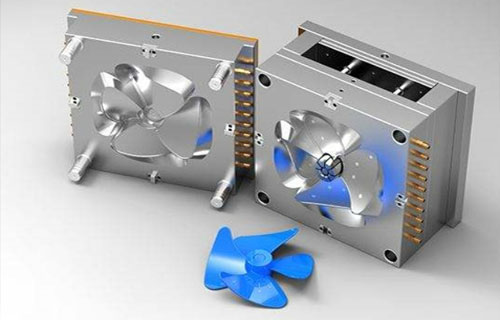
Direct Metal Laser Sintering (DMLS)
This is metal 3D printing. A laser fuses metal powder layer by layer.
- Best for: Complex geometries, internal features, conformal cooling channels
- Advantages: Creates shapes impossible with machining
- Limitations: Higher cost, rougher surface finish than machined molds
Vacuum Casting (Urethane Molding)
A 3D-printed master pattern creates a silicone mold. Urethane resin is poured into the mold.
- Best for: Very low volumes (10–50 parts)
- Advantages: Lowest upfront cost
- Limitations: Limited material options, not true injection molding
3D-Printed Composite or Resin Tools
Molds are printed from high-temperature resins.
- Best for: Ultra-fast proof-of-concept for simple parts
- Advantages: Extremely fast, low cost
- Limitations: Very short tool life (<100 shots)
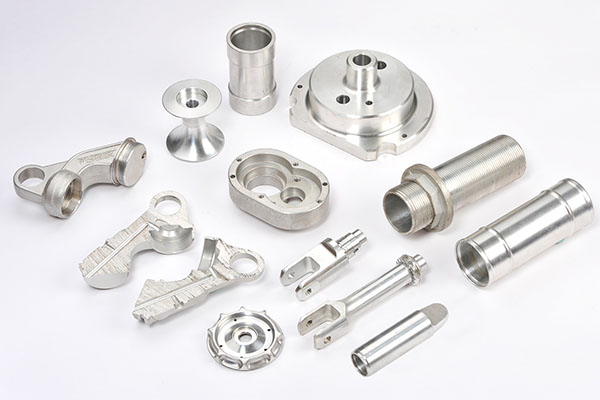
What Materials Can Be Used for Tools and Parts?
Your choices affect cost, timeline, and part quality.
Common Rapid Tool Materials
| Material | Properties | Best For |
|---|---|---|
| Aluminum 7075 | Fast machining, good thermal conductivity | Most RTP projects, 100–5,000 shots |
| P20 / NAK80 Steel | Harder than aluminum, longer life | Higher volumes or abrasive materials |
| 3D-Printed Maraging Steel | Complex internal cooling, high hardness | Challenging geometries, DMLS tools |
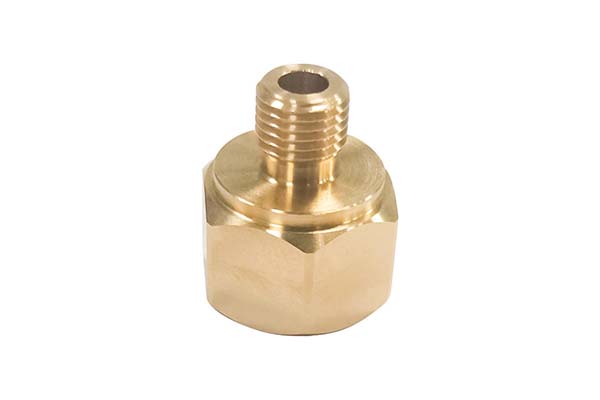
Common Part Materials
You are not limited to “prototype” plastics. Production-grade thermoplastics work in rapid tools:
- ABS: Good impact strength, aesthetic finish
- Polypropylene (PP): Flexible, chemical resistant
- Nylon (PA6, PA66): Strong, wear-resistant
- Polycarbonate (PC): High impact strength, transparent
- POM (Acetal): Low friction, high stiffness
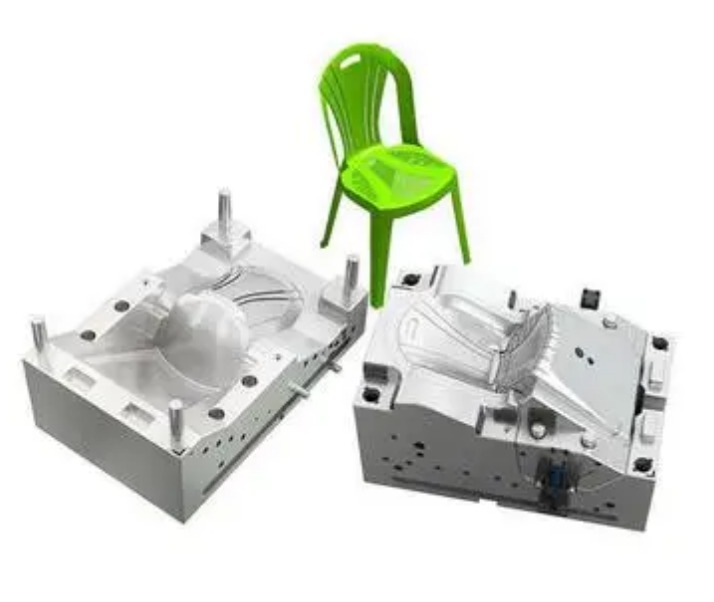
How Do You Choose the Right Process?
Your priorities guide the decision.
| Primary Priority | Recommended Process | Why |
|---|---|---|
| Speed & Low Cost | CNC-machined aluminum | Fastest path to true molded parts |
| Complex Cooling or Geometry | DMLS printed metal | Creates conformal cooling channels impossible with machining |
| Lowest Cost for <50 Parts | Vacuum casting | Avoids metal tooling entirely |
| Multiple Design Iterations | Aluminum or 3D-printed resin tool | Modifications are easier and cheaper |
A designer working on a medical device with complex internal geometry might choose DMLS for the tool. The conformal cooling channels reduce cycle time and improve part quality—benefits worth the higher tool cost.
How Can Designers Optimize Cost and Lead Time?
Your design decisions directly impact the economics of rapid tooling.
Simplify Geometry
Every undercut, deep thin rib, or tiny feature adds machining time and cost. Ask yourself: does this feature need to exist? Can it be simplified?
Design for Uniform Wall Thickness
This is the most important rule for injection molding. Uniform walls ensure even filling and cooling. Target 1.5 mm to 3.0 mm for most plastics. Thick sections cause sink marks. Thin sections cause filling problems.
Incorporate Adequate Draft
Every vertical wall needs taper. This allows the part to eject without sticking or scuffing.
- Minimum: 1 degree
- Better: 2–3 degrees, especially for textured surfaces or deep parts
Specify Tolerances Wisely
Tight tolerances increase machining time and cost exponentially. Apply tight tolerances only to critical mating surfaces. Use general tolerances (±0.25 mm or looser) elsewhere.
A client once specified ±0.05 mm across an entire enclosure. After review, we identified that only the snap-fit features needed that precision. Relaxing other tolerances cut tooling cost by 25% and reduced lead time by one week.
What Design Adjustments Improve Tool Life?
Rapid tools have shorter lives than production tools, but good design maximizes their output.
Use Generous Radii
Sharp corners create stress concentrations in the mold. Over time, these can crack. Add fillets to internal corners. Radii also improve plastic flow.
Avoid Abrasive Fillers If Possible
Glass-filled and carbon-filled plastics wear aluminum tools faster. If testing allows, specify unfilled or mineral-filled materials for the RTP run.
Optimize Gate Location
The gate is where plastic enters the cavity. A poorly placed gate can cause filling issues and stress the tool. Work with your RTP partner to position gates for smooth filling.
How Do You Validate Parts Before Production?
The parts from your rapid tool are your best validation tool.
Form and Fit Testing
Assemble parts into their final configuration. Check clearances, mating surfaces, and fastener alignment. Does everything fit as intended?
Functional Testing
Subject parts to real-world conditions. Load, temperature, chemicals, UV exposure. Does the part perform under stress?
Material Property Verification
Test mechanical properties like tensile strength and impact resistance. Ensure the chosen plastic meets specifications.
Process Validation
Use the RTP run to dial in injection molding parameters—temperature, pressure, cycle time. This “recipe” transfers directly to the high-volume molder, saving weeks of setup.
An automotive supplier used rapid tooling to produce 200 dashboard clips. Functional testing revealed that one clip design failed under vibration. The design was revised and retested within two weeks. Catching this before production tooling saved $40,000 in potential rework.
How Do You Select a Reliable Partner?
Choosing the right company is as important as the design itself.
Look for DFM Feedback
A good partner reviews your files proactively. They suggest modifications to improve manufacturability, reduce cost, and prevent defects. If they just quote without questions, keep looking.
Assess Their Technology Range
Do they offer both CNC and additive options? A partner with broad capabilities recommends the objectively best process, not just the one they have.
Check In-House Capabilities
Companies that control both toolmaking and molding under one roof ensure better communication, accountability, and faster turnaround.
Evaluate Communication
They should provide clear timelines, cost breakdowns, and regular updates. Ask to see examples of project communication.
Review Industry Experience
Have they worked on similar parts or with similar materials? Ask for case studies or client references.
How Does Yigu Technology Approach Rapid Tooling?
At Yigu Technology, we see rapid tooling as a collaborative process. Our goal is to help designers move from concept to production-ready parts with confidence.
We Start with DFM
Before cutting any metal, our engineers review your design. We flag potential issues—thin walls, sharp corners, gate placement—and suggest optimizations. This upfront work prevents problems later.
We Match Process to Purpose
We offer CNC-machined aluminum molds for most projects. For complex geometries, we use DMLS to create conformal cooling channels and intricate cores. We do not push one technology; we recommend what fits your part.
We Communicate Clearly
You get a dedicated contact who knows your project. We provide updates and cost breakdowns. When design changes arise, we explain the impact on timeline and budget.
Conclusion
Rapid tooling prototyping gives designers a powerful tool for bridging the gap between prototypes and production. It delivers functional, injection-molded parts in weeks, not months. The key is understanding the available technologies, making smart design choices, and partnering with a company that offers genuine DFM support.
By applying the principles in this guide, you can reduce risk, shorten timelines, and move from concept to market with greater confidence.
Frequently Asked Questions
What is a typical cost and lead time for rapid tooling?
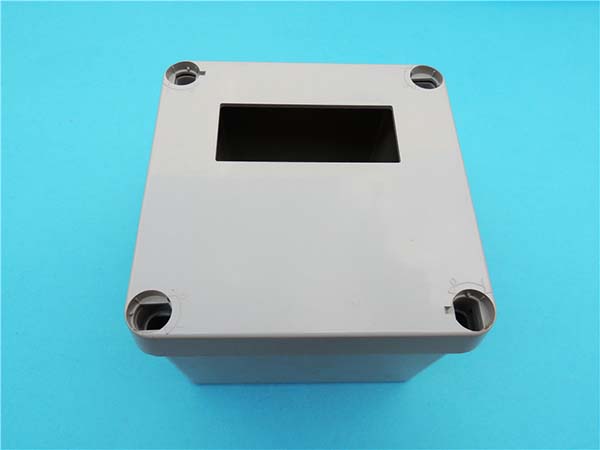
For a small enclosure like a smartphone-sized housing, an aluminum mold typically costs $5,000–$15,000 with a lead time of 3–5 weeks. Per-part cost for 500 units in ABS is $5–$15. This compares to $50,000+ and 15+ weeks for a production steel mold.
Can rapid tools produce parts with textures or logos?
Yes. Textures can be added to aluminum molds via chemical etching. Fine, laser-etched logos work well. Deep, complex textures are more challenging and may add cost. Discuss aesthetic requirements early with your partner.
What happens if I need to make a design change after the rapid tool is made?
Changes are easier and less costly than with steel tooling. For an aluminum mold, the affected area can be welded and re-machined. For simple changes, a new 3D-printed insert may be created. While there is a cost and time impact, it is a fraction of what production tooling would require.
How many parts can I get from a rapid aluminum tool?
Tool life depends on the material. For non-abrasive plastics like ABS, PP, or PC, expect 1,000–5,000+ shots. For abrasive plastics like glass-filled nylon, expect 200–1,000 shots before significant wear appears. Your RTP partner will help estimate based on your material choice.
What is conformal cooling and why does it matter?
Conformal cooling refers to cooling channels that follow the shape of the part. Traditional machining creates straight channels. DMLS printing can create channels that curve with the part contour. This provides more even cooling, reducing cycle time and improving part quality.
Contact Yigu Technology for Custom Manufacturing
Ready to turn your design into functional, injection-molded parts? Yigu Technology specializes in rapid tooling prototyping for designers. Our process begins with a collaborative DFM review to optimize your design for manufacturability. We offer CNC-machined aluminum molds and advanced DMLS printing, all paired with in-house injection molding. Contact us today for a comprehensive design review and project quote.