Introduction
You have a design. You need a physical model to test, refine, or present. But you do not want to wait weeks for a prototype or invest in expensive tooling. Extrusion prototyping offers a solution. It is one of the most accessible and widely used forms of 3D printing. By melting and extruding plastic filament layer by layer, it turns digital designs into physical objects quickly and affordably. This guide explains how extrusion prototyping works, what materials are available, and how it benefits product development across industries.
What Is Extrusion Prototyping?
Extrusion prototyping, also known as material extrusion or FDM (Fused Deposition Modeling), is an additive manufacturing process that builds objects layer by layer. A thermoplastic filament is fed into a heated nozzle, melted, and deposited onto a build platform. The nozzle moves in a programmed path, and each layer bonds to the one below.
The process starts with a 3D model created in CAD software. Slicing software divides the model into thin horizontal layers. The printer then follows these instructions, extruding material to form each layer.
A desktop 3D printer using PLA filament might take a model of a smartphone case, slice it into hundreds of layers, and build it from the bottom up. Within hours, a physical case is ready for testing.
The technology is valued for its simplicity and cost-effectiveness. Desktop printers are affordable, materials are widely available, and the process is accessible to hobbyists, students, and businesses of all sizes.
How Does the Process Work?
The process follows a clear sequence.
Step 1: 3D Model Creation
A digital model is created using CAD software. Professionals might use SolidWorks or Autodesk Inventor. Hobbyists often use accessible tools like Tinkercad.
Step 2: Slicing
The 3D model is imported into slicing software (Cura, PrusaSlicer). The software divides the model into horizontal layers, typically 0.1 mm to 0.4 mm thick. Thinner layers produce smoother surfaces but take longer to print. The software also generates the toolpath—the precise route the extrusion head will follow.
Step 3: Extrusion
The filament is fed into the extrusion head, which heats it to melting temperature. The head moves according to the toolpath, extruding melted material through a nozzle (commonly 0.4 mm diameter). Material is deposited onto the build platform.
Step 4: Layering and Bonding
Each layer bonds to the one below as the material cools. The build platform lowers after each layer, allowing the next layer to be deposited. Speed, temperature, and flow rate are controlled to ensure proper adhesion and accuracy.
Step 5: Support Removal
For geometries with overhangs or bridges, support structures may be printed. These are removed after printing. Some printers use water-soluble supports for easy removal.
What Materials Are Used?
Material choice directly impacts prototype properties.
| Material | Key Properties | Typical Applications |
|---|---|---|
| PLA | Biodegradable, low melting point (180–220°C), easy to print, pleasant odor | Decorative items, concept models, educational projects, simple prototypes |
| ABS | Strong, durable, higher melting point (220–260°C), impact-resistant | Functional parts, automotive components, electronics housings, brackets |
| TPU | Flexible, elastic, rubber-like | Gaskets, seals, flexible joints, wearable devices, shoe soles |
| PETG | Strong, slightly flexible, good chemical resistance | Mechanical parts, functional prototypes, food containers |
| Nylon | Tough, wear-resistant, durable | Gears, moving parts, industrial components |
PLA is popular for beginners and concept models due to its ease of use. ABS is chosen for parts that need strength and durability. TPU adds flexibility for applications like soft-touch surfaces or gaskets.
What Are the Key Advantages?
Extrusion prototyping offers several distinct benefits.
Affordability
Desktop printers cost from a few hundred to a few thousand dollars. Filament costs range from $20 to $50 per kilogram. This low barrier to entry makes prototyping accessible to small businesses and startups.
Speed
Simple prototypes can be printed in hours. Even complex parts often complete within 24–48 hours. This speed enables rapid iteration.
Material Variety
A wide range of materials—rigid, flexible, durable, biodegradable—is available. You can match material properties to your testing needs.
Accessibility
The technology is user-friendly. Slicing software is intuitive. Printers require minimal setup. This accessibility allows designers to prototype without specialized manufacturing expertise.
No Tooling Required
Unlike injection molding or casting, extrusion prototyping requires no molds or tooling. You go directly from CAD to physical part.
What Are the Limitations?
Understanding limitations helps you choose the right applications.
Surface Finish
Layer lines are visible, especially at thicker layer heights. Post-processing (sanding, priming, painting) can improve finish but adds time.
Accuracy
Typical accuracy ranges from ±0.1 mm to ±0.4 mm. For applications requiring tighter tolerances, CNC machining may be more suitable.
Strength
Parts are strong but may have anisotropic properties—strength varies between layers. For load-bearing applications, orientation and infill density matter.
Speed for Large Parts
Large parts take significant time. A part filling the build volume may take days to print.
How Is Extrusion Prototyping Used Across Industries?
The technology has found applications in nearly every sector.
Manufacturing
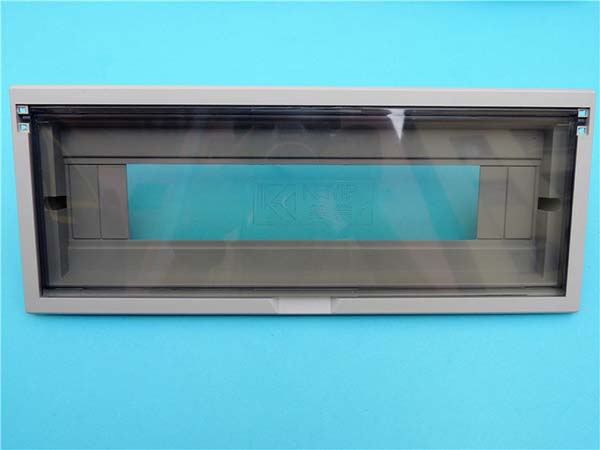
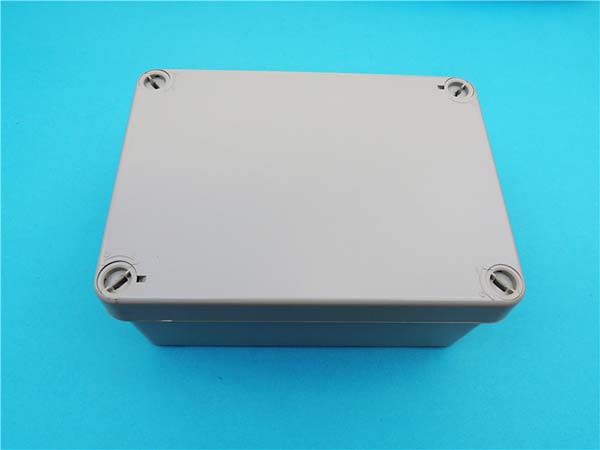
Extrusion prototyping enables rapid creation of prototypes and custom parts. A small automotive parts manufacturer wanted to develop a new engine bracket. Using ABS, they printed a prototype to test fit and functionality in the engine compartment—without investing in expensive tooling. The process saved time and cost in the development phase.
A consumer electronics company used PLA to prototype custom housings for smart home devices. Multiple design iterations evaluated ergonomics and aesthetics before finalizing for mass production.
Healthcare
Custom prosthetics are a remarkable application. A patient needing a prosthetic limb can have the residual limb scanned. A custom-fit socket is printed using TPU for flexibility and comfort. The result: a better fit, delivered faster than traditional methods.
Medical models—hearts, kidneys, bones—printed from biocompatible materials allow surgeons to practice procedures and students to study anatomy hands-on.
Architecture and Design
Architects use extrusion prototyping to create scale models of buildings. A detailed model of a commercial building facade helps clients visualize the final appearance before construction begins.
Furniture designers print prototypes of new chair designs, experimenting with shapes and materials to optimize comfort and aesthetics. Rapid iteration speeds the design process and brings innovative products to market faster.
How Does Extrusion Prototyping Compare to Other Methods?
Each prototyping method has strengths.
| Method | Best For | Advantages | Limitations |
|---|---|---|---|
| Extrusion (FDM) | Concept models, functional testing with plastics | Low cost, fast, wide material range, no tooling | Visible layer lines, moderate accuracy |
| SLA | High-detail prototypes, smooth surfaces | Excellent surface finish, fine features | Higher cost, limited to resins |
| SLS | Durable functional parts | Strong, no supports needed | Higher equipment cost |
| CNC Machining | Precision metal and plastic parts | Tight tolerances, production-grade materials | Slower, higher cost for complex geometries |
Extrusion prototyping is often the first choice for early-stage concept models and functional testing where high precision is not critical.
How Does Yigu Technology Use Extrusion Prototyping?
At Yigu Technology, extrusion prototyping is a key tool in our custom manufacturing process. It allows us to serve clients with diverse needs efficiently.
We Meet Customization Needs
When clients have unique design requirements for plastic components, extrusion prototyping enables us to transform ideas into physical prototypes quickly. A client needing a custom bracket for a specialized application can have a prototype within days.
We Support Small-Batch Production
For small batches, extrusion prototyping offers significant advantages. Low setup costs and quick turnaround make it cost-effective for quantities where traditional tooling would be uneconomical.
We Integrate with Other Methods
Extrusion prototyping is often the first step. We produce concept prototypes for form and fit testing. Once validated, we may move to CNC machining for functional testing or rapid tooling for higher volumes.
Conclusion
Extrusion prototyping is a versatile, accessible technology that accelerates product development. It turns digital designs into physical objects quickly and affordably. With a wide range of materials—from rigid PLA to flexible TPU—it supports applications across manufacturing, healthcare, architecture, and design.
While it has limitations in surface finish and absolute precision, its speed, cost-effectiveness, and accessibility make it an essential tool for early-stage prototyping, concept validation, and small-batch production.
Frequently Asked Questions
What types of materials are commonly used in extrusion prototyping?
Common materials include PLA (biodegradable, easy to print), ABS (strong, durable), TPU (flexible, rubber-like), PETG (strong, slightly flexible), and nylon (tough, wear-resistant). Material choice depends on the application—concept models, functional testing, or flexible parts.
How accurate is extrusion prototyping?
Typical accuracy ranges from ±0.1 mm to ±0.4 mm. Accuracy depends on printer quality, material properties, and print settings. For tighter tolerances, CNC machining may be more suitable.
Can extrusion prototyping be used for large-scale production?
Extrusion prototyping is best suited for prototyping and small-batch production. For high volumes (thousands of units), injection molding is faster and more cost-effective per part. However, extrusion prototyping remains valuable for low-volume, customized production where tooling costs would be prohibitive.
What is the difference between extrusion prototyping and SLA?
Extrusion prototyping (FDM) melts and extrudes plastic filament. It is low cost, accessible, and uses a wide range of materials. SLA uses a laser to cure liquid resin. It produces smoother surfaces and finer details but has higher material costs and limited material options.
How long does extrusion prototyping take?
Print time depends on part size, layer height, and infill density. A small part (fist-sized) may take 1–4 hours. A large part may take 24–48 hours. Multiple parts can be printed simultaneously if they fit on the build platform.
Contact Yigu Technology for Custom Manufacturing
Ready to use extrusion prototyping for your next project? Yigu Technology offers FDM printing services alongside CNC machining and rapid tooling. Our engineers help you select the right materials and processes based on your timeline and performance requirements. Contact us today to discuss your project.