Introduction
You have a product idea. You have a CAD file. Now you need something you can hold, test, and show to stakeholders. This is where rapid prototyping parts enter the picture. They turn digital designs into physical reality in days—not weeks or months. But not all rapid prototyping parts are the same. The technology, material, and process you choose directly affect what you can learn from the prototype. At Yigu Technology, we have produced thousands of rapid prototyping parts across industries. This guide walks you through what they are, how they are made, and how to choose the right approach for your project.
What Exactly Are Rapid Prototyping Parts?
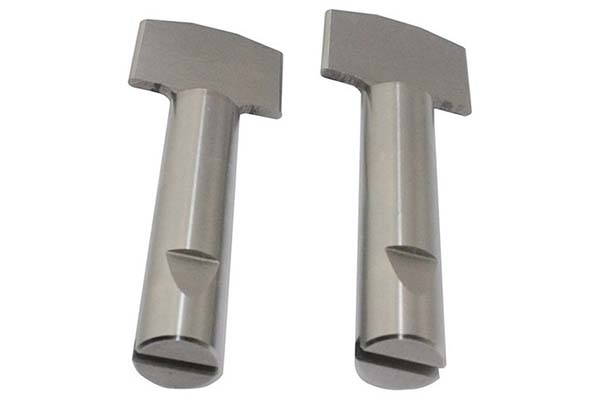
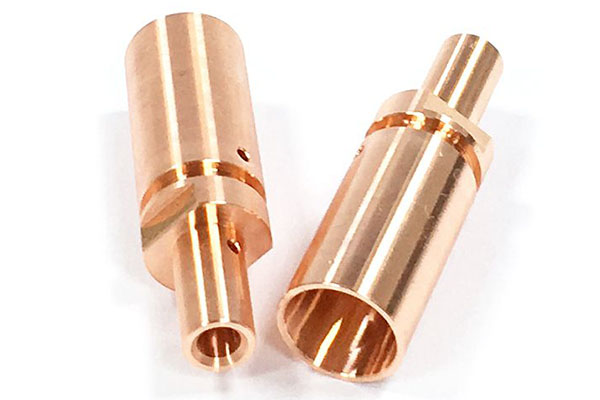
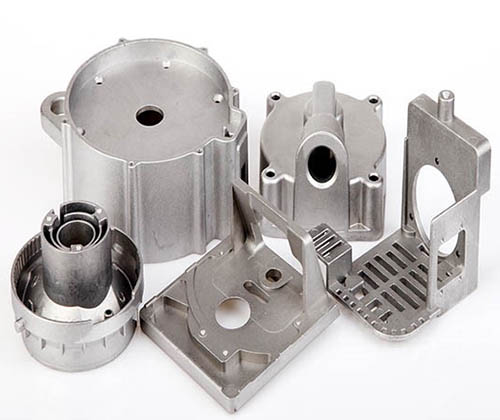
Rapid prototyping parts are physical models created directly from digital designs using additive manufacturing or other fast fabrication methods.
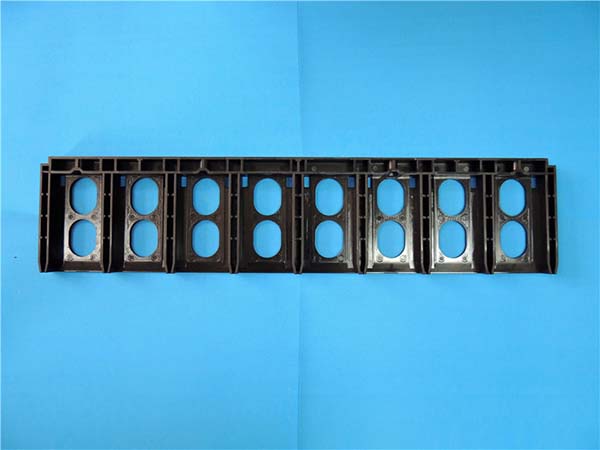
Unlike traditionally machined parts, these are built layer by layer. This approach allows for complex geometries that would be difficult or impossible to produce with conventional methods. For example, an aerospace component with internal cooling channels can be printed as a single piece. A traditional approach might require multiple parts welded together.
These parts serve one primary purpose: to help you learn. They answer questions about form, fit, function, and manufacturability before you commit to production tooling.
How Do They Work?
The process follows a consistent logic.
First, a 3D CAD model is created. That model is then sliced into thin horizontal layers by specialized software. The rapid prototyping machine reads these layers and builds the part one layer at a time.
Each technology uses a different method to form those layers. Some use lasers to cure liquid resin. Others extrude molten plastic. Still others fuse powder particles together. But the underlying principle remains the same: additive fabrication from a digital file.
What Are the Main Technologies?
Different technologies suit different needs. The table below compares the most common methods for producing rapid prototyping parts.
| Technology | How It Works | Best For | Key Limitation |
|---|---|---|---|
| SLA (Stereolithography) | Laser cures liquid resin layer by layer | High detail, smooth surfaces, jewelry, dental models | Limited material options, more brittle than production plastics |
| FDM (Fused Deposition Modeling) | Heated nozzle extrudes molten plastic filament | Low-cost concept models, basic fit testing | Visible layer lines, lower strength in some orientations |
| SLS (Selective Laser Sintering) | Laser fuses powder particles (nylon, metal, ceramic) | Functional parts, complex geometries, durable prototypes | Higher equipment cost, grainy surface finish |
| PolyJet | Jetted photopolymer cured by UV light | Multi-material prototypes, overmolding simulation | Higher material cost, limited mechanical strength |
A Closer Look at Each Technology
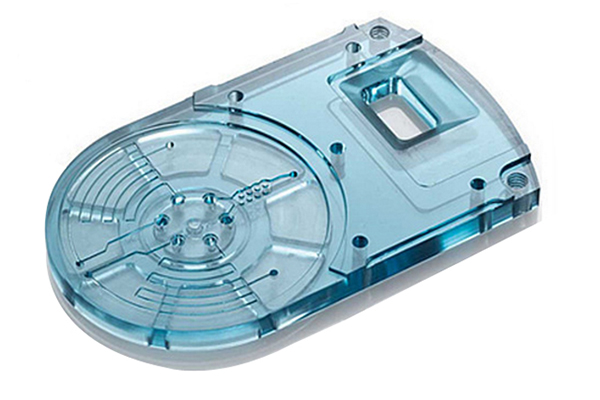
SLA is the choice when surface finish matters. A jewelry designer we worked with needed wax-like prototypes for investment casting. SLA delivered layer thicknesses as low as 0.05 mm, capturing fine details that FDM would miss. The parts required almost no post-processing before casting.
FDM is the workhorse for early-stage concept models. A consumer goods startup used FDM to test ergonomics for a new kitchen tool. They produced six design variations in one week. Each print cost under $20 in material. When they found the ideal shape, they moved to SLS for functional testing.
SLS excels at functional parts. Unlike FDM or SLA, SLS does not require support structures. The surrounding powder supports overhangs during printing. This allows for complex internal features like snap-fits, living hinges, and internal channels. An automotive supplier used SLS nylon to prototype a dashboard vent assembly. The parts survived 5,000 cycle tests—enough to validate the design before committing to injection molding tooling.
What Materials Are Available?
Material selection determines what you can learn from your prototype.
| Material Category | Examples | Properties | Typical Applications |
|---|---|---|---|
| Photocurable resins | Standard, tough, high-temp, flexible | High detail, smooth finish, varied mechanical properties | Visual models, casting patterns, dental appliances |
| Thermoplastics | PLA, ABS, PETG, nylon | Cost-effective, good strength, wide availability | Concept models, enclosures, mechanical parts |
| Engineering plastics | Glass-filled nylon, polycarbonate, PEEK | High strength, heat resistance, chemical resistance | Functional testing, aerospace, medical devices |
| Metals | Stainless steel, aluminum, titanium, Inconel | High strength, thermal conductivity, biocompatibility | End-use parts, high-stress components, implants |
A medical device company needed a prototype surgical guide. They selected biocompatible resin for SLA. This allowed them to test the guide in a simulated surgical environment. The material matched the production resin they planned to use, giving them accurate feedback on fit and sterilization compatibility.
Why Use Rapid Prototyping Parts?
Faster Development Cycles
Traditional prototyping methods often require tooling. A single injection mold can take 6 to 8 weeks to produce. Rapid prototyping parts can be in your hands in 1 to 5 days.
A robotics startup reduced their development cycle from nine months to four months by switching to rapid prototyping for all mechanical components. They completed 12 design iterations in the time previously needed for one.
Lower Risk
Finding a design flaw early is cheap. Finding it after tooling is expensive. A study by the National Institute of Standards and Technology found that design changes made during prototyping cost 10 times less than changes made during production.
Better Communication
A physical part communicates more clearly than a screen image. When a hardware startup presented a functional prototype to investors, they closed their funding round in three weeks. Previous attempts with renderings had failed to generate interest.
Design Freedom
Traditional manufacturing imposes constraints. Draft angles, wall thickness uniformity, and tool access all limit design. Rapid prototyping parts have fewer constraints. You can design for function first and worry about production later.
What Are the Accuracy and Tolerances?
Accuracy varies by technology and part geometry.
| Technology | Typical Layer Thickness | Dimensional Accuracy |
|---|---|---|
| SLA | 0.025 – 0.10 mm | ±0.1% – ±0.2% (min ±0.05 mm) |
| FDM | 0.1 – 0.4 mm | ±0.2% – ±0.5% (min ±0.1 mm) |
| SLS | 0.08 – 0.12 mm | ±0.1% – ±0.3% (min ±0.1 mm) |
| PolyJet | 0.016 – 0.032 mm | ±0.1% – ±0.2% |
In practice, these numbers depend on part size, geometry complexity, and how the part is oriented during printing. A 100 mm SLA part typically holds ±0.1 mm in well-controlled conditions. A large FDM part may vary more due to thermal contraction.
For a precision assembly project, we produced mating parts using SLS. The fit was acceptable for functional testing but slightly looser than the production target. This was valuable information—it told the client they needed to tighten tolerances for the final injection molding tool.
Can Rapid Prototyping Parts Be Used for Production?
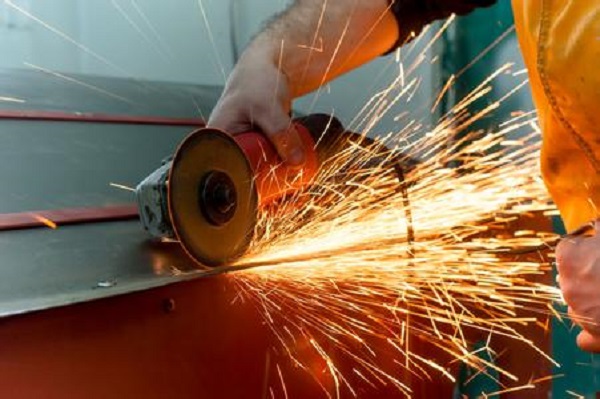
Not typically. Rapid prototyping is optimized for speed, not volume.
A single FDM part may take hours to print. A metal SLS part can take over 24 hours. Injection molding, by contrast, can produce thousands of parts per hour once the tool is built.
However, there are exceptions. SLS nylon parts are sometimes used for low-volume production (100 to 1,000 units) when the geometry is too complex for molding or when demand does not justify tooling costs. Direct metal laser sintering (DMLS) is used for production of high-value parts in aerospace and medical industries, where part count is low but complexity is high.
How Do You Choose the Right Approach?
Selecting the right technology and material requires answering three questions.
- What do you need to learn?
- Form only? → FDM or SLA visual models
- Function and strength? → SLS or CNC
- Production-like properties? → Match material to final spec
- How many parts do you need?
- 1 to 10 → Any rapid prototyping method works
- 10 to 100 → SLS or CNC may be more cost-effective per part
- 100+ → Consider if you are ready for production tooling
- What is your timeline?
- 1 to 3 days → FDM or SLA with expedited service
- 5 to 10 days → SLS or CNC with standard lead time
A medical startup needed five functional prototypes for FDA testing. They chose SLS nylon because it offered strength similar to the production material and did not require support structures for the complex internal geometry. The parts were delivered in seven days and passed all initial tests.
What Are Common Mistakes to Avoid?
| Mistake | Consequence | Better Approach |
|---|---|---|
| Choosing technology based on cost alone | Parts don't meet testing requirements | Match technology to learning objectives |
| Using prototype materials for final validation | Test results don't reflect production reality | Validate with production-equivalent materials |
| Ignoring orientation effects | Parts fail in unexpected directions | Discuss build orientation with your prototyping partner |
| Not planning for post-processing | Parts arrive with support marks or rough surfaces | Specify finish requirements upfront |
Conclusion
Rapid prototyping parts are more than just physical models. They are learning tools. They compress development timelines, reduce risk, and enable design freedom that traditional manufacturing cannot match. But they are not a single solution. SLA, FDM, SLS, and other technologies each serve different purposes. Materials range from simple PLA to aerospace-grade metals.
The key is to start with clear learning objectives. Ask yourself what you need to know before you build. Then choose the technology and material that will give you that information. When used correctly, rapid prototyping parts do not just speed up development—they improve the final product.
Frequently Asked Questions
What is the difference between rapid prototyping and 3D printing?
Rapid prototyping is the use of 3D printing and other additive processes to create models for testing and validation. 3D printing is the broader technology that also includes production of end-use parts. In practice, the terms are often used interchangeably for prototyping applications.
How much do rapid prototyping parts cost?
Cost depends on technology, material, part size, and complexity. A small FDM part may cost $10 to $50. A complex SLS or metal part can range from $200 to $2,000. At Yigu Technology, we provide detailed quotes based on your specific design files.
How accurate are rapid prototyping parts?
Accuracy varies by technology. SLA and SLS typically achieve ±0.1 mm for moderate-sized parts. FDM is slightly less precise, typically ±0.2 mm. Your design should account for these tolerances, especially if parts will be assembled.
What file format do I need to provide?
STEP files are preferred because they contain solid geometry data and allow for easier adjustment. STL files are also acceptable but do not capture units or assembly relationships.
Can I get a prototype that looks like the final product?
Yes. Many rapid prototyping parts can be sanded, painted, and finished to closely resemble production parts. SLA parts have the smoothest surface finish for visual models. For functional testing, SLS nylon or CNC-machined parts provide properties closer to production materials.
Contact Yigu Technology for Custom Manufacturing
At Yigu Technology, we specialize in producing high-quality rapid prototyping parts across SLA, FDM, and SLS technologies. Our engineering team helps you select the right material and method for your specific testing needs. Whether you need a single concept model or a batch of functional prototypes, we deliver precision parts with fast lead times.
We serve startups, medical device firms, automotive suppliers, and aerospace companies. Contact us to discuss your project. Let us help you turn your digital designs into physical reality.