Introduction
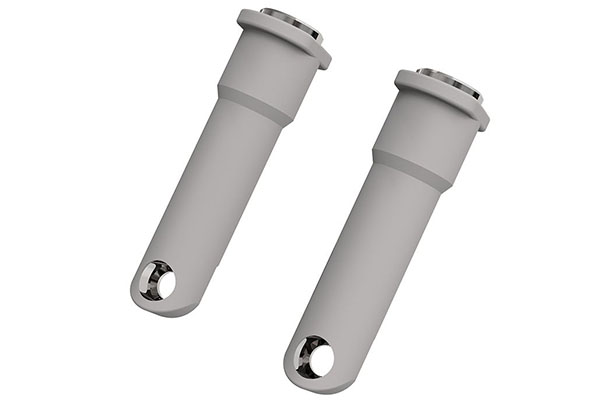
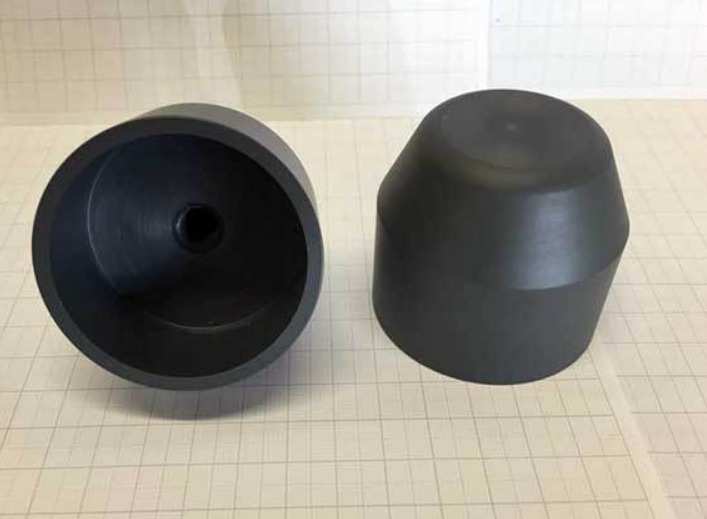
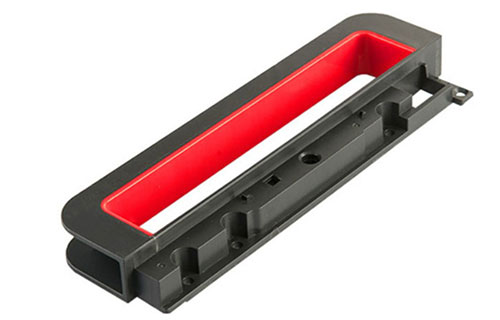
Have you ever wondered how those perfectly round O-rings, soft silicone kitchen utensils, or durable automotive seals are made? The answer is rubber injection molding.
This manufacturing process transforms raw rubber into precise, high-performance parts used across countless industries. Unlike older methods that waste material and struggle with complex shapes, rubber injection delivers consistent quality, tight tolerances, and faster production cycles.
At Yigu Technology, we’ve produced rubber components for everything from medical devices to industrial machinery. In this guide, we’ll walk you through how the process works, what materials to use, how it compares to other methods, and what it takes to get great results.
How Does Rubber Injection Work?
The process turns raw rubber into finished parts through five carefully controlled stages.
Step 1: Material Preparation
Raw rubber—usually in strip, pellet, or sheet form—is loaded into the machine’s hopper. Vulcanizing agents (which harden the rubber) and colorants are already mixed in. For example, a heat-resistant gasket for a car engine might use EPDM rubber with a sulfur-based vulcanizing agent.
Step 2: Melting (Plastication)
The rubber moves from the hopper into a heated barrel. A rotating screw generates heat and pressure, melting the rubber into a fluid “compound.” Barrel temperatures typically range from 120°C to 180°C (248°F to 356°F) , depending on the rubber type. Too hot, and the rubber burns. Too cold, and it won’t flow.
Step 3: Injection
The screw pushes the molten rubber through a nozzle and into a closed mold cavity. Injection pressure ranges from 10 to 100 MPa (1,450 to 14,500 psi) —enough to fill even the smallest grooves and details. This pressure ensures the rubber reaches every corner of the mold before curing begins.
Step 4: Curing (Vulcanization)
The mold stays closed at a constant temperature—often 150°C to 200°C (302°F to 392°F) —for a set “dwell time.” During this stage, the vulcanizing agents trigger a chemical reaction called cross-linking. The rubber molecules bond together, transforming the soft compound into a durable, solid part.
Dwell time varies by part size. A small O-ring might cure in 30 seconds. A large industrial seal could take 5 minutes or more.
Step 5: Demolding and Post-Processing
The mold opens, and the finished part is ejected. Some parts need minor trimming to remove flash—thin excess rubber that forms along mold parting lines. Others may require surface finishing or inspection before shipment.
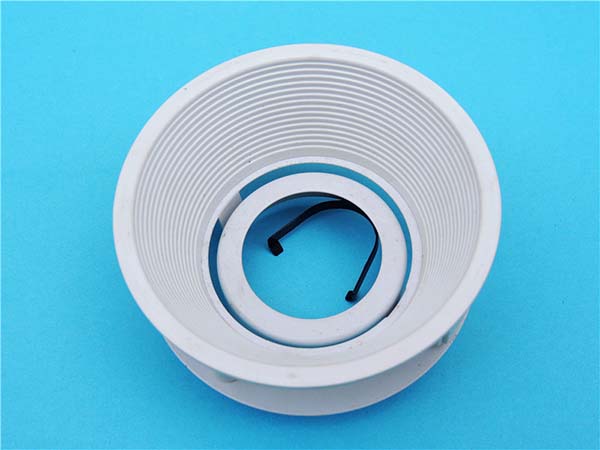
Real-world example: A medical device manufacturer uses rubber injection to produce silicone syringe plungers. The precision of the process ensures every plunger has exactly the same diameter. This consistency is critical—any variation could cause leaks or incorrect drug dosing.
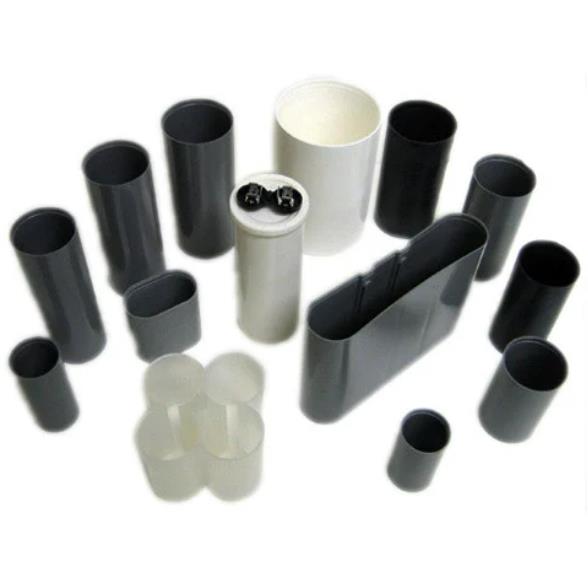
What Rubber Types Work Best?
Not all rubbers are suitable for injection molding. The material must flow well when heated and cure reliably in the mold.
| Rubber Type | Key Properties | Common Applications | Why It Works |
|---|---|---|---|
| Silicone | Heat-resistant (-60°C to 230°C), flexible, non-toxic | Medical implants, kitchen utensils, gaskets | Flows easily; cures quickly at mold temperature |
| EPDM | Weather-resistant, ozone-proof, low cost | Automotive door seals, roofing gaskets | Maintains flexibility; good flow properties |
| Nitrile (NBR) | Oil-resistant, durable, high tensile strength | Fuel hoses, industrial O-rings, gloves | Bonds well; holds shape under pressure |
| Neoprene (CR) | Chemical-resistant, flame-retardant | Wetsuits, electrical insulation, pump parts | Stable at high injection temperatures; low shrinkage |
| Butyl | Air-tight, vibration-dampening | Tire inner tubes, medical stoppers | High flow rate; minimal waste |
Pro Tip: Match the rubber to the application. A fuel line needs nitrile—silicone would break down in oil. One manufacturer learned this the hard way when they used EPDM for an oil filter seal. The seals leaked within weeks, costing thousands in delays and retooling.
How Does Rubber Injection Compare to Other Methods?
If you’re deciding between rubber injection and alternatives like compression or transfer molding, here’s how they stack up.
Rubber Injection vs. Compression Molding
Compression molding uses pre-cut rubber “charges” pressed into an open mold with heat and pressure. It’s older, simpler, and cheaper for small runs.
| Factor | Rubber Injection | Compression Molding |
|---|---|---|
| Consistency | Tighter tolerances (±0.02mm) | Looser tolerances (±0.1mm) |
| Waste | 5–10% (mostly flash) | Up to 20% (unused charges) |
| Cycle Speed | Faster—up to 50% shorter cycles | Slower |
| Upfront Cost | Higher (complex molds) | Lower (simpler molds) |
| Per-Unit Cost | Lower for runs above 1,000–5,000 parts | Lower for small runs |
Case study: An automotive supplier switched from compression to injection for door seals. Production time dropped by 35% , and they saved $20,000 annually on material waste.
Rubber Injection vs. Transfer Molding
Transfer molding is a middle ground. Rubber is melted in a “pot” and pushed into the mold with a plunger—not a screw. It handles complex parts better than compression but lags behind injection.
| Factor | Rubber Injection | Transfer Molding |
|---|---|---|
| Complexity | Handles more detailed molds (undercuts, tiny holes) | Good but limited |
| Cycle Time | 15–30% faster | Slower |
| Maintenance | Simpler molds, easier upkeep | More moving parts (pots, plungers) require frequent cleaning |
Bottom line: For high volume, precision, or complex parts, injection is the best choice. Compression works for small runs of simple parts. Transfer molding is rarely used today except for legacy projects.
What Factors Determine Success?
Even with the right process and materials, mistakes happen. Here’s what to watch.
Temperature Control
Both the barrel (where rubber melts) and the mold (where it cures) need precise temperature control.
- Barrel too hot: Rubber burns or degrades
- Barrel too cold: Rubber won’t flow properly
- Mold uneven: Part cures unevenly, causing warpage
For silicone, the ideal barrel temperature is around 160°C. At 180°C, the silicone may turn brittle, leading to cracked parts. Modern machines use digital thermostats with ±1°C accuracy to maintain consistency.
Pressure Settings
Injection pressure (how hard the screw pushes) and hold pressure (maintained during filling) are critical.
- Too much pressure: Damages mold or creates flash
- Too little pressure: Mold doesn’t fill completely
Rule of thumb:
- Small parts (O-rings): 30–50 MPa
- Large parts (industrial seals): 70–100 MPa
Always test with sample parts first. Adjust pressure based on actual fill results.
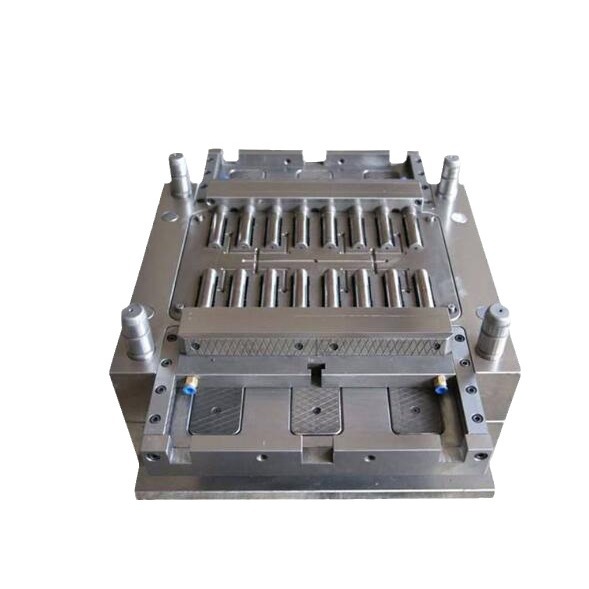
Mold Design
A well-designed mold is the foundation of good parts.
| Feature | Purpose |
|---|---|
| Vents | Allow air to escape. Without vents, trapped air creates bubbles or weak spots. |
| Gate | Controls where rubber enters. Poor placement leaves marks or causes uneven filling. |
| Cooling channels | Circulate water to ensure even curing. Uneven cooling causes warped parts. |
Real-world example: A client brought us warped silicone gaskets. The mold had no cooling channels—one side was 10°C hotter than the other. Adding cooling channels fixed the problem.
Material Quality
Low-quality or contaminated rubber ruins parts. Always source from reputable suppliers and check:
- Consistency: The rubber should have uniform texture and density. Lumps indicate improper storage.
- Expiration dates: Vulcanizing agents expire. Old rubber won’t cure properly, resulting in soft, sticky parts.
What Are the Latest Industry Trends?
Rubber injection is evolving. New technologies and sustainability pressures are reshaping the field.
Market Growth
The global rubber injection molding market is growing steadily. According to industry reports, the market is projected to grow at a compound annual growth rate (CAGR) of 5.2% through 2030. Growth is driven by demand from automotive, medical, and electronics sectors—all of which require precision rubber parts.
Sustainability Trends
Manufacturers are adopting greener practices:
- Recycled rubber: Mixed with virgin material, recycled rubber is 20–30% cheaper and reduces waste
- Energy-efficient machines: New models use 15–20% less energy than machines from a decade ago
- Water-based coolants: Replace chemical coolants with non-toxic, easier-to-dispose alternatives
Automation and AI
Automation is transforming rubber injection:
- Robotic demolding: Robots remove parts 24/7, cutting labor costs and human error. Automated lines produce 30% fewer defective parts than manual lines.
- AI monitoring: Machine learning algorithms track temperature, pressure, and cycle time in real time. If parameters drift, the system alerts operators—or adjusts automatically. An AI system might detect a rising barrel temperature and correct it before the rubber burns.
How Does Yigu Technology Approach Rubber Injection?
At Yigu Technology, we see rubber injection as more than a manufacturing process—it’s a tool for creating reliable, innovative products.
We’ve worked with clients across automotive, medical, and electronics to optimize their rubber injection workflows. Our approach combines:
- Precision: We use advanced mold design software and AI monitoring to hold tolerances as tight as ±0.01mm.
- Sustainability: We incorporate recycled rubber compounds and energy-saving machine retrofits where possible.
- Hands-on support: From material selection to mold design to production optimization, we help clients get it right.
For businesses considering rubber injection, our advice is simple: Start small. Test your design with a few sample parts. Adjust parameters like temperature and pressure. Partner with a supplier who understands your end use. Rubber injection has a learning curve, but the long-term benefits—faster production, less waste, better parts—are worth it.
Conclusion
Rubber injection molding delivers precision, consistency, and efficiency that older methods can’t match. It produces complex shapes with tight tolerances, minimizes waste, and scales efficiently from medium to high volumes.
Success depends on getting the fundamentals right: material selection, temperature control, pressure settings, and mold design. A good manufacturing partner helps you navigate these variables and avoid costly mistakes.
Whether you’re making O-rings, medical components, or automotive seals, rubber injection offers a proven path to high-quality parts at predictable cost.
FAQ
How much does a rubber injection machine cost?
Entry-level machines for small parts like O-rings cost (50,000 to )100,000. Industrial machines for large parts like automotive seals range from (200,000 to )500,000. Used machines are 30–50% cheaper but may require more maintenance. The total investment also includes mold tooling, which can add (5,000 to )50,000 or more depending on complexity.
Can rubber injection make parts with complex shapes?
Yes. Rubber injection excels at complex geometries, including undercuts (features that protrude inward), tiny holes, and multi-material combinations. The key is a well-designed mold with proper vents, gates, and cooling channels. Complex parts may require longer setup time and higher mold costs, but the process can replicate intricate details reliably.
How long does it take to set up a rubber injection project?
Setup time depends on mold complexity. For a simple mold like a basic O-ring, setup takes 1–2 days. For a complex mold—say, a medical device component with tight tolerances—setup can take 1–2 weeks, including material testing and sample runs. Factor in mold manufacturing lead time, which typically adds 4–8 weeks for steel molds.
Is rubber injection suitable for small production runs?
It depends on volume. For runs under 1,000 parts, compression molding is often cheaper due to lower mold costs. For runs of 1,000 to 5,000 parts, injection becomes competitive. Above 5,000 parts, injection typically delivers lower per-unit cost because of faster cycles and less material waste. Always run a cost comparison for your specific part and volume.
What are the most common defects in rubber injection, and how to fix them?
| Defect | Cause | Fix |
|---|---|---|
| Air bubbles | Poor venting | Add more vents to the mold |
| Flash (excess rubber) | Too much pressure; worn mold seals | Reduce injection pressure; replace seals |
| Warped parts | Uneven cooling | Add cooling channels; balance mold temperature |
| Brittle parts | Overheating | Lower barrel temperature; reduce curing time |
Contact Yigu Technology for Custom Manufacturing
Ready to bring your rubber components to life? At Yigu Technology, we specialize in custom rubber injection molding for clients across medical, automotive, electronics, and industrial sectors.
Our team offers end-to-end support: material selection, mold design, process optimization, and production. We combine decades of experience with modern equipment to deliver parts that meet your specifications—on time and on budget.
Contact us today to discuss your project. Let’s build something reliable together.