You have heard the promise: parts as strong as metal, but as light as plastic. But getting there with a 3D printer is tricky. One wrong setting, and your print fails. Fibers don't align right. Weak spots appear. The part warps or cracks. This guide cuts through the noise. We explain how 3D printing composites actually works, how to get the strength you need, and where this tech truly shines.
What Makes a Composite So Strong?
To print a strong part, you first need to understand what is inside the filament. A composite is simply a mix of two things: a base material and a reinforcement. The base, or matrix, holds everything together. The reinforcement adds the muscle.
What are the key ingredients?
- The Matrix (The Glue): This is usually a plastic. Nylon is a common choice because it is tough and flexible. Other options include polycarbonate for heat resistance or PLA for easy printing. The matrix gives the part its shape and protects the fibers.
- The Reinforcement (The Muscle): These are tiny fibers added to the plastic.
- Carbon Fiber: This is the top performer. It is incredibly stiff and light. It is what you use when every gram counts.
- Glass Fiber: This is the workhorse. It is cheaper than carbon fiber but still adds significant strength and stiffness.
- Kevlar: This is for toughness. It resists impact and abrasion, making parts almost unbreakable.
Think of it like concrete. The cement is the matrix, and the gravel is the reinforcement. Alone, cement is brittle. Mixed with gravel, it becomes strong and durable. In composite 3D printing, getting this mix right is everything.
How Does Fiber Orientation Change Everything?
You cannot just dump fibers in and hope for the best. How they point matters more than how many there are.
- Unidirectional: All fibers run the same way. This makes the part extremely strong in that one direction, but weak if you bend it the other way. Think of a wooden plank—it is strong along the grain, but splits easily across it.
- Random Orientation: Fibers point in all directions. This gives you balanced strength everywhere, but it is never as strong as unidirectional fibers in their specific direction.
- Continuous vs. Short Fibers:
- Short fibers (less than 1mm long) are mixed into standard filaments. They boost strength a bit, like adding straw to bricks.
- Continuous fibers run the entire length of a part. This is the real game-changer. A part printed with continuous carbon fiber can be as strong as aluminum.
Key Insight: In your slicer software, you can often control the path of the fibers. For a bracket that holds a heavy load, you tell the printer to lay fibers along the lines of stress. This is how you move from a pretty model to a functional, load-bearing part.
What 3D Printing Techniques Work Best?
Not all printers are built the same. To print composites well, you need a machine and a method that can handle the tough, abrasive fibers.
FFF and CFF: The Most Common Approach
- Fused Filament Fabrication (FFF) is the standard 3D printing process. For composites, you use a nozzle hardened against wear (like hardened steel) to print a filament filled with short fibers. It is a simple upgrade for better parts.
- Continuous Fiber Fabrication (CFF) is a step up. These printers have two nozzles. One prints the plastic matrix, just like FFF. The second nozzle lays down a separate strand of continuous fiber (carbon, glass, or Kevlar) inside the part at critical points. This creates parts with a strength-to-weight ratio that rivals metal. For example, a printed wrench using CFF can actually turn a bolt without snapping.
SLS and Material Jetting: High Precision Routes
- Selective Laser Sintering (SLS) uses a laser to fuse composite powders (like nylon mixed with glass beads). It is excellent for complex geometries and gives a smooth surface finish. You do not need supports, which saves material and post-processing time.
- Material Jetting works like a 2D inkjet printer. It sprays tiny droplets of a photocurable resin mixed with particles. It offers incredible detail, but is typically for smaller, high-resolution parts.
The choice comes down to your goal. For tough, large, structural parts, CFF is often the winner. For detailed, complex assemblies with good all-around strength, SLS is a strong contender.
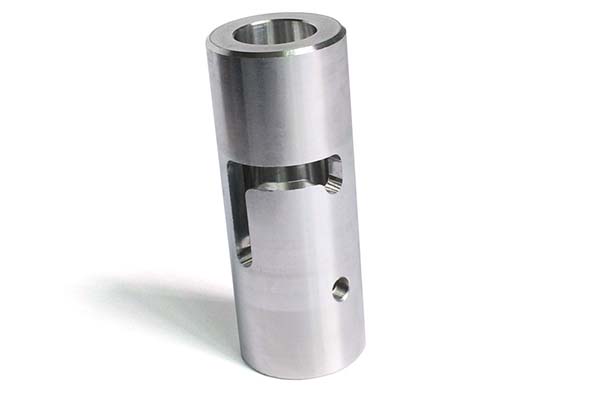
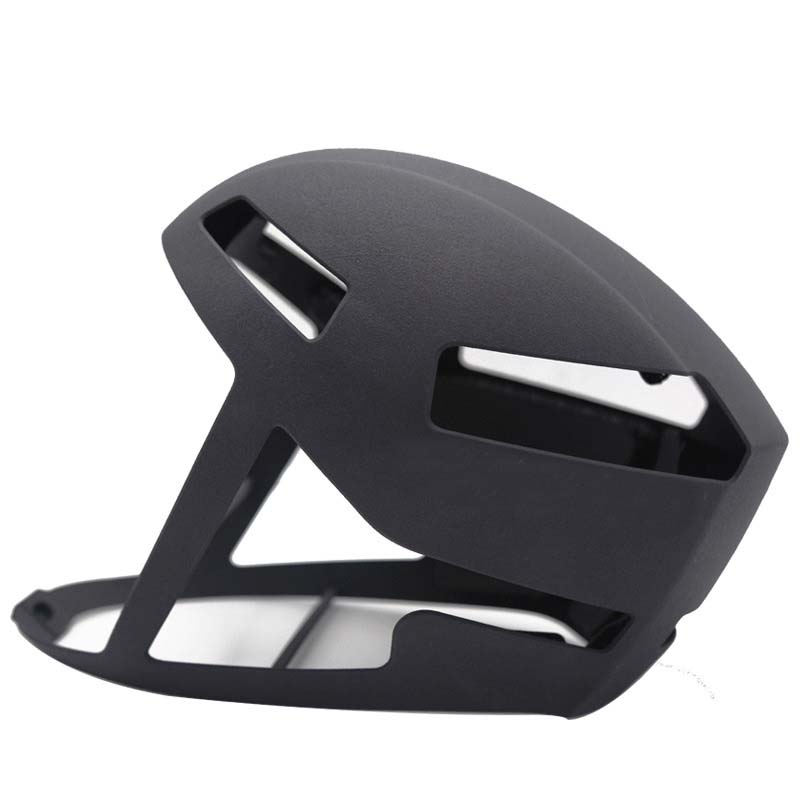
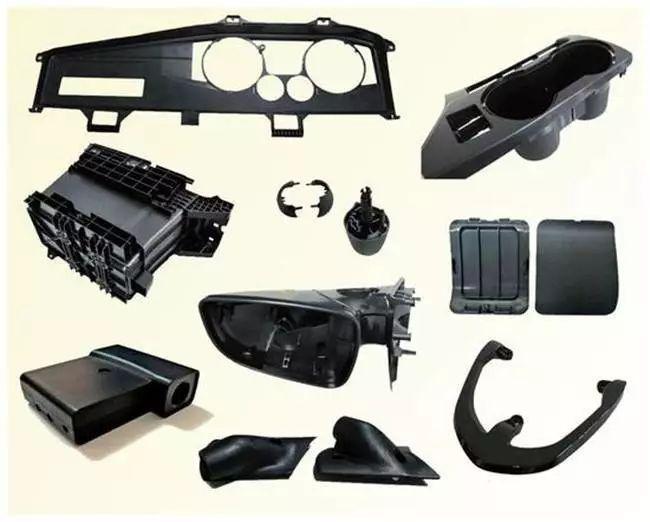
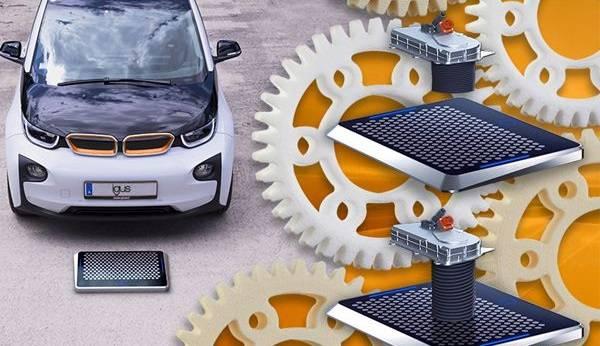
Where Do 3D Printed Composites Excel?
This is not a solution for every problem. But for specific needs, it is unbeatable.
| Application Area | Examples | Why Composites? |
|---|---|---|
| Aerospace & Automotive | Drone frames, wing brackets, interior car mounts, custom engine covers. | They offer a 30-50% weight reduction compared to aluminum while maintaining stiffness. This saves fuel and allows for faster flight or acceleration. |
| Industrial Tooling | Jigs, fixtures, robotic gripper arms, end-of-arm tooling. | You can create custom, lightweight tools that fit your exact production line. Glass fiber composites offer the perfect balance of strength and cost here. |
| Sports & Consumer Goods | Custom bicycle parts, lightweight camera rigs, durable phone cases, high-end luggage components. | They allow for personalized design that is not possible with off-the-shelf carbon fiber. You get professional-level performance tailored to your body or gear. |
| Medical & Prosthetics | Custom prosthetic sockets, lightweight orthotic braces, surgical guides. | They match the strength needed for support while being comfortable to wear. The ability to customize the fit for a single patient is a massive advantage. |
How Do You Maximize Strength and Finish?
Getting a strong print is a process. Here is how we ensure success at Yigu Technology.
- Choose the Right Fiber: For ultimate stiffness, pick carbon fiber. For impact resistance where cost matters, go with glass fiber. For parts that need to absorb shock, like protective guards, Kevlar is your best bet.
- Optimize Your Settings: Use a hardened nozzle to prevent wear. Slow down your print speed a bit—going too fast can break short fibers or misalign continuous ones. Set your infill to 100% for structural parts.
- Align for Stress: Use your slicer to define fiber paths. Imagine the forces your part will face. Lay fibers right along those force lines. This anisotropic property is a feature. Use it wisely.
- Consider Post-Processing: As-printed parts can have a slightly rough surface from the fibers. Light sanding, or applying a thin epoxy coating, can smooth the finish, protect the fibers from moisture, and improve the bond between layers.
Conclusion
3D printing composites is a powerful tool, but it demands respect for the materials. It is not just about hitting "print." It is about understanding how fibers and matrices work together, how to align them with stress, and which technique—be it CFF or SLS—fits the job. When done right, the result is a part that is light, incredibly strong, and perfectly customized. You move beyond plastic toys and into the realm of high-performance engineering.
Frequently Asked Questions
Why are my 3D printed composites weaker than expected?
This usually comes down to two issues: poor fiber orientation or bad layer bonding. First, check your slicer settings. Make sure the infill pattern aligns with the direction of the stress the part will face. Second, verify your print temperature. If the nozzle is not hot enough, the plastic matrix won't flow and bond properly, creating weak spots between layers regardless of the fibers.
How do 3D printed composites compare to traditionally made composites?
3D printed composites, especially with continuous fiber, offer a strength-to-weight ratio that can reach 80-90% of pre-preg molded composites. The trade-off? 3D printing is slower and better for low-volume, complex, or customized parts. Traditional methods are faster for making hundreds of identical, simple shapes. The real win with 3D printing is the design freedom—you can create internal geometries impossible with a mold.
Can 3D printed composites be used for load-bearing applications?
Absolutely, but you must design for it. Use a technique like Continuous Fiber Fabrication (CFF) to place strands of carbon fiber exactly where the load is highest. For example, we have printed functional suspension components for test vehicles and robotic arms that lift heavy payloads. The key is to validate the design with finite element analysis (FEA) to ensure the fiber paths are correct before you print.
Contact Yigu Technology for Custom Manufacturing
At Yigu technology, we bridge the gap between complex digital designs and real-world, high-performance parts. As experienced product engineers, we do not just run printers. We analyze your stress requirements, select the optimal fiber and matrix combination, and use advanced techniques like CFF and SLS to build parts you can trust. Whether you need a single, critical prototype for aerospace testing or a small batch of custom industrial tools, we are here to help. Contact Yigu technology today to discuss your project. Let's engineer a solution that is both light and incredibly strong.