Discover how 3D prototype printing works, its applications across automotive, medical, and product design, and how it can slash development time and costs for your projects.
Introduction
3D prototype printing has changed how products come to life. Instead of waiting weeks for machined parts or expensive molds, you can now hold a physical model in your hands within days—sometimes hours. Engineers test fit and function earlier. Designers iterate faster. Startups launch products that would have been impossible affordably.
But here's what confuses many people: prototype printing isn't one single process. Different technologies suit different needs. Some prioritize speed. Others focus on detail, material properties, or size. Choosing wrong means wasted time and money.
This guide walks through everything you need to know: how the technology works, where it delivers real value, what limits still exist, and practical steps to integrate 3D prototyping into your development workflow. Whether you're an experienced engineer or just exploring options, you'll leave knowing exactly how to approach your next project.
How Does 3D Prototype Printing Actually Work?
What's the Basic Process?
Every 3D print starts the same way: with a digital model. You create this using CAD software (SolidWorks, Fusion 360, Rhino) or capture it through 3D scanning of an existing object. This virtual design contains every dimension, curve, and feature your final part needs.
Here's where it differs from traditional methods:
| Manufacturing Method | Process | Material Utilization | Design Change Cost |
|---|---|---|---|
| Subtractive (CNC milling) | Cut away from solid block | 10-50% used, rest wasted | High—reprogramming + new stock |
| Formative (Injection molding) | Shape with molds/tooling | High once tooling made | Very high—new molds required |
| Additive (3D printing) | Build layer by layer | 90-98% used | Low—just update the file |
The additive approach means you only use material where the part exists. No wasted stock. And design changes? Update the file and print again.
How Does Layer-by-Layer Building Work?
The magic happens in slicing. Specialized software takes your 3D model and cuts it into hundreds or thousands of thin horizontal layers—think of it like a CT scan in reverse. Each layer becomes a 2D instruction set for the printer.
The printer then follows these instructions, building the part one layer at a time. But how it builds depends on the technology:
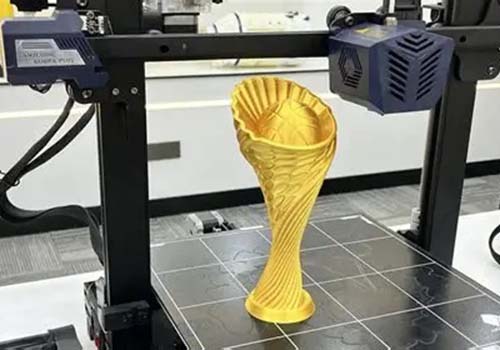
For plastic parts (FDM): A thermoplastic filament (like ABS or PLA) feeds into a heated nozzle. The nozzle melts the plastic and deposits it precisely on the build platform. Each layer bonds to the one below as it cools. It's like a computer-controlled hot glue gun.
For detailed parts (SLA/DLP): A UV laser or projector cures liquid photopolymer resin layer by layer. The resin hardens exactly where the light hits, creating incredibly smooth surfaces and fine details.
For metal parts (SLM/DMLS): A laser or electron beam melts metal powder particles together. The process happens in a sealed chamber with inert gas to prevent oxidation. Each layer fuses into solid metal.
What Materials Can You Actually Print?
The material list grows constantly. Here's what's commonly available:
Plastics:
- PLA: Easy to print, biodegradable, great for concept models
- ABS: Stronger, heat-resistant, needs heated bed
- PETG: Strong, slightly flexible, chemical resistant
- Nylon: Very strong, wear-resistant, for functional parts
- TPU: Rubber-like flexibility for gaskets, grips
Resins:
- Standard: High detail, smooth finish
- Tough/ABS-like: Impact resistant, functional testing
- Flexible: Rubber-like properties
- High-temp: Withstands heat up to 200°C+
- Castable: Burns clean for jewelry investment casting
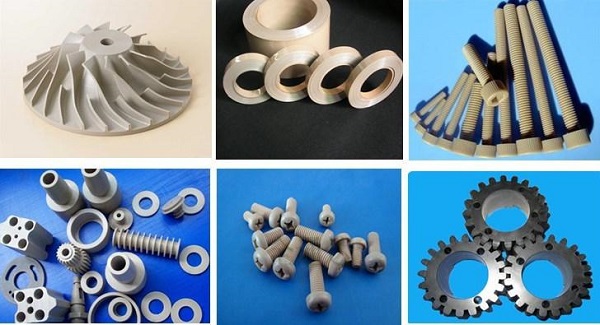
Metals:
- Stainless steel: 316L, 17-4PH for corrosion resistance
- Titanium: Ti6Al4V for high strength-to-weight
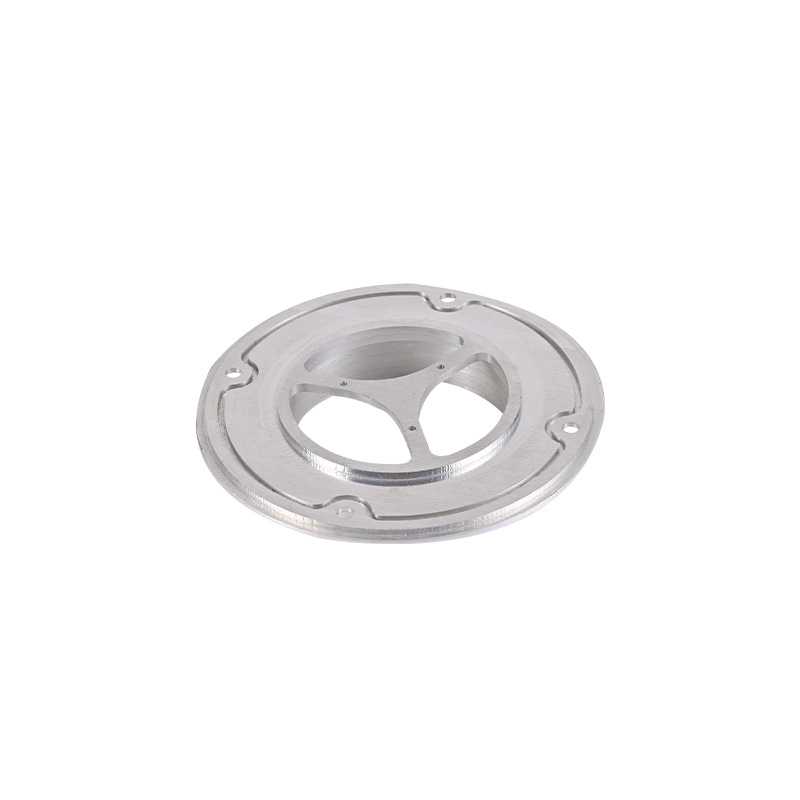
- Aluminum: AlSi10Mg for lightweight parts
- Inconel: For high-temperature applications
- Cobalt-chrome: For medical implants
Advanced materials:
- Carbon fiber composites (in nylon or other base)
- Ceramics for high-temperature or electrical insulation
- Wood-filled filaments for aesthetic prototypes
- Conductive filaments for embedded electronics
A client recently needed a heat-resistant prototype for an under-hood automotive component. Standard ABS would melt. We printed in high-temp resin, tested at 150°C, and validated the design in days instead of weeks waiting for machined aluminum.
Where Does 3D Prototype Printing Deliver Value?
How Is Automotive Using Prototype Printing?
Automotive prototyping has transformed with 3D printing. Major manufacturers like Ford, BMW, and Volkswagen now integrate printing into daily development work.
Here's a real example: Ford developing a new engine intake manifold. Traditional approach:
- Design in CAD: 2 weeks
- Create casting patterns: 6 weeks
- Cast first samples: 4 weeks
- Machine critical surfaces: 2 weeks
- Test, find issues, restart: 14+ weeks total
With 3D printing:
- Design in CAD: 2 weeks
- Print functional prototype: 3 days
- Test, modify design: 1 week
- Print second iteration: 3 days
- Validate, approve design: 4 weeks total
That's 70% time savings. Ford reports R&D cost reductions up to 50% on some components using metal 3D printing for prototypes.
Beyond time, 3D printing catches design flaws early. An automotive supplier we work with printed a brake caliper prototype that revealed clearance issues with the wheel spokes—issues their CAD model hadn't shown. Fixing it in digital cost nothing. Finding it after tooling would cost $50,000+.
What's Happening in Medical Prototyping?
Medical prototyping saves lives—literally. Custom implants, surgical guides, and anatomical models all benefit from 3D printing's ability to match patient anatomy.
Consider hip replacement surgery. Traditional implants come in standard sizes: small, medium, large. But every patient's bone structure differs. A "large" implant might contact bone in some areas while leaving gaps elsewhere. Those gaps mean loosening over time, pain, and revision surgery.
Now imagine this process:
- Surgeon orders CT scan of patient's hip
- Engineers convert scan to 3D model
- Custom implant designed to match exactly
- 3D printed in titanium or cobalt-chrome
- Surgery performed with perfect-fit implant
A study at a major hospital found patients receiving 3D-printed custom implants recovered 30% faster than those with standard implants. Fewer complications. Better outcomes. And the cost? Comparable to premium standard implants when you factor in reduced revision rates.
Surgical guides represent another huge win. For complex procedures, surgeons now print custom guides that fit precisely on a patient's anatomy, showing exactly where to cut. A pediatric surgeon we work with printed a guide for reconstructing a child's deformed skull. The guide made a 6-hour surgery safer and more predictable.
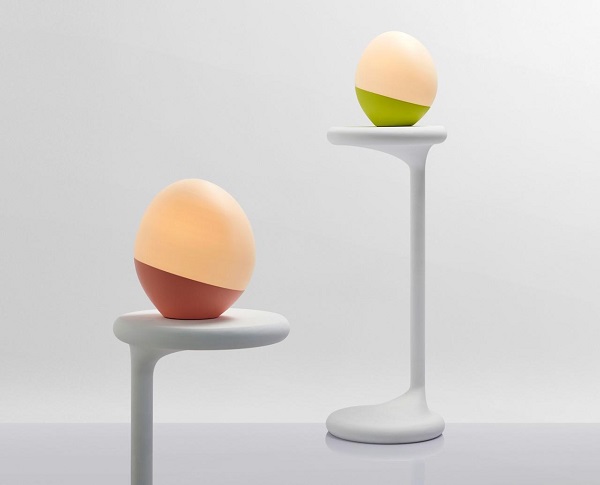
How Do Product Designers Use 3D Printing?
For product designers, 3D printing bridges the gap between concept and reality. A design on screen always looks perfect. In your hand? That's where problems appear.
A consumer electronics company designing a new smartphone case used to:
- Sketch concepts: 1 week
- Create 2D drawings: 1 week
- Send to model maker: 2-3 weeks
- Receive prototype: expensive, hard to modify
- Discover ergonomic issues: too late to easily change
Now they:
- Design in 3D CAD: 1 week
- Print prototype overnight: 12 hours
- Hold it, test fit, get feedback: 1 day
- Modify design: 1 day
- Print again: next day
That's 3 days from concept to refined prototype versus 4-5 weeks. They test with real users earlier. They iterate based on actual feedback. The final product fits better, feels right, and sells more.
Startups benefit even more. Without 3D printing, a hardware startup might need $50,000+ for tooling before selling a single unit. With prototyping, they validate design, show investors physical samples, and even sell small batches of printed products to fund tooling. We've seen startups go from idea to Kickstarter campaign with nothing but CAD skills and access to printing services.
What Technologies Should You Choose?
FDM: Fast and Functional
Fused Deposition Modeling (FDM) uses plastic filament melted through a nozzle. Best for:
- Large prototypes (up to 1 meter+)
- Functional testing where material matters
- Low-cost iteration
- Parts needing specific plastics (ABS, nylon, PC)
Pros: Low cost, wide material choice, large sizes
Cons: Visible layer lines, weaker between layers, less detail
SLA/DLP: Detailed and Smooth
Stereolithography (SLA) and Digital Light Processing (DLP) use UV light to cure liquid resin. Best for:
- High-detail models (jewelry, miniatures)
- Smooth surface finishes
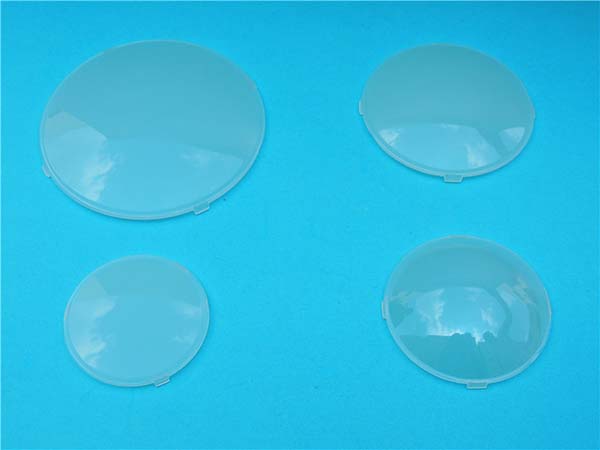
- Clear or transparent parts
- Investment casting patterns
Pros: Exceptional detail, smooth surfaces, wide resin options
Cons: Smaller build sizes, resin handling required, less durable
SLS/MJF: Strong and Complex
Selective Laser Sintering (SLS) and Multi Jet Fusion (MJF) fuse powder particles. Best for:
- Functional prototypes needing strength
- Complex geometries without supports
- Small production runs (10-1000 parts)
- Living hinges and snap-fits
Pros: No supports needed, strong parts, good material properties
Cons: Higher cost, rougher surface finish, longer lead times
Metal Printing: Production-Ready
Selective Laser Melting (SLM) and Direct Metal Laser Sintering (DMLS) create solid metal parts. Best for:
- Aerospace and medical prototypes
- Functional metal testing
- Complex geometries impossible to machine
- Bridge production while tooling builds
Pros: Real metal properties, design freedom, consolidation of assemblies
Cons: Expensive, slower, significant post-processing
Quick Decision Guide
| If you need… | Choose… | Why |
|---|---|---|
| Quick, cheap concept models | FDM in PLA | Lowest cost, fast iteration |
| Jewelry or detailed miniatures | SLA/DLP | Unmatched detail and smoothness |
| Functional plastic parts to test | SLS/MJF | Real strength, no supports |
| Metal parts for testing | SLM/DMLS | True metal properties |
| Large prototypes (over 300mm) | FDM (large format) | Size matters |
| Clear or transparent parts | SLA (clear resin) | Optical clarity |
| Rubber-like flexibility | FDM (TPU) or SLA (flex) | Depends on detail needed |
What Are the Real Limitations?
Size Constraints
Every printer has a build volume limit. Typical sizes:
- Desktop FDM: 200 x 200 x 200 mm
- Industrial FDM: up to 1000 x 1000 x 1000 mm
- SLA/DLP: usually under 300 mm per side
- SLS/MJF: 300-400 mm typical
- Metal: 250-400 mm typical
For larger parts, you can print in sections and assemble. We've done this for automotive prototypes over 2 meters long. The seams require careful design, but it works.
Accuracy and Tolerances
Accuracy depends on technology, calibration, and part geometry:
| Technology | Typical Accuracy | Best Case |
|---|---|---|
| FDM | ±0.3-0.5 mm | ±0.2 mm with careful tuning |
| SLA/DLP | ±0.1-0.2 mm | ±0.05 mm for small parts |
| SLS/MJF | ±0.2-0.3 mm | ±0.1 mm |
| Metal | ±0.1-0.2 mm | ±0.05 mm |
For critical mating surfaces, you'll often machine after printing. Design with 0.5 mm extra material on surfaces that need tight tolerances.
Surface Finish
Layer lines are real. FDM shows them clearly. SLA hides them better but still has visible steps on curved surfaces. SLS has a matte, slightly grainy texture.
Post-processing options:
- Sanding (all technologies)
- Vapor smoothing (ABS, some nylons)
- Primer and paint (all)
- Clear coat (resin parts)
- Media blasting (metal, SLS)
Cost Considerations
Cost per part varies wildly:
- Small FDM part (50g PLA): $2-5 in material
- Small SLA part (50ml resin): $5-15
- Small SLS part (nylon): $20-50
- Small metal part (titanium): $100-500+
But compare to traditional methods: a machined aluminum prototype might cost $500-2000 and take weeks. For complex parts, 3D printing wins on both cost and speed.
How Do You Get Started?
Step 1: Define Your Requirements
Ask yourself:
- What's the purpose? (visual, fit check, functional, production)
- What material properties needed? (strength, flexibility, heat resistance)
- What size?
- What budget?
- What timeline?
Step 2: Prepare Your File
Your CAD model must be "watertight"—no holes, reversed normals, or thin walls. Export as STL format with appropriate resolution:
- Too coarse: faceted surfaces
- Too fine: huge files, slow processing
Typical settings: 0.01 mm chord height, 10-15 degrees angle tolerance
Step 3: Choose Technology and Provider
Decide based on your requirements. Options:
- In-house printer if you print frequently
- Service bureau for occasional needs
- Yigu Technology (shameless plug) for expert guidance across all technologies
Step 4: Review and Print
Check the digital preview for:
- Orientation (minimize supports, maximize strength)
- Support placement (avoid critical surfaces)
- Print time estimate
- Material volume
Then print, post-process, and test.
Yigu Technology's Perspective
At Yigu Technology, we've printed thousands of prototypes across every major technology. Our observation: companies that prototype early and often win. They catch problems when fixes cost nothing. They test with real users before committing to tooling. They launch better products faster.
3D prototype printing isn't magic—it's a tool. Used well, it slashes development time, reduces risk, and enables designs impossible any other way. Used poorly, it creates expensive plastic junk that sits on shelves.
We help clients navigate the choices:
- Which technology matches your needs?
- How to design for printability?
- What post-processing makes sense?
- When to prototype versus go direct to production?
A recent client came to us with a complex industrial sensor housing. Traditional machining would cost $8,000 and take 6 weeks. They needed 5 units for field trials. We recommended SLS nylon—strong enough for the environment, detailed enough for all features, and deliverable in 1 week at $1,200 total. The trial succeeded, and they're now in injection molding with a validated design.
That's the power of smart prototyping.
Frequently Asked Questions
What materials can be used for 3D prototype printing?
A wide range: plastics (PLA, ABS, nylon, PETG, TPU), resins (standard, tough, flexible, high-temp, castable), metals (stainless steel, titanium, aluminum, Inconel, cobalt-chrome), and specialty materials (carbon fiber composites, ceramics, wood-filled). Each serves different purposes—match material to your prototype's requirements.
How accurate is 3D prototype printing?
Accuracy ranges from ±0.01 mm on high-end resin printers to ±0.5 mm on budget FDM machines. Industrial FDM hits ±0.2 mm. SLS and MJF achieve ±0.1-0.3 mm. Metal printing reaches ±0.05-0.2 mm. For critical dimensions, design in extra material and machine after printing.
Can I print large-scale prototypes with 3D printing?
Yes, through large-format printers (up to 1 meter+) or by printing in sections and assembling. Large-format FDM machines exist for automotive and aerospace prototypes. For truly massive objects, sectional printing with joining features works well—we've assembled 2-meter prototypes from printed sections.
How much does prototype printing cost?
Cost varies by technology: FDM $2-50, SLA $5-100, SLS $20-200, metal $100-1000+ per part. Factors include size, material, complexity, and post-processing. Compare to traditional prototyping costs (often $500-5000) and consider the value of time saved.
How long does prototype printing take?
Print time ranges from 30 minutes for tiny parts to several days for large, complex builds. Typical: small parts 2-8 hours, medium parts 12-24 hours, large parts 2-5 days. Post-processing adds 1-24 hours depending on requirements.
Do I need special design skills for 3D printing?
Basic CAD skills suffice for simple parts. Complex geometries benefit from design for additive manufacturing (DfAM) knowledge—understanding overhangs, supports, wall thicknesses, and orientation effects. Most service bureaus offer design guidance or can optimize your files.
Can 3D-printed prototypes be used for functional testing?
Yes, but choose the right technology. SLS nylon and metal printing produce parts strong enough for rigorous testing. Tough resin works for moderate loads. Standard FDM may suffice for form and fit but not high-stress applications. Always validate material properties against your requirements.
Contact Yigu Technology for Custom Manufacturing
Ready to bring your ideas to life with 3D prototype printing? At Yigu Technology, we combine technical expertise with production capabilities across all major technologies.
We help clients:
- Select the right process for each project
- Optimize designs for printability and performance
- Print prototypes fast for testing and iteration
- Transition smoothly to production when ready
Contact our team today with your CAD files or project requirements. We'll provide expert guidance, a detailed quote, and parts that meet your needs—whether that's a quick concept model or a production-ready metal prototype.
Let's build something innovative together.