Introduction
Turning a digital design into a physical part is one of the most critical steps in product development. CNC milling makes this transition possible with speed, precision, and reliability. Unlike manual machining, which depends heavily on operator skill, CNC milling follows computer-programmed instructions to create parts that match digital designs exactly.
This guide explores the role of CNC milling in prototyping. You will learn how the process works, what benefits it offers, how it compares to other methods, and what to consider when using it for your next project. Whether you are developing aerospace components, medical devices, or consumer electronics, understanding CNC milling will help you move from concept to reality more effectively.
What Is CNC Milling?
A Foundation of Modern Manufacturing
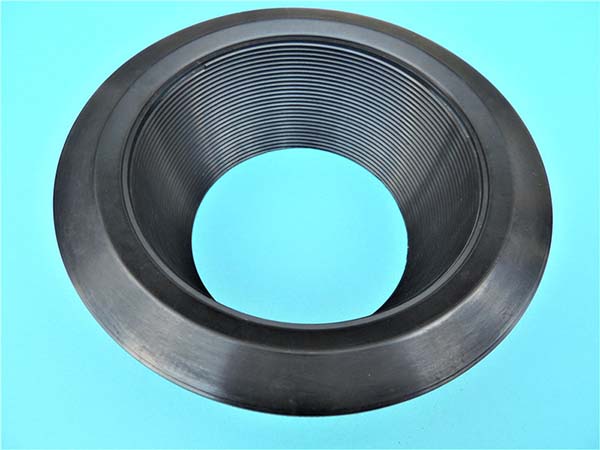
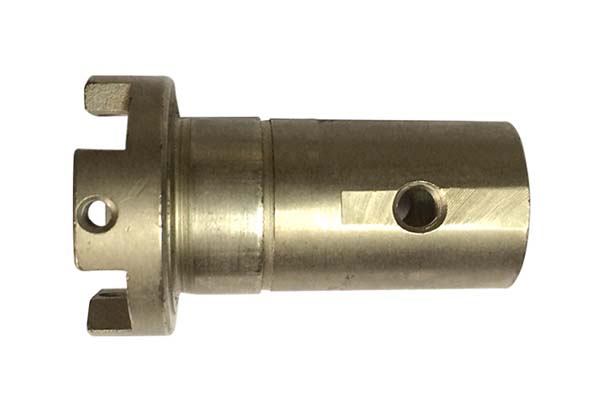
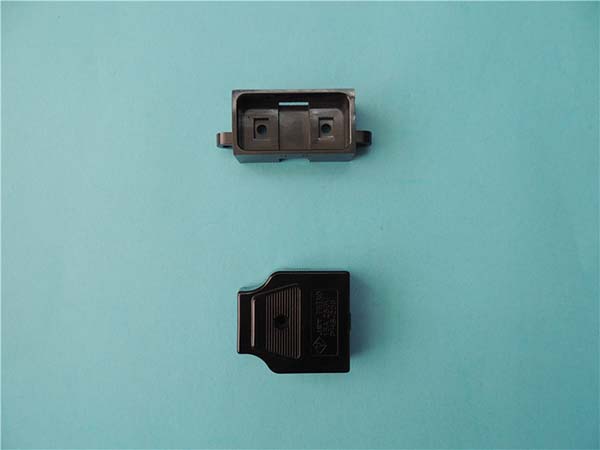
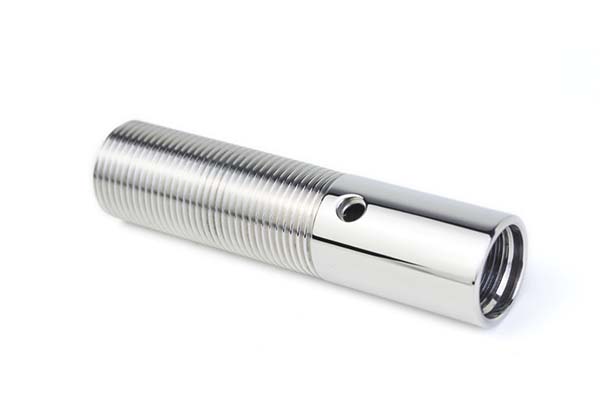
CNC milling is a subtractive manufacturing process. It starts with a solid block of material and removes unwanted portions using rotating cutting tools. The machine follows G-code instructions generated from a 3D CAD model. Every movement—direction, speed, depth, and tool selection—is precisely controlled.
Key components:
- Spindle: Holds and rotates the cutting tool at speeds from thousands to tens of thousands of RPM
- Worktable: Secures the workpiece and moves along programmed axes
- Tool changer: Switches between different cutting tools automatically
- Control unit: Interprets code and directs machine movements
Unlike 3D printing, which builds parts layer by layer, CNC milling starts with more material and cuts away what is not needed. This approach produces parts with excellent surface finish, tight tolerances, and material properties identical to final production parts.
How Axes Determine Capability
The number of axes a CNC mill has determines the complexity of parts it can produce.
| Axis Configuration | Capabilities |
|---|---|
| 3-axis | Moves in X, Y, Z directions. Suitable for flat surfaces, pockets, holes, and simple contours. Most common for basic prototyping. |
| 4-axis | Adds a rotary axis (A or B). Allows machining around cylindrical parts and some undercuts without repositioning. |
| 5-axis | Adds two rotary axes. Can machine complex 3D shapes in a single setup. Ideal for aerospace impellers, medical implants, and intricate automotive components. |
For prototyping, 3-axis machines handle the majority of parts. When your design includes complex curved surfaces or features on multiple faces, 4-axis or 5-axis capability becomes valuable.
Why Use CNC Milling for Prototypes?
Precision That Matches Production
CNC milling achieves tolerances that other prototyping methods cannot match. Typical tolerances range from ±0.05 mm to ±0.01 mm, depending on material and part complexity. For critical applications like aerospace brackets or medical instrument components, this precision ensures prototypes behave exactly like production parts during testing.
Real-world impact: A medical device company prototyping a new surgical instrument needed tolerances of ±0.02 mm on jaw alignment. Using CNC milling, they produced functional prototypes that passed mechanical testing on the first iteration. Alternative methods like 3D printing could not achieve the required accuracy or material strength.
Material Versatility
CNC milling works with virtually any solid material. This is a significant advantage when your prototype must match the mechanical, thermal, or chemical properties of the final product.
Metals:
- Aluminum (6061, 7075): Lightweight, excellent machinability
- Stainless steel (303, 304, 316): Corrosion resistance, strength
- Titanium (Grade 5): High strength-to-weight ratio
- Brass and copper: Electrical conductivity, aesthetics
Plastics:
- ABS and polycarbonate: Impact resistance, dimensional stability
- PEEK and Acetal: High temperature resistance, low friction
- Nylon: Wear resistance, toughness
Other materials: Wood, composites, foam for visual models
Example: An automotive supplier prototyping an engine intake manifold used 6061 aluminum to test thermal expansion and sealing performance under operating conditions. Machining from solid aluminum provided material properties identical to production castings, enabling accurate durability testing.
Speed and Iteration
CNC milling produces prototypes faster than many alternatives for functional parts. While 3D printing may be faster for very simple shapes, CNC milling often wins for parts requiring tight tolerances or specific materials.
Typical lead times:
- Simple prototypes: 1–3 days
- Complex prototypes: 3–7 days
- Multiple iterations: Each iteration typically adds 2–5 days
Fast turnaround allows design teams to test, refine, and retest quickly. This iterative cycle catches issues early, reducing costly changes later in development.
Scalability From Prototype to Production
One of CNC milling’s greatest strengths is seamless scalability. The same machine, tools, and programs that produce your prototype can also run production quantities. This eliminates the need to requalify a different process or supplier when moving from development to manufacturing.
Benefits:
- No design changes needed for manufacturability
- Same tolerances and surface finish in production
- Faster time-to-market
- Lower transition risk
How Does the CNC Milling Prototyping Process Work?
Step 1: Design and CAD Modeling
The process begins with a 3D CAD model. This digital representation defines every feature: dimensions, tolerances, surface finish requirements, and material specifications.
Best practices for prototype designs:
- Include critical tolerances where function depends on fit
- Specify surface finish requirements (Ra values)
- Consider tool access—avoid features that standard tools cannot reach
- Add fillets in internal corners where possible to reduce machining time
Step 2: CAM Programming
Computer-Aided Manufacturing (CAM) software converts the CAD model into machine instructions. The programmer defines:
- Toolpaths: The routes cutting tools follow
- Cutting speeds and feeds: How fast tools rotate and move
- Tool selection: Which tools to use for roughing, finishing, and detail work
- Workholding strategy: How to secure the workpiece
Good programming balances speed and quality. Aggressive cuts reduce time but risk tool breakage or poor surface finish. Conservative cuts increase time but ensure reliability.
Step 3: Material Selection
Choose material based on prototype purpose:
| Prototype Type | Material Considerations |
|---|---|
| Visual model | Appearance, cost, ease of machining (e.g., ABS, acrylic) |
| Functional test | Match production material properties (e.g., aluminum, steel, production-grade plastic) |
| Fit check | Dimensional accuracy more important than material strength (e.g., machinable plastic) |
Case study: A robotics company prototyping a gearbox housing used aluminum for initial fit checks, then switched to 7075 aluminum for strength testing. Both materials machined with the same program, allowing direct comparison.
Step 4: Setup and Machining
The machinist secures the workpiece to the machine bed using vises, fixtures, or custom workholding. They load the CNC program, set tool offsets, and start the run.
Modern CNC machines can run unattended for hours or overnight. This allows prototype shops to produce parts outside regular working hours, compressing lead times.
Step 5: Post-Processing
After machining, most prototypes require additional steps:
- Deburring: Removing sharp edges and burrs
- Surface finishing: Polishing, bead blasting, or anodizing for appearance or function
- Assembly: Fitting multiple components together
- Cleaning: Removing cutting fluids and debris
Step 6: Quality Assurance
Inspection verifies that the prototype meets design specifications. Common inspection tools include:
- CMM (Coordinate Measuring Machine): Measures complex 3D geometries
- Hand tools: Micrometers, calipers, height gages for basic dimensions
- Surface testers: Measure Ra values for finish-critical surfaces
- Optical comparators: Inspect contours and profiles
For critical prototypes, first-article inspection reports document all dimensions and provide traceability.
What Are the Key Applications?
Aerospace Components
Aerospace prototyping demands materials that withstand extreme conditions. CNC mills produce turbine blade prototypes from Inconel, bracket prototypes from titanium, and structural test articles from aluminum. Tight tolerances ensure that prototypes accurately represent flight-ready components.
Automotive Parts
Automotive prototypes range from engine components to interior trim. CNC milling produces functional test parts for performance validation and visual prototypes for design reviews. The ability to machine cast tooling patterns is another key application.
Medical Devices
Surgical instruments, implant prototypes, and device housings all benefit from CNC milling. The process delivers the precision and material properties needed for biocompatibility testing and mechanical validation.
Consumer Electronics
Smartphone housings, laptop components, and wearable device enclosures are often prototyped on CNC mills. The process achieves the sleek surfaces and tight fits that consumers expect in final products.
How Does CNC Milling Compare to Other Prototyping Methods?
| Method | Strengths | Limitations | Best For |
|---|---|---|---|
| CNC Milling | Tight tolerances, production materials, surface finish | Material waste, setup time | Functional prototypes, fit checks, pre-production |
| 3D Printing | Complex geometry, no tooling, fast | Limited materials, anisotropic properties | Visual models, ergonomics testing |
| Vacuum Casting | Low volume, production-like materials | Tooling cost, limited material range | Small batches of flexible parts |
| Sheet Metal Fabrication | Low cost for flat parts | Limited to sheet thickness | Brackets, enclosures, panels |
When to choose CNC milling: Your prototype must match production material properties, hold tight tolerances, or serve as a bridge to production tooling.
What Future Trends Are Shaping CNC Milling for Prototyping?
Hybrid Manufacturing
Combining additive manufacturing with CNC milling offers new possibilities. A part can be 3D printed near-net shape, then finished on a CNC mill to achieve tight tolerances and smooth surfaces. This hybrid approach reduces material waste and machining time while maintaining precision.
Advanced Materials
Carbon fiber composites, engineered ceramics, and sustainable polymers are expanding what CNC milling can prototype. As these materials become more common in production, the ability to prototype them accurately becomes essential.
Smart CNC Systems
Artificial intelligence is making CNC milling more adaptive. Smart systems monitor tool wear, vibration, and temperature in real time. They adjust feeds and speeds automatically to maintain quality and prevent crashes.
Sustainability Focus
Prototyping shops are adopting:
- Energy-efficient machines and processes
- Coolant recycling systems
- Chip collection for material recycling
- Reduced lubricant usage through minimum quantity lubrication (MQL)
Yigu Technology’s Perspective
At Yigu Technology, CNC milling is central to our prototyping services. We operate 3-axis, 4-axis, and 5-axis CNC mills capable of handling materials from ABS to titanium. Our team provides design feedback early in the process, identifying potential machining issues before programming begins.
Recent example: A medical startup needed functional prototypes of a surgical tool with complex ergonomic handles and precise jaw alignment. We machined prototypes from 17-4 stainless steel, achieving tolerances of ±0.015 mm on critical features. The client validated ergonomics and mechanical performance in cadaver testing, then moved to production with confidence—and no design changes.
We believe prototyping is not just about making parts. It is about validating assumptions, discovering issues early, and building confidence in your final design. Our job is to provide the accuracy and material fidelity that makes that validation meaningful.
Conclusion
CNC milling plays an essential role in prototyping. It delivers the precision needed to validate designs, the material versatility to match production properties, and the scalability to transition smoothly into manufacturing.
The process—from CAD design to CAM programming to machining and inspection—requires expertise at every stage. When done well, it produces prototypes that answer critical questions: Does it fit? Does it perform? Can it be manufactured?
As technologies like hybrid manufacturing and smart CNC systems advance, CNC milling will remain a cornerstone of product development. For engineers and designers, understanding its capabilities means making better decisions about when and how to use it.
FAQ
What is the typical tolerance for CNC milled prototypes?
Typical tolerances range from ±0.05 mm for general features to ±0.01 mm or tighter for critical dimensions. Tolerances depend on material, part geometry, and machine capability. Discuss tolerance requirements early with your machining partner to ensure they are achievable and necessary.
How long does CNC milling prototyping take?
Simple prototypes can be completed in 1–3 days. Complex parts typically require 3–7 days. Factors include part complexity, material availability, and current shop workload. Rush services are often available for urgent projects.
Can CNC milling handle the same materials as production?
Yes. CNC milling works with the same metals, plastics, and composites used in production. This is a key advantage over 3D printing, which often uses specialized materials with different properties. Prototypes machined from production materials provide accurate test results.
Is CNC milling cost-effective for a single prototype?
CNC milling has setup costs, including programming and fixturing. For a single simple part, these costs may make it more expensive than 3D printing. However, for functional testing where material properties and tolerances matter, CNC milling is often the right choice even for one-off prototypes.
How do I prepare a CAD model for CNC milling?
Design with tool access in mind. Avoid features that standard cutters cannot reach. Add fillets to internal corners where possible. Specify critical tolerances clearly. A good machining partner will provide design for manufacturability (DFM) feedback to optimize your design before programming begins.
Contact Yigu Technology for Custom Manufacturing
Ready to turn your design into a precision-machined prototype? Yigu Technology combines advanced CNC milling capabilities with engineering expertise to deliver prototypes that accelerate your development cycle.
- CNC milling: 3-axis, 4-axis, and 5-axis machining
- Materials: Aluminum, stainless steel, titanium, brass, engineering plastics, composites
- Additional processes: CNC turning, wire EDM, grinding, surface finishing
- Quality: ISO 9001 and IATF 16949 certified
- Volumes: Single prototypes to high-volume production
Contact our engineering team to discuss your project. We will review your design, provide DFM feedback, and deliver a prototype that meets your functional requirements. Let us help you move from concept to reality with confidence.