Introduction
Have you ever wondered how companies create those incredibly detailed miniature figures, custom jewelry, or precise dental models? Chances are, they used resin printing. Unlike the plastic filament printers you might have seen in schools or libraries, resin printing builds objects from liquid photosensitive resin. When ultraviolet (UV) light hits this liquid, it hardens instantly through a chemical reaction called photopolymerization. The result? Smooth surfaces and fine details that filament printers simply cannot match. In this article, we'll walk through exactly how resin printing works, from the initial digital design to the finished product in your hands.
How Is Resin Printing Different from Other 3D Printing?
The Basic Principle Explained
Resin printing, technically called stereolithography (SLA) , works on a completely different principle than common filament printing. Instead of melting plastic and squeezing it through a nozzle, resin printing uses liquid that turns solid when light hits it. Think of it like pouring concrete that hardens instantly when sunlight touches it. This allows for much finer details because the light can be controlled with incredible precision.
Where Resin Printing Excels
The technology shines in specific applications:
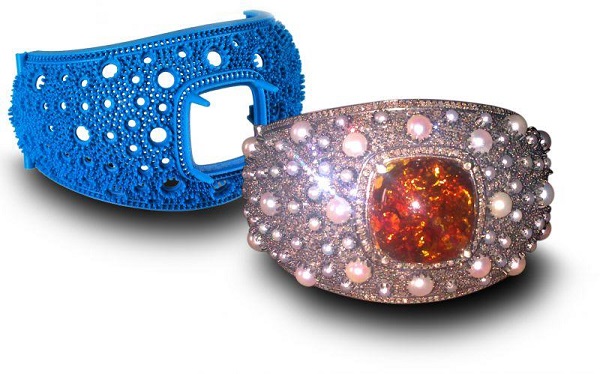
- Jewelry design: Capturing filigree patterns and gem settings
- Dental models: Creating accurate crowns and aligners
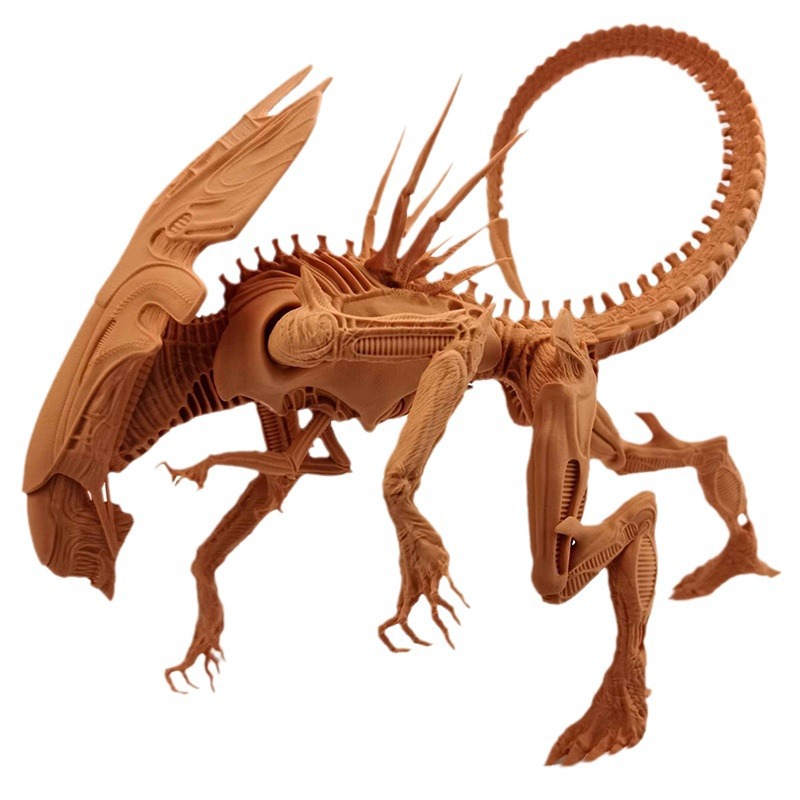
- Miniatures: Producing gaming figures with facial details
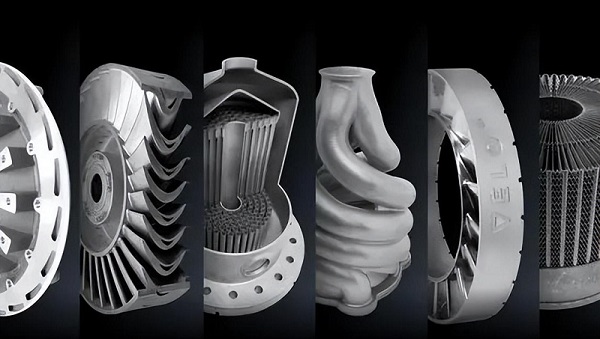
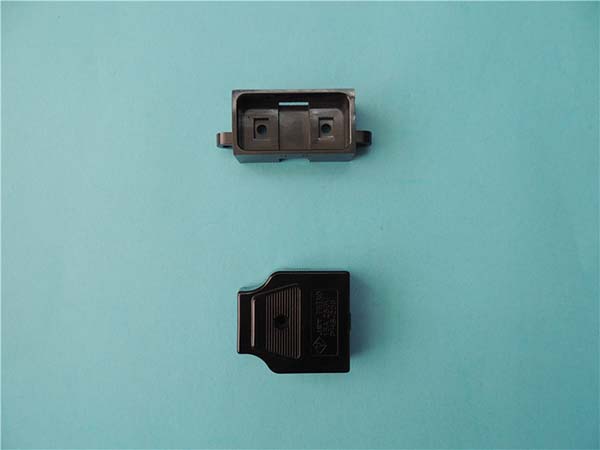
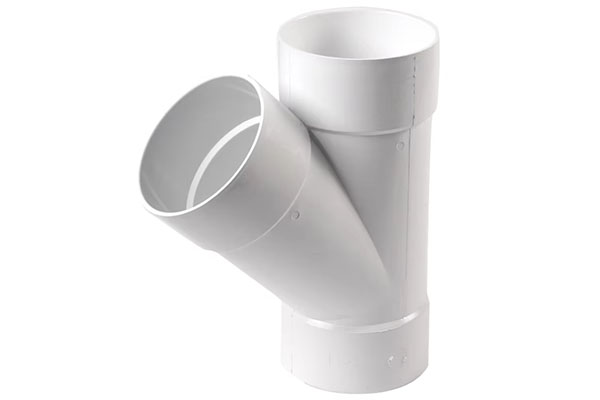
- Engineering prototypes: Testing complex mechanical parts
What Equipment Do You Need for Resin Printing?
The Resin Itself
Resin is the star of the show. Different types serve different purposes:
| Resin Type | Best Applications | Properties | Cost Range |
|---|---|---|---|
| Standard | General prototypes, figurines | Good detail, slightly brittle | $30-50/kg |
| Tough/Durable | Functional parts, snap-fit joints | Impact resistant, less brittle | $60-90/kg |
| Flexible | Gaskets, soft-touch items | Rubber-like, bendable | $70-100/kg |
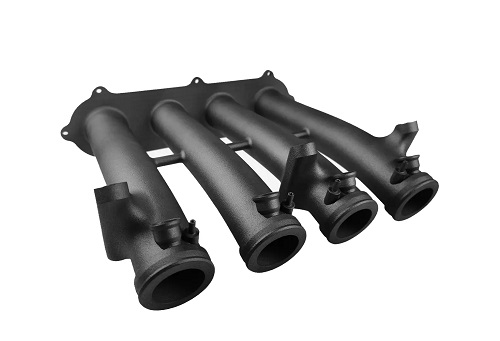
| High-Temperature | Automotive under-hood parts | Withstands heat up to 200°C | $100-150/kg |
| Castable | Jewelry investment casting | Burns cleanly without ash | $80-120/kg |
| Dental/Medical | Crowns, surgical guides | Biocompatible, certified | $150-300/kg |
Light Sources Compared
Two main technologies dominate resin printing:
Laser-based SLA: A single laser beam traces each layer point by point. This produces extremely accurate parts but takes longer. The laser moves like a pen drawing every detail carefully. Great for precision work where speed matters less.
DLP (Digital Light Processing) : A projector flashes entire layers at once. Think of it like showing a movie on the resin surface. This speeds up printing dramatically because each layer cures simultaneously. The trade-off? Slightly less detail than laser systems, though modern DLP printers rival laser quality.
The Printing Platform and Tank
The build platform holds your object as it grows. It starts at the top of the resin tank and slowly rises (in most printers) or lowers (in some designs) as layers form. The tank bottom must be perfectly clear for light to pass through. A silicone layer at the tank bottom prevents cured resin from sticking permanently.
What Happens Before You Press Print?
Creating or Finding Your 3D Model
Every print starts with a digital design. You have several options:
Design your own: Software like Blender, Fusion 360, or Tinkercad lets you create original models. For example, a jewelry designer might sculpt a ring in Blender, adding every curve and detail manually. This takes skill but offers complete creative control.
Download existing models: Websites like Thingiverse, Cults3D, and MyMiniFactory host millions of ready-to-print files. Many are free. Some premium designs cost a few dollars.
Scan real objects: Professional 3D scanners capture existing items. Dental labs scan patients' teeth to create perfectly fitted crowns.
Preparing the File in Slicing Software
Before printing, your 3D model needs conversion. Slicing software like ChiTuBox or Lychee Slicer cuts the model into thin layers and generates instructions for your printer.
Key settings to adjust:
Layer height: This determines surface smoothness. At 0.05mm, layers are nearly invisible to the naked eye. Prints take longer but look amazing. At 0.1mm, prints finish faster with slightly visible layer lines. For most detailed work, 0.05mm strikes the right balance.
Exposure time: Each resin requires specific curing times. Standard resins might need 2-3 seconds per layer under strong UV. Clear resins often need longer because light passes through instead of curing. Your resin bottle usually lists recommended settings.
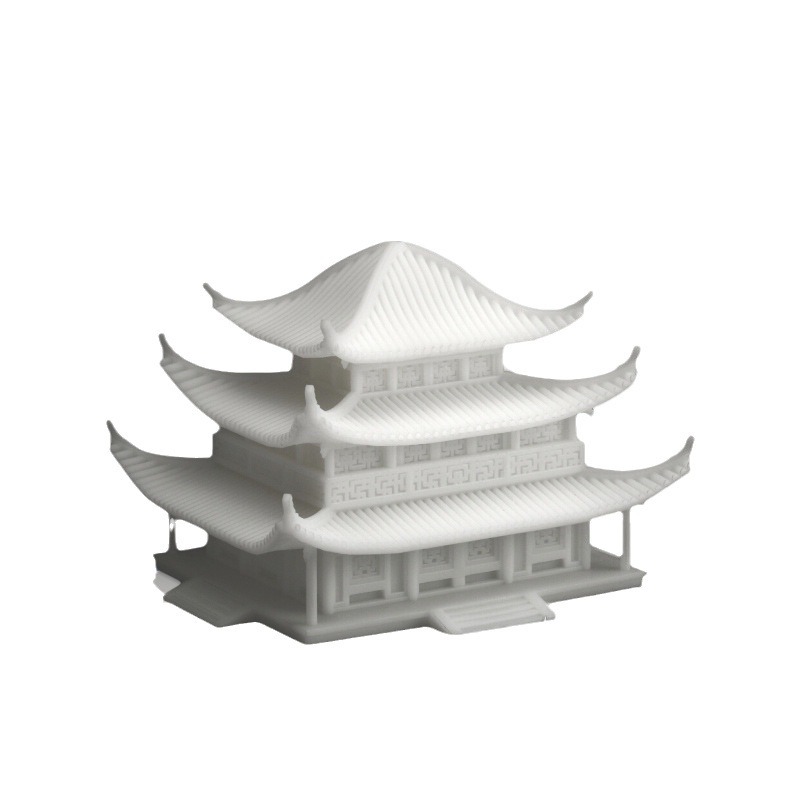
Support structures: Overhanging parts need temporary supports, like scaffolding for buildings. The software automatically adds these thin pillars. You'll remove them after printing. Proper support placement prevents failed prints while minimizing marks on your finished object.
Setting Up the Printer
Physical preparation matters as much as digital work:
- Clean the resin tank: Any residue from previous prints causes defects
- Level the build platform: An unlevel platform means failed adhesion
- Mix your resin: Shake the bottle thoroughly; pigments settle
- Pour carefully: Avoid bubbles that create holes in prints
- Check temperature: Resin prints best at 20-25°C; cold resin flows poorly
What Actually Happens During Printing?
The Layer-by-Layer Dance
Once you start the print, the magic begins. Here's what happens inside that mysterious machine:
First layer adhesion: The platform lowers to just above the tank bottom, leaving a thin gap. The light flashes, curing a thin layer that bonds to both the platform and the tank's silicone layer. Then the platform peels away, pulling the cured resin with it. This peel force explains why resin printers need sturdy construction.
Layer repetition: For each subsequent layer, the platform repositions at exactly one layer height above the previous layer. Fresh resin flows into the gap. Light cures the next pattern. The platform peels again. Repeat hundreds or thousands of times.
Speed variations: DLP printers flash each layer in 1-3 seconds. Laser printers might take 5-10 seconds per layer tracing complex patterns. A 50mm tall model at 0.05mm layer height needs 1,000 layers. That's 1-3 hours for DLP, or 2-5 hours for laser.
What Can Go Wrong During Printing?
Real experience teaches you to watch for:
Layer separation: If a layer doesn't stick to the previous one, the print splits. Usually caused by insufficient exposure time or contaminated resin.
Suction cup effects: Hollow models trap resin, creating suction that pulls layers apart. Adding drainage holes prevents this.
Print falling off: Poor platform adhesion sends your model floating in the tank. Proper leveling and first-layer exposure prevent this heartbreak.
Why Is Post-Processing So Important?
Washing Away Uncured Resin
Fresh prints emerge covered in liquid resin. Touching this sticky layer ruins details and exposes you to chemicals. Washing removes it completely.
The standard method uses isopropyl alcohol (IPA) at 90% or higher concentration. Special wash stations agitate the alcohol, speeding cleaning. Submerge your print for 3-10 minutes, depending on complexity. Intricate models need longer to flush resin from every crevice.
Some companies now offer water-washable resins. These clean with plain water, eliminating alcohol costs and fumes. However, they're slightly more brittle than standard resins.
Final Curing Under UV Light
Washed prints aren't fully cured yet. They remain slightly soft and might continue reacting to ambient light, changing properties over time. Post-curing completes the chemical reaction.
Curing stations provide intense UV light at controlled wavelengths. Place your print inside for 10-30 minutes. Rotate it halfway through for even exposure. The part hardens to its final mechanical properties during this step.
Without proper curing, prints remain weak and may warp or develop sticky surfaces over weeks.
Finishing for Presentation
The final steps transform your print from functional to beautiful:
Support removal: Snip or twist off supports carefully. Flush cutters work best. Sand any remaining nubs with fine grit paper (400-1000 grit).
Surface smoothing: For glossy finishes, apply a clear coat. For painting, light sanding helps primer adhere. Some modelers use vapor smoothing with specialized solvents, though this requires experience.
Painting and sealing: Acrylic hobby paints work beautifully on resin. Multiple thin layers preserve detail better than one thick coat. Clear varnish protects the paint and adds desired sheen.
What Can You Actually Make with Resin Printing?
Real-World Examples from Yigu Technology
In our custom manufacturing work at Yigu Technology, we've seen resin printing transform client projects:
Medical device prototype: A startup needed tiny surgical guides with internal channels for cooling fluid. Traditional machining couldn't create the curved internal passages. Resin printing produced working prototypes in two days, allowing immediate testing.
Custom jewelry line: A designer created rings with organic, flowing shapes inspired by ocean waves. Each piece differed slightly, impossible with traditional casting molds. Resin printing produced master patterns for investment casting, capturing every ripple and curve.
Automotive sensor housing: An engineer needed a heat-resistant enclosure for engine compartment sensors. High-temperature resin withstood 150°C continuous operation. The complex shape included integrated mounting clips, reducing parts count from five to one.
Comparing Costs: Resin vs. Alternatives
| Method | Setup Cost | Per-Part Cost (Small Run) | Detail Level | Lead Time |
|---|---|---|---|---|
| Resin Printing | $200-3,000 | $5-20 | Excellent | Hours |
| Injection Molding | $5,000-50,000 | $0.50-2 | Good | Weeks |
| CNC Machining | $50-200/hour | $20-100 | Very Good | Days |
| FDM Printing | $200-5,000 | $2-10 | Poor-Fair | Hours |
What Are the Limitations You Should Know?
Speed Constraints
Resin printing isn't fast for large parts. A 200mm tall object might take 12-20 hours. For production runs of identical items, traditional methods eventually become more economical. The sweet spot is 1-50 pieces with complex geometries.
Material Properties
Most standard resins are brittle compared to injection-molded plastics. Drop a resin print on concrete, and it might shatter. New engineering resins improve toughness but cost more. Always match material choice to your application's mechanical demands.
Health and Safety Considerations
Uncured resin causes skin irritation in some people. Always wear nitrile gloves when handling wet prints. Work in well-ventilated areas; resin fumes, while less toxic than some chemicals, aren't healthy to breathe continuously. Dispose of used IPA as hazardous waste according to local regulations.
How Is Resin Printing Technology Evolving?
Faster Printing Through Better Optics
New printers use high-power LED arrays and optimized optics to cure layers in under one second. Some achieve print speeds of 100mm per hour vertically, dramatically reducing wait times.
Engineering-Grade Materials
Material scientists develop resins mimicking production plastics like ABS, polypropylene, and even some nylons. These functional resins allow printing end-use parts, not just prototypes. A printed bracket might last years in service.
Hybrid Manufacturing
Some systems combine resin printing with traditional machining. Print near-net shape, then machine critical surfaces to tight tolerances. This leverages the best of both technologies.
Conclusion
Resin printing offers unmatched detail and surface quality among 3D printing technologies. From jewelry to medical devices, it enables creation of objects impossible through traditional manufacturing. The process requires attention to detail: proper file preparation, correct exposure settings, thorough washing, and complete curing. But the results justify the effort. At Yigu Technology, we've helped countless clients navigate resin printing for their custom manufacturing needs. Whether you need one prototype or a hundred production parts, understanding this technology opens possibilities you might not have considered.
FAQs
How long does resin printing take compared to filament printing?
Resin printing is generally faster for detailed objects because entire layers cure at once. A complex miniature might take 4 hours in resin versus 8 hours in filament. However, resin requires more post-processing time for washing and curing.
Can resin prints be food safe?
Standard resins aren't food safe. They may leach chemicals over time. Some certified food-safe resins exist for specific applications, but always verify certifications for your use case.
Why do my resin prints sometimes fail halfway through?
Common causes include temperature changes, contaminated resin, or insufficient support structures. Check that your printing area stays above 20°C. Filter your resin if particles appear. Add more supports to heavy sections.
What's the shelf life of resin?
Unopened resin typically lasts one year. Opened bottles last 6-12 months if stored in cool, dark places. Shake thoroughly before each use because pigments and fillers settle over time.
How do I dispose of used IPA and resin waste?
Never pour resin or contaminated IPA down drains. Cure liquid resin in sunlight until solid, then dispose as solid waste. Take used IPA to hazardous waste collection facilities. Many communities offer free household hazardous waste days.
Contact Yigu Technology for Custom Manufacturing
Ready to bring your designs to life with resin printing? At Yigu Technology, we combine years of hands-on experience with state-of-the-art equipment. Our team helps you select the right resin for your application, optimize designs for printability, and navigate post-processing requirements. Whether you need prototypes for testing or production runs of custom parts, we deliver quality results efficiently. Contact us today to discuss your project. We'll provide professional guidance and a competitive quote, helping you leverage resin printing's full potential for your manufacturing needs.