Introduction
Imagine you need to create a highly detailed prototype—a piece of jewelry with intricate patterns, a dental model with precise anatomy, or a concept car part for aerodynamic testing. Traditional methods would take weeks and cost thousands. SLA 3D printing delivers these parts in hours or days, with smooth surfaces and details that other technologies cannot match. From automotive manufacturers accelerating R&D to jewelers creating custom pieces, SLA is transforming how we make things. But what exactly is SLA? How does it work? And why should you care? This article demystifies SLA 3D printing, explaining its principles, applications, advantages, and how it compares to other technologies.
What Is SLA 3D Printing?
Definition and Basic Concept
SLA stands for Stereolithography—the original 3D printing technology, invented in the 1980s. It builds three-dimensional objects by using an ultraviolet (UV) light source to cure liquid photopolymer resin layer by layer.
The process is elegant:
- A digital 3D model is created in CAD software
- Software slices the model into thin layers (typically 0.05–0.2 mm)
- A UV laser or projector traces each layer onto the surface of liquid resin
- The resin solidifies where the light hits
- The build platform lowers, fresh resin flows over the cured layer
- The next layer cures, bonding to the previous one
- Repeat until the object is complete
The result: parts with exceptional detail, smooth surfaces, and accuracy that filament-based printers cannot match.
Why SLA Matters
SLA matters because it fills a critical gap:
- FDM (fused deposition modeling) is great for large, functional parts but leaves visible layer lines
- SLS (selective laser sintering) produces durable parts but has rougher surfaces
- SLA delivers the best of both worlds for applications where detail and surface finish are paramount
From jewelry patterns to medical models, SLA is the technology of choice when appearance and precision matter.
How Does SLA 3D Printing Work?
Step-by-Step Process
Step 1: CAD Model Creation
Everything starts with a digital 3D model created in CAD software. Designers define every curve, surface, and detail. For a custom jewelry piece, this means capturing intricate patterns and precise dimensions.
Step 2: Model Slicing
The CAD file is imported into slicing software. The software divides the model into thin horizontal layers—typically 0.05–0.2 mm thick. Thinner layers mean smoother surfaces but longer print times. A highly detailed figurine might use 0.05 mm layers to capture fine features.
Step 3: Printing Process Setup
Parameters are configured:
- Build orientation: Affects strength, surface quality, and print time
- Support structures: Needed for overhangs; placed strategically to minimize visible marks
- Exposure time: Determines how long each layer is cured
Step 4: Resin Curing
The build platform positions just below the resin surface. The UV light source—either a laser or DLP projector—traces the first layer's shape. UV light triggers photopolymerization: resin molecules bond together, transforming liquid into solid.
Step 5: Layer-by-Layer Building
After the first layer cures, the platform lowers by one layer thickness. A recoater spreads fresh resin. The next layer cures, bonding to the previous one. This repeats until the object is complete.
Step 6: Post-Processing
The finished part is removed from the platform:
- Support removal: Carefully cut or break away supports
- Cleaning: Rinse in isopropyl alcohol to remove uncured resin
- Post-curing: Additional UV exposure fully hardens the part, improving mechanical properties
Key Components
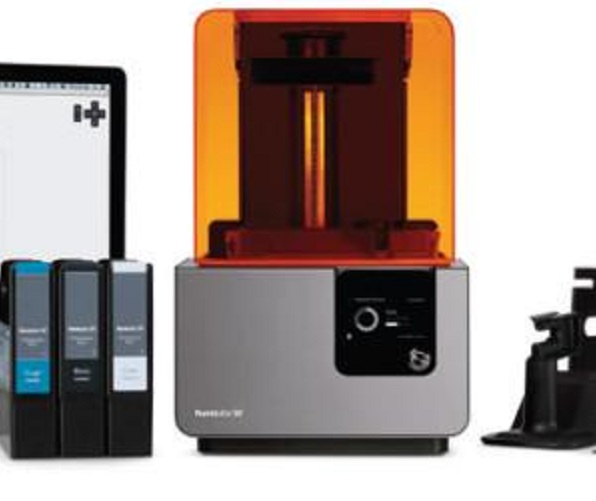
UV Light Source: The heart of the printer. Two main types:
- Laser: Used in high-end SLA printers. Precisely focuses UV light, enabling high resolution. A 355 nm wavelength laser can create very fine details.
- DLP projector: Cures entire layers at once, offering faster speeds for some applications.
Resin Tank: Holds liquid photopolymer. Made of UV-transparent material (like acrylic) so light can penetrate. Some tanks are removable for easy resin changes and cleaning.
Build Platform: Where the object grows. Must be flat and stable. Often textured or coated to help the first layer adhere.
Laser Scanning System (for laser-based printers): Mirrors and motors direct the laser beam accurately across the resin surface.
Recoater: Spreads fresh resin after each layer. A blade-like mechanism ensures consistent layer thickness.
How Does SLA Compare to Other 3D Printing Technologies?
SLA vs. FDM
| Aspect | SLA | FDM |
|---|---|---|
| Precision | High—layers as low as 0.05 mm | Lower—layers 0.1–0.4 mm |
| Surface Finish | Smooth, ready for use | Rough, visible layer lines |
| Speed | Slower for large parts | Faster for simple, large objects |
| Materials | Photopolymer resins (standard, flexible, high-temp, biocompatible) | Thermoplastics (PLA, ABS, PETG, nylon) |
| Cost | Higher equipment and material costs | Lower equipment and material costs |
| Best For | Detailed prototypes, jewelry, dental models, visual parts | Functional prototypes, large parts, low-cost production |
When to choose SLA: Detail and surface finish matter more than raw strength or low cost.
When to choose FDM: You need large, functional parts or low-cost prototypes where appearance isn't critical.
SLA vs. SLS
| Aspect | SLA | SLS |
|---|---|---|
| Precision | High—excellent for fine details | Moderate—good but slightly lower resolution |
| Surface Finish | Smooth as-printed | Rough, grainy texture |
| Speed | Moderate | Slower—powder handling adds time |
| Materials | Photopolymer resins | Nylon, polypropylene, metal powders |
| Strength | Moderate, can be brittle | High—durable functional parts |
| Cost | High equipment and material costs | Very high equipment costs, expensive powders |
| Best For | Detailed visual parts, patterns, models | Functional parts, complex geometries, production components |
When to choose SLA: You need smooth surfaces and fine details.
When to choose SLS: You need strong, functional parts with complex geometries, and surface finish is secondary.
What Are the Advantages of SLA 3D Printing?
Exceptional Detail and Surface Finish
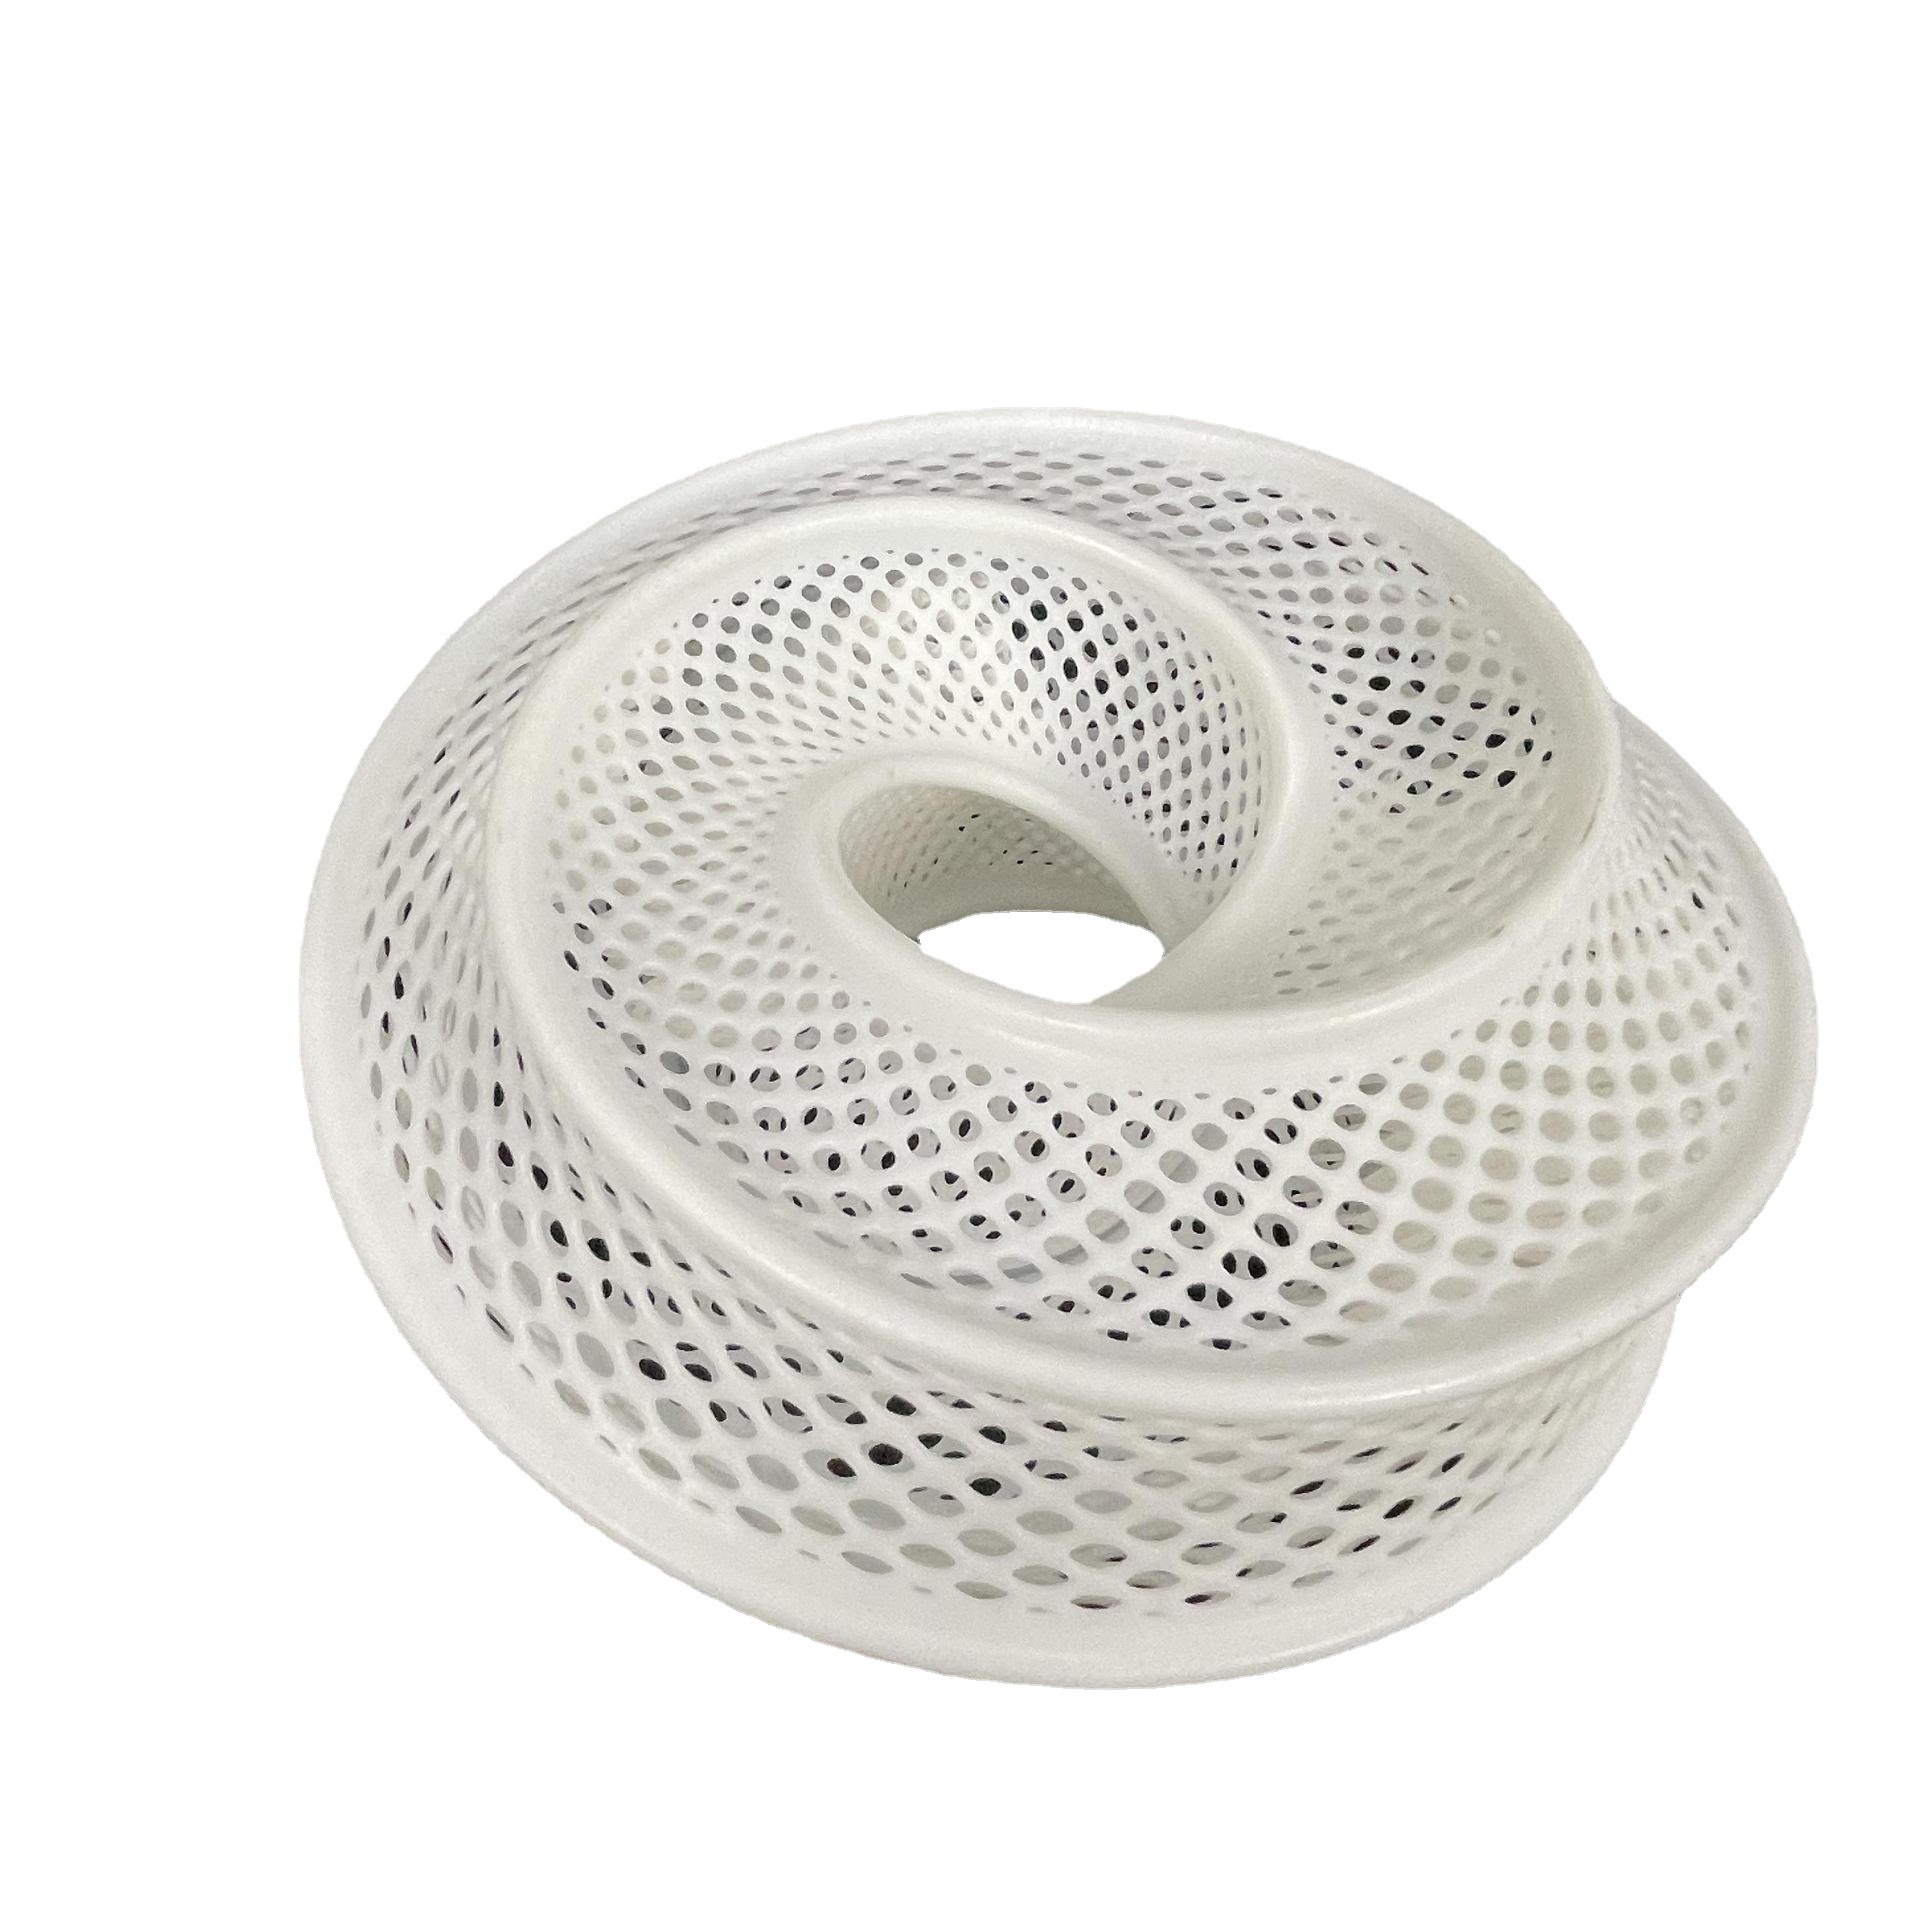
SLA achieves layer thicknesses as low as 0.025 mm—finer than a human hair. This enables:
- Smooth surfaces straight from the printer
- Sharp edges and fine features
- Text and logos readable without magnification
- Complex geometries with intricate details
For jewelry, this means masters that capture every design element. For dental, it means models with precise anatomy. For prototyping, it means parts that look like injection-molded production pieces.
Wide Material Range
SLA resins come in many formulations:
| Resin Type | Properties | Typical Applications |
|---|---|---|
| Standard | Good balance of strength and cost | General prototyping, visual models |
| Tough/Durable | Impact resistant, engineering properties | Functional prototypes, snap-fit designs |
| Flexible | Rubber-like elasticity | Gaskets, seals, soft-touch parts |
| High-Temperature | Withstands heat up to 150–200°C | Molds, hot air applications |
| Castable | Burns clean with minimal ash | Investment casting patterns |
| Biocompatible | Safe for skin contact | Medical devices, dental appliances |
| Clear/Transparent | Optical clarity | Light guides, fluidic devices |
Accuracy and Precision
SLA parts achieve dimensional accuracy of ±0.1–0.2 mm for most geometries. For small, detailed parts, accuracy can be even better. This makes SLA ideal for:
- Dental models that must fit patient anatomy
- Jewelry patterns that must cast precisely
- Engineering prototypes requiring tight tolerances
Smooth Surface Finish
As-printed SLA parts have surfaces ready for painting, plating, or display. No sanding required for most applications. This saves time and preserves fine details.
Speed for Small, Detailed Parts
While SLA isn't the fastest technology for large parts, it excels at producing multiple small, detailed parts simultaneously. DLP-based systems flash entire layers at once, making them highly efficient for batch production.
What Are the Limitations?
Material Properties
Standard SLA resins can be brittle compared to engineering thermoplastics. They may not be suitable for load-bearing applications without careful design. Tough and durable resins address this but cost more.
Post-Processing Requirements
SLA prints require:
- Cleaning in isopropyl alcohol to remove uncured resin
- Support removal (carefully, to avoid damaging the part)
- Post-curing under UV light to achieve full properties
These steps add time and require proper equipment and safety measures.
Cost
- Equipment: Professional SLA printers cost $2,000–$10,000+; industrial systems more
- Materials: Resins cost $50–$150 per liter for standard, more for specialties
- Post-processing: Additional equipment (curing stations, washing stations) adds cost
Build Size
Most SLA printers have limited build volumes—typically under 300 mm in any dimension. Large parts must be printed in sections and assembled.
UV Sensitivity
SLA parts degrade in sunlight. UV exposure continues curing, causing yellowing and embrittlement. For outdoor use, parts must be coated or protected.
Where Is SLA 3D Printing Used?
Jewelry and Art
Jewelry makers were early adopters. SLA creates detailed patterns for investment casting. Designs impossible to carve by hand become reality. Artists create sculptures with intricate details and smooth surfaces.
Real-world example: A jeweler designs a custom engagement ring with filigree patterns. SLA prints the pattern in castable resin. The foundry invests and casts in precious metal. Result: a ring with details that hand-carving couldn't achieve.
Dental and Medical
Dentistry relies on SLA for:
- Dental models: Crowns, bridges, aligner prototypes with precise anatomy
- Surgical guides: Patient-specific tools for implant placement
- Orthodontic appliances: Clear aligners and retainers
Medical applications include anatomical models for surgical planning and biocompatible devices.
Real-world example: A dental lab scans a patient's teeth, designs crowns digitally, and SLA prints models. Each crown fits perfectly because the model captures every detail.
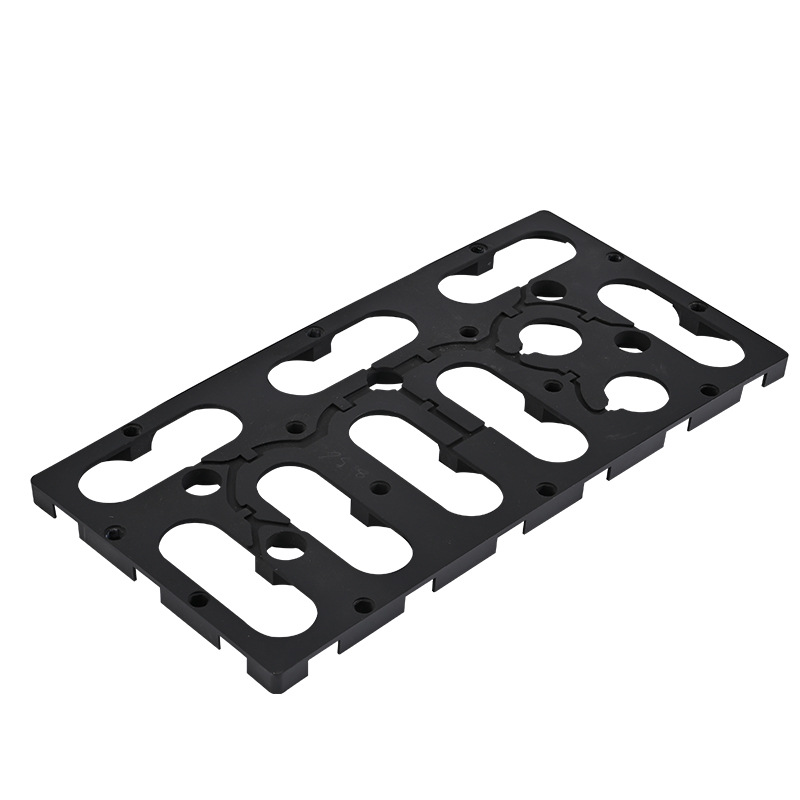
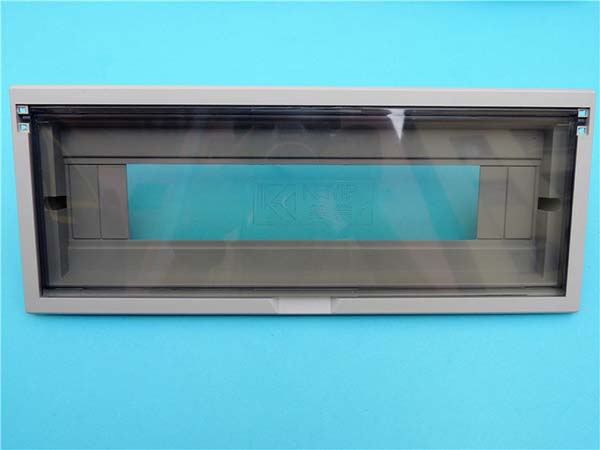
Product Design and Prototyping
Designers use SLA for visual prototypes that look like final products. Smooth surfaces and fine details impress clients and stakeholders. Form and fit testing with accurate parts.
Real-world example: A consumer electronics company designs a new smartwatch. SLA prints prototypes to test button placement, screen integration, and ergonomics. The prototypes look like production units, enabling accurate user testing.
Engineering and Manufacturing
SLA creates:
- Investment casting patterns for metal parts
- Molds for urethane casting
- Jigs and fixtures for assembly
- Form/fit prototypes for design verification
High-temperature resins withstand functional testing. Clear resins help visualize fluid flow.
Education
Schools use SLA to teach design and manufacturing. Students see their digital creations become physical objects with professional-quality finish.
What Post-Processing Does SLA Require?
Cleaning
Parts emerge covered in uncured liquid resin. Proper cleaning is essential:
- Immerse in isopropyl alcohol (90%+)
- Agitate to dissolve residue
- Use ultrasonic cleaner for complex parts
- Allow to dry completely
Incomplete cleaning leaves sticky surfaces that never fully cure.
Support Removal
Supports hold overhangs during printing. Removal:
- Snip carefully with flush cutters
- Sand attachment points smooth
- Some supports dissolve in solution (less common)
Skill matters—aggressive removal can damage the part.
Post-Curing
Most resins need additional UV exposure:
- Curing stations provide controlled light
- Time: 5–30 minutes depending on resin
- Effect: Increases strength by 20–50%, completes polymerization
Under-cured parts remain soft. Over-curing can cause brittleness.
Finishing
Optional steps:
- Sanding: Smooth surfaces, remove support marks
- Polishing: Achieve glossy, transparent finish
- Painting: Add color, protect from UV
- Coating: Clear coat for durability and UV protection
How Does Yigu Technology View SLA 3D Printing?
As a non-standard plastic and metal products custom supplier, Yigu Technology sees SLA as essential for applications where detail matters.
Our Experience
Jewelry client: A designer needed intricate patterns for casting. Hand-carving would take days and limit complexity. We SLA-printed castable resin patterns overnight. The designer now produces collections with details impossible to carve.
Medical device company: A startup needed surgical guides from patient CT data. Each guide unique, each needed quickly. We SLA-printed them in biocompatible resin. Surgeons reported perfect fit and reduced surgery time.
Product design firm: A client wanted presentation models that looked like production parts. We SLA-printed them with smooth surfaces and crisp edges. Stakeholders approved designs immediately.
Our Capabilities
We maintain SLA systems for:
- High-detail models
- Castable patterns
- Biocompatible medical parts
- Visual prototypes
Quality Commitment
- Material selection guidance
- Design optimization
- Precise post-processing
- Inspection before shipping
Conclusion
SLA 3D printing delivers detail and surface finish that other additive methods cannot match. From jewelry masters that capture every design element to medical devices customized for individual patients, the technology enables applications where precision matters.
Key takeaways:
- Exceptional detail: Layers as thin as 0.025 mm
- Smooth surfaces: Ready for use as-printed
- Wide material range: Standard, tough, flexible, high-temp, castable, biocompatible
- Accuracy: ±0.1–0.2 mm for most parts
- Applications: Jewelry, dental, medical, product design, engineering
Limitations exist—cost, build size, post-processing requirements, UV sensitivity. But for the right applications, SLA is unmatched.
Understanding SLA helps you make informed decisions. When you need detail, surface finish, and precision, SLA delivers.
Frequently Asked Questions
Q1: What is the difference between SLA and DLP 3D printing?
Both use photopolymer resins cured by UV light. SLA uses a laser to trace each layer—slower but can achieve slightly higher detail. DLP uses a projector to flash entire layers—faster, especially for batch printing. Both produce excellent results.
Q2: How strong are SLA printed parts?
Strength depends on resin. Standard resins are adequate for visual prototypes but can be brittle. Tough and durable resins approach engineering plastic properties. For functional parts, choose appropriate material and design for loading.
Q3: Are SLA prints expensive?
Costs vary. Small parts: $20–$100. Medium complex parts: $100–$500. Materials: $50–$150 per liter for standard resins. For applications requiring detail and surface finish, SLA often provides the best value.
Q4: How long does SLA printing take?
Print time depends on part height and layer thickness. Small parts: 1–4 hours. Medium parts: 4–12 hours. Large parts: 12–48 hours. Add post-processing time: cleaning, curing, finishing.
Q5: Can SLA prints be used outdoors?
Standard resins degrade in sunlight—UV continues curing, causing yellowing and embrittlement. Use UV-stable resins or apply protective coating for outdoor use.
Q6: What post-processing do SLA parts need?
- Cleaning in isopropyl alcohol
- Support removal (careful cutting)
- Post-curing under UV light
- Finishing (sanding, polishing, painting) as needed
Q7: Is SLA suitable for functional parts?
With the right resin, yes. Tough, durable, and high-temperature resins produce parts suitable for functional testing and some end uses. However, for load-bearing applications, consider SLS or metal printing.
Contact Yigu Technology for Custom Manufacturing
Ready to explore SLA 3D printing for your next project? At Yigu Technology, we combine SLA expertise with broader manufacturing capabilities. Our team helps you select the right resins, optimize designs for printability, and deliver quality parts on schedule.
Visit our website to see our capabilities. Contact us today for a free consultation and quote. Let's bring your detailed designs to life.