Introduction
You've spent hours designing a perfect model. You've dialed in your printer settings. You've watched the print complete successfully. But when you hold it in your hands, the surface is rough, layer lines are visible, and it doesn't look or feel like you imagined. Surface finish matters—not just for appearance, but for function. A smooth implant integrates better with human tissue. A polished aerospace component reduces drag. A glossy art piece catches light beautifully. Achieving the ideal surface finish requires understanding what affects it and how to control those factors. This guide explores the technologies, materials, design choices, and post-processing techniques that determine surface quality, helping you get the results your project demands.
What Is 3D Printing Surface Finish and Why Does It Matter?
Definition and Importance
Surface finish refers to the texture and appearance of a 3D-printed object's outer layer. It encompasses:
- Roughness: How smooth or textured the surface feels
- Layer visibility: Whether individual print layers are apparent
- Gloss/matte: How light reflects from the surface
- Uniformity: Consistency across the entire part
Surface finish matters for multiple reasons:
In medical applications, smooth surfaces are critical. A rough implant could cause inflammation or interfere with healing. A study in the Journal of Biomedical Materials Research found that surface finish significantly impacts cell adhesion and proliferation—key factors in implant success. A 3D-printed hip implant with poor surface finish might lead to discomfort and increased failure risk.
In manufacturing, surface finish affects performance. Aerospace components with smoother surfaces reduce air resistance. Boeing research shows that improving surface finish on certain aircraft components can reduce fuel consumption by 2–5% —significant savings given aviation fuel costs.
For art and design, surface finish is aesthetic. A sculpture with high-gloss finish creates a completely different impression than one with matte or textured surfaces. Artists use finish to evoke emotions—matte for rustic or organic feels, gloss for modern and sleek.
How Do Different 3D Printing Technologies Affect Surface Finish?
Each printing technology produces characteristic surface finishes.
| Technology | Precision | Materials | Cost | Surface Finish |
|---|---|---|---|---|
| FDM | Moderate (0.1–0.4 mm layers) | Thermoplastics (PLA, ABS, nylon) | Low | Rough—visible layer lines |
| SLA | High (0.025–0.1 mm layers) | Photopolymer resins | Medium–High | Smooth—fine details, minimal layers |
| SLS | Medium (0.1–0.2 mm layers) | Nylon, metal, ceramic powders | High | Slightly rough—grainy texture |
| Material Jetting | Very high (0.016–0.03 mm) | Photopolymer resins | High | Very smooth—near injection-molded |
| DLP | High (0.025–0.1 mm) | Photopolymer resins | Medium–High | Smooth—similar to SLA |
| Metal Printing | Medium (0.02–0.1 mm) | Metal powders | Very high | Rough—granular, needs post-processing |
FDM Surface Characteristics
FDM (Fused Deposition Modeling) extrudes melted plastic filament through a nozzle, building parts layer by layer. The result:
- Visible layer lines: Each layer creates a ridge
- Directional texture: Surface varies by orientation
- Stair-stepping effect: Curved surfaces show stepped appearance
An FDM-printed toy will have visible horizontal lines—characteristic of the technology.
SLA Surface Characteristics
SLA (Stereolithography) cures liquid resin with a UV laser. The result:
- Smooth surfaces: Minimal layer visibility
- Fine details: Captures intricate features
- Uniform texture: Consistent across complex geometries
An SLA-printed jewelry prototype has smooth, detailed surfaces suitable for high-end display.
SLS Surface Characteristics
SLS (Selective Laser Sintering) fuses powder particles with a laser. The result:
- Slightly rough: Grainy texture from powder
- Matte finish: No gloss
- Uniform but textured: Consistent roughness
SLS parts feel like fine sandpaper—functional but not smooth.
How Do Materials Affect Surface Finish?
Plastics
PLA: When printed properly, PLA has a relatively smooth surface, but layer lines remain visible. It can achieve a matte or slightly glossy finish depending on temperature and cooling.
ABS: Can produce a glossier finish than PLA if printing temperature and speed are well-tuned. However, ABS is more prone to warping, which can ruin surface quality.
Nylon: Typically produces matte, slightly rough surfaces. Its flexibility can help with layer bonding but doesn't inherently create smooth finishes.
Metals
Metal 3D-printed parts often have rough, granular surfaces after printing. Powder-based processes leave a texture similar to sand-blasted metal. This is functional for some applications but often requires post-processing—polishing, machining, or coating—for smooth finishes.
Ceramics
Ceramic 3D printing usually results in rough surfaces. The sintering process after printing causes shrinkage and surface irregularities. A 3D-printed ceramic vase comes out of the printer with a matte, textured surface—sometimes desired, sometimes requiring finishing.
Resins
SLA and DLP resins produce the smoothest as-printed surfaces. Layer heights down to 0.025 mm make layers nearly invisible. Different resin formulations affect final gloss—standard resins are glossy, while specialty formulations can be matte.
How Does Design Affect Surface Finish?
Wall Thickness
If walls are too thin, printers struggle to deposit material evenly:
- FDM: Walls under 1 mm may sag or not bond properly
- SLA: Thin walls can warp or become transparent
- General rule: Design walls at least 1.5–2 mm for reliable printing
Support Structures
Supports are necessary for overhangs but leave marks:
- FDM: Support contact points leave rough areas
- SLA: Supports made of same resin leave bumps or pits when removed
- Placement matters: Position supports where marks won't show—undersides, hidden areas
Surface Curvature
High-curvature surfaces are challenging to print smoothly:
- FDM: Sharp curves show more visible layer lines as the nozzle changes direction rapidly
- SLA: Curved surfaces print smoothly but may require careful orientation
- Example: A sphere printed with FDM has more pronounced layer lines than a flat surface
Orientation
How you orient the model affects which surfaces are smooth:
- Vertical surfaces: Show layer lines prominently
- Horizontal top surfaces: Usually smoothest
- Horizontal bottom surfaces: May be rough from first layer adhesion
What Post-Processing Techniques Improve Surface Finish?
Mechanical Methods
Sanding: The most common post-processing technique:
- Start with coarse grit (200–400) to remove major flaws
- Progress to fine grit (800–2000) for smooth finish
- Wet sanding reduces dust and gives finer finish
- Focus on visible surfaces first
Example: An FDM-printed figurine might start with 220 grit, progress through 400, 800, and finish with 1500 for a smooth surface ready for painting.
Polishing:
- Use polishing compounds with soft cloth or felt
- Works best on dense materials (resin, ABS)
- Can achieve near-mirror finishes on some materials
Tumbling/Vibratory finishing:
- Parts placed in media with abrasive
- Good for batch processing multiple small parts
- Reaches internal cavities that sanding cannot
Chemical Methods
Acetone vapor smoothing (for ABS only):
- Exposes parts to acetone vapor
- Melts surface layer, smoothing layer lines
- Results in glossy, sealed surface
- Requires careful control to avoid over-melting
Resin coating:
- Apply thin layer of liquid resin and cure
- Fills layer lines, creates smooth surface
- Works on multiple materials
Epoxy coating:
- Brush or spray clear epoxy
- Creates durable, glossy finish
- Can fill minor imperfections
Thermal Methods
Heat gun (for thermoplastics):
- Carefully apply heat to melt surface layer
- Smooths minor layer lines
- Risk of deforming part if too much heat
Annealing:
- Heating part to just below melting point
- Can improve layer bonding and surface appearance
- May cause dimensional changes
Coating Methods
Primer:
- Fills small layer lines
- Provides uniform base for painting
- Reveals imperfections needing more sanding
Paint:
- Multiple thin coats better than one thick coat
- Sand between coats for smoothest result
- Clear coat adds protection and gloss
Plating:
- Electroplating adds metal layer
- Creates durable, metallic finish
- Requires conductive surface preparation
How Do You Choose the Right Approach for Your Project?
Decision Framework
Consider these factors:
1. What is your acceptable surface quality?
- Cosmetic/display quality: Need smooth, attractive surfaces
- Functional quality: Surface texture may not matter
- Medical quality: Must meet specific smoothness standards
2. What is your budget?
- Professional post-processing services cost money
- DIY methods cost time and materials
- Some technologies (SLA) produce better as-printed surfaces
3. What is your timeline?
- Sanding and painting take hours to days
- Chemical smoothing is faster but requires setup
- Professional services may have lead times
4. What materials are you using?
- ABS can be vapor-smoothed
- PLA sands well but doesn't respond to chemicals
- Resin prints need UV curing after finishing
Technology Selection Guide
| Desired Finish | Best Technology | Post-Processing |
|---|---|---|
| As-printed functional | SLS, FDM | Minimal—just support removal |
| Smooth, paintable | FDM | Sanding + primer + paint |
| Glossy, detailed | SLA | Light sanding + clear coat |
| Near-injection molded | Material Jetting | Minimal or none |
| Mirror finish (metal) | Metal printing | Polishing, electroplating |
| Matte, textured | SLS | As-printed or media blast |
What Common Problems Ruin Surface Finish and How Do You Fix Them?
Problem: Visible Layer Lines
Causes:
- Too thick layer height
- Printer calibration issues
- Wrong material for desired finish
Solutions:
- Use thinner layers (0.1 mm or less)
- Calibrate printer properly
- Consider SLA for smoother surfaces
- Post-process with sanding or chemical smoothing
Problem: Rough, Textured Surfaces
Causes:
- Over-extrusion
- Poor cooling
- Stringing or oozing
Solutions:
- Calibrate extrusion multiplier
- Improve part cooling
- Adjust retraction settings
- Sand and prime after printing
Problem: Support Marks
Causes:
- Supports placed on visible surfaces
- Support interface too aggressive
- Improper removal technique
Solutions:
- Orient model to hide supports
- Use tree supports for easier removal
- Sand marks smooth
- Consider soluble supports (dual-extrusion)
Problem: Warped or Distorted Surfaces
Causes:
- Poor bed adhesion
- Thermal stress
- Insufficient cooling
Solutions:
- Improve first layer adhesion
- Use enclosure for temperature stability
- Add brim or raft
- Adjust cooling settings
Problem: Blobs and Zits
Causes:
- Over-extrusion at layer start/end
- Retraction issues
- Moist filament
Solutions:
- Calibrate retraction
- Enable coasting/wipe settings
- Dry filament before use
- Use power loss recovery (if available)
Problem: Poor First Layer
Causes:
- Bed leveling issues
- Nozzle too close or far
- First layer speed too high
Solutions:
- Level bed properly
- Adjust Z-offset
- Slow first layer speed
- Use adhesion aids (glue stick, hairspray)
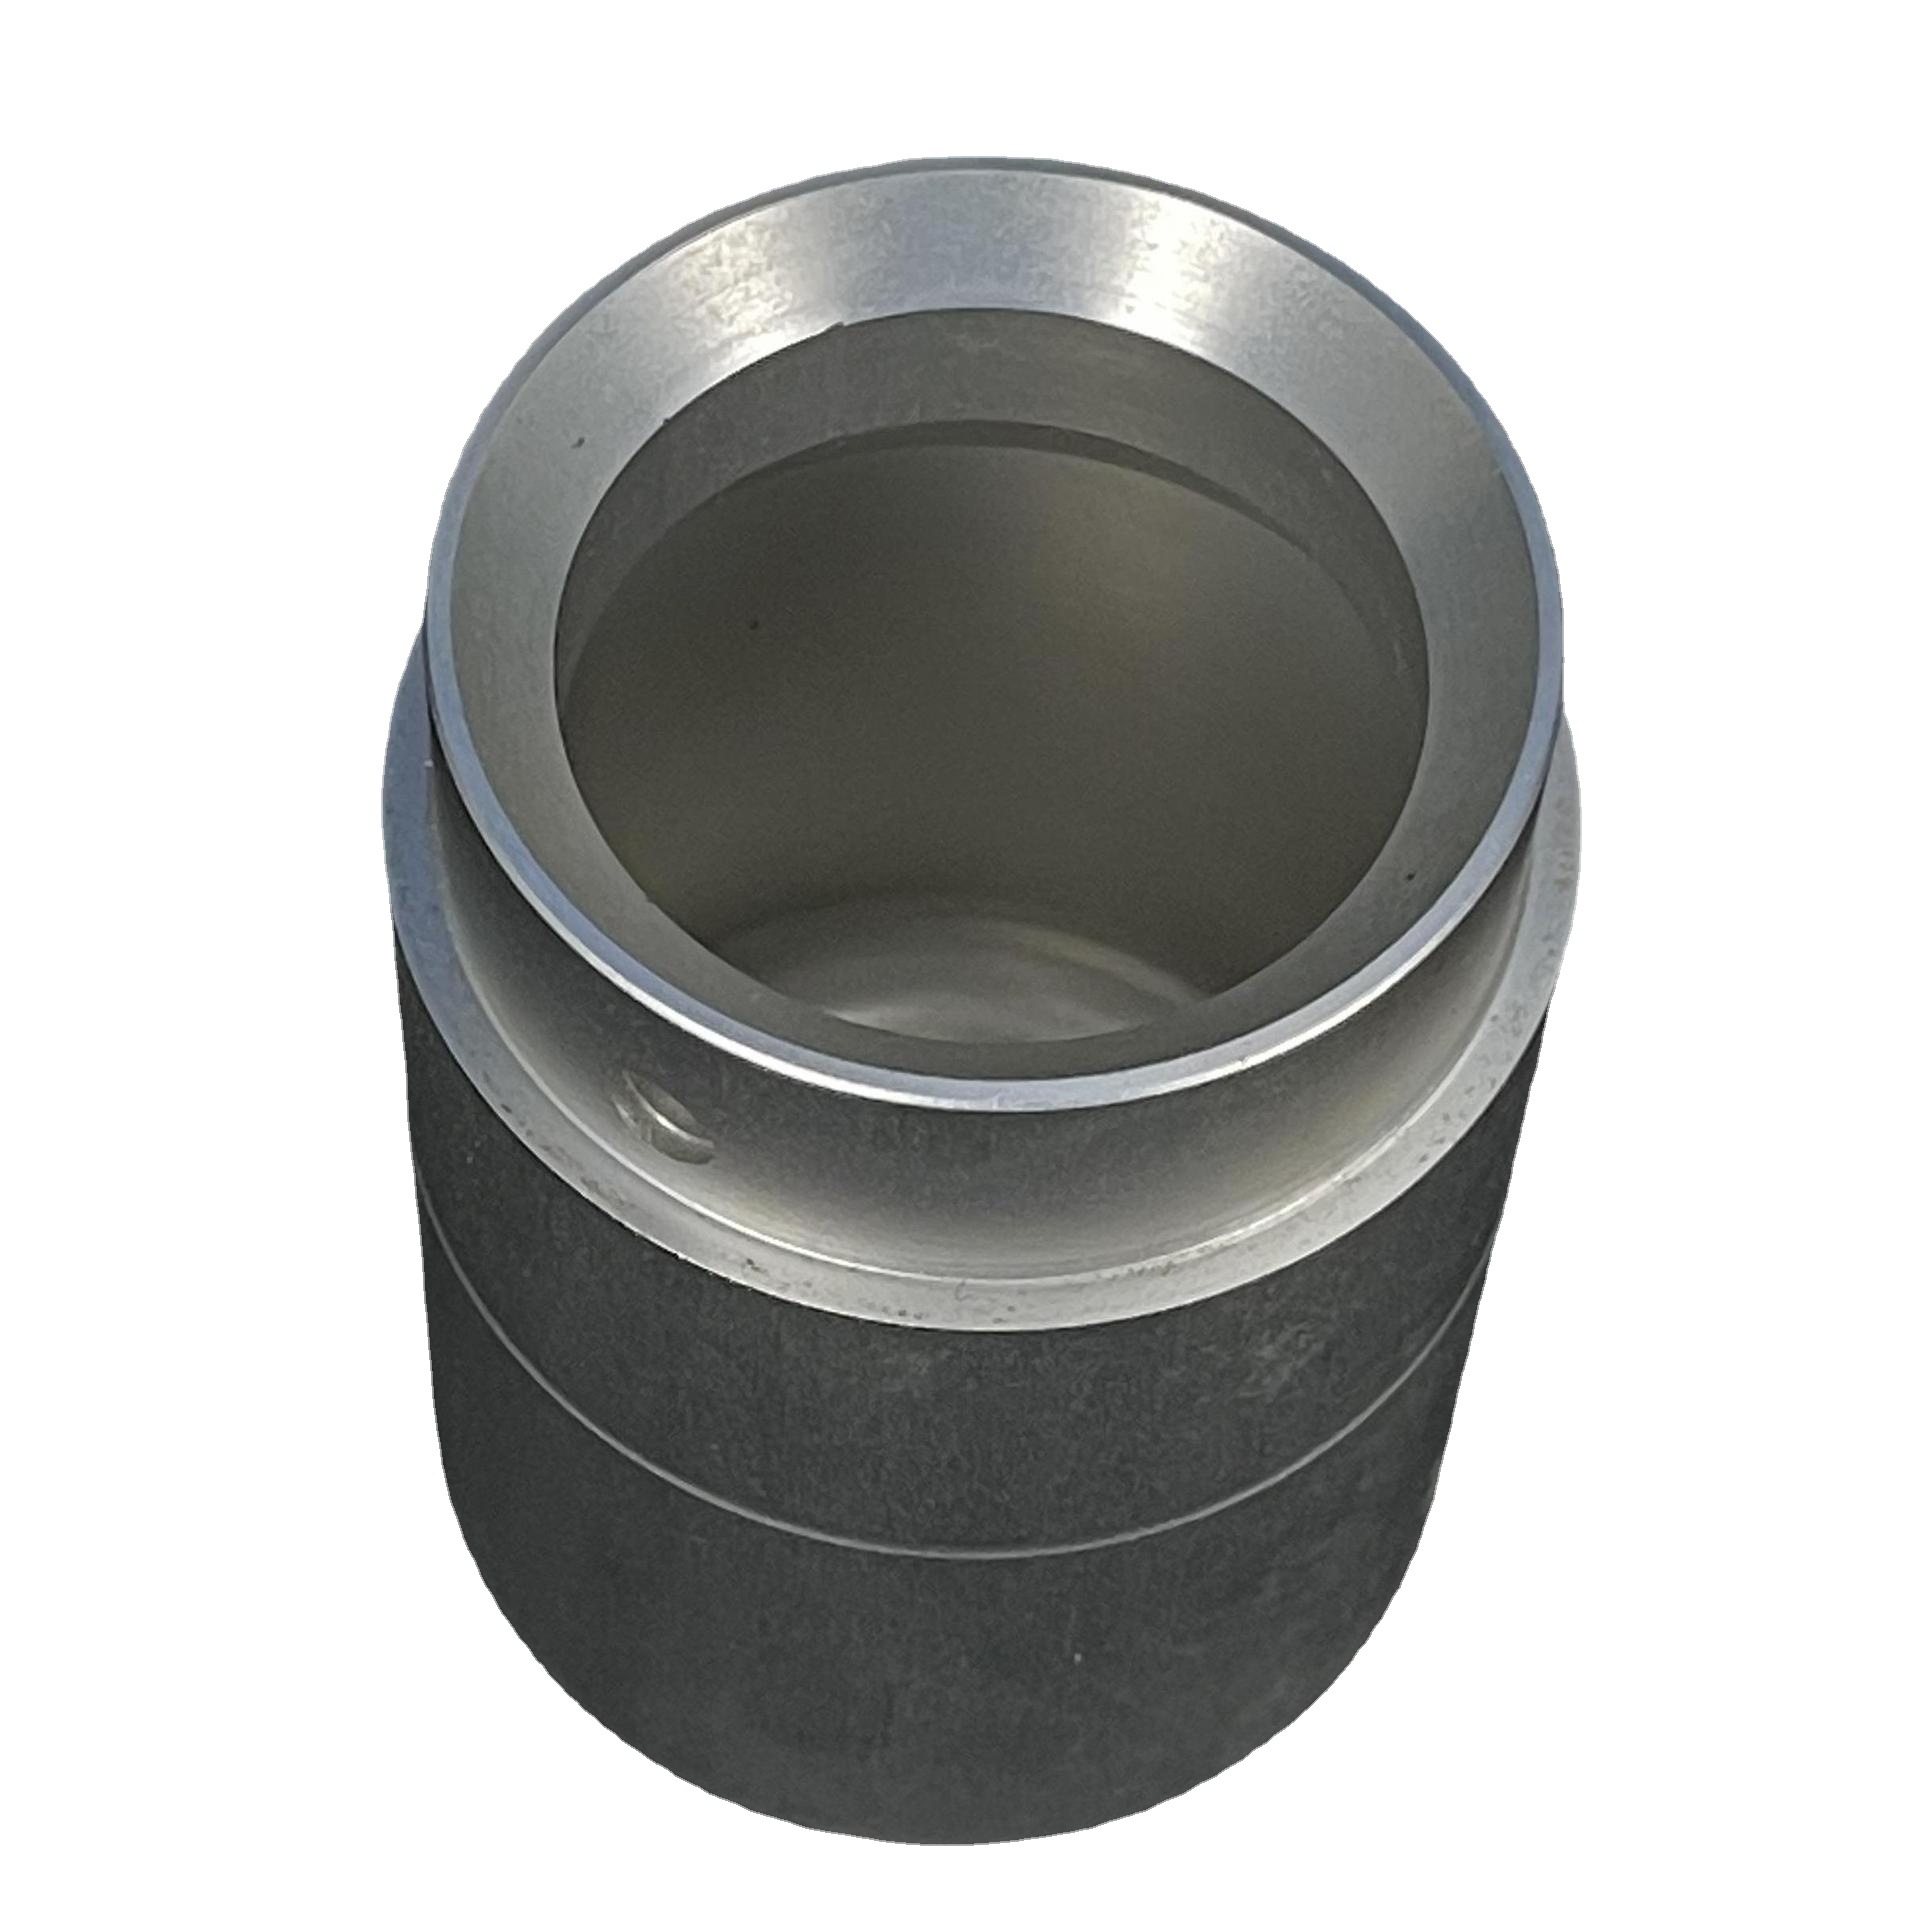
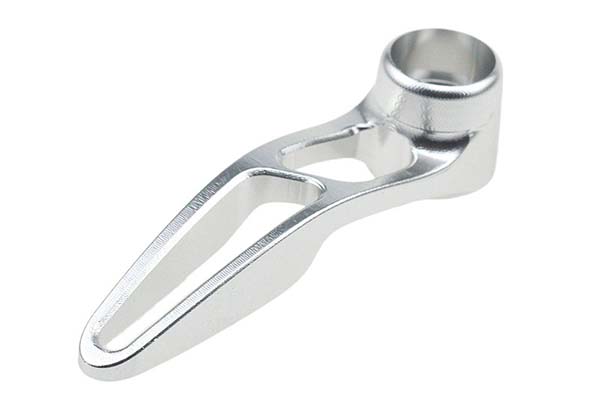
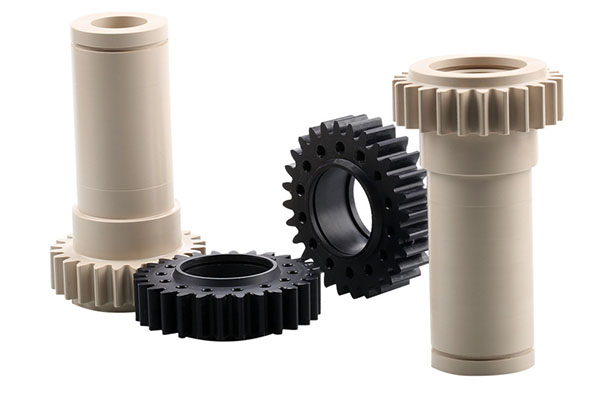
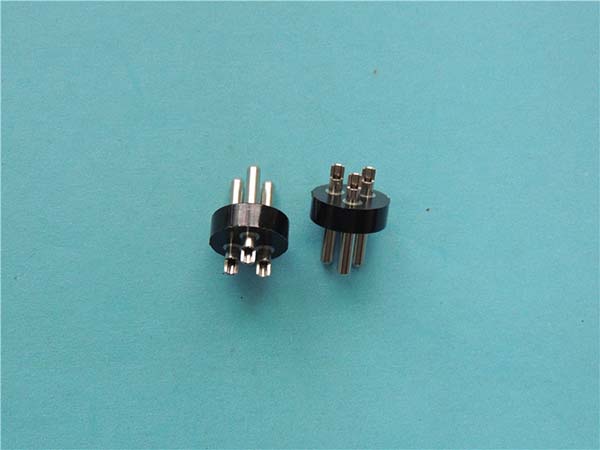
How Does Yigu Technology Approach Surface Finish?
As a non-standard plastic and metal products custom supplier, Yigu Technology understands that surface finish can make or break a product's performance and marketability.
Our Experience
Medical implants: We combine precise SLA printing with polishing to achieve surfaces that promote cell adhesion and meet strict medical standards. A recent hip implant project required surface roughness below Ra 1 μm—achieved through careful parameter control and post-processing.
Aerospace components: For parts where smooth surfaces reduce drag, we optimize printing parameters and use precision machining to achieve required finishes. Boeing's research showing 2–5% fuel savings from improved surface finish drives our quality standards.
Consumer products: When appearance matters, we use material jetting for near-injection-molded surfaces straight from the printer. For custom projects, we offer painting, clear coating, and plating options.
Our Approach
- Technology matching: Choose the right printing technology for your surface requirements
- Parameter optimization: Dial in settings for each material and geometry
- Post-processing expertise: Sanding, polishing, coating, plating—we do it all
- Quality validation: Measure surface finish against specifications
Commitment to Quality
We don't just print parts—we finish them to meet your exact needs. Whether you need functional surfaces, cosmetic perfection, or medical-grade smoothness, we deliver.
Conclusion
Achieving ideal surface finish in 3D printing requires understanding multiple factors and controlling them systematically:
- Technology choice: SLA for smooth, FDM for functional, SLS for durability
- Material selection: Resins smoothest, metals rough, plastics in-between
- Design considerations: Wall thickness, supports, orientation all matter
- Printing parameters: Layer height, temperature, speed affect quality
- Post-processing: Sanding, chemicals, coatings transform rough prints
The effort is worth it:
- Medical: Smooth implants integrate better, heal faster
- Aerospace: Smooth surfaces reduce drag, save fuel
- Consumer: Smooth finishes sell products
- Art: Finish creates emotion, style, impact
No single approach works for every project. A functional prototype might need only support removal. A display piece might demand hours of sanding and painting. A medical device must meet specific smoothness standards.
The key is matching your approach to your requirements. Understand what your project needs, choose the right technology and materials, optimize your process, and apply appropriate post-processing.
With the right knowledge and techniques, you can achieve surfaces that look great, perform well, and meet the demands of even the most challenging applications.
Frequently Asked Questions
Q1: How can I improve the surface finish of my FDM 3D-printed parts?
Several methods help:
- Reduce layer height (0.1 mm instead of 0.2 mm) makes layer lines less visible
- Adjust temperature—slightly higher for better flow, but not too high
- Use brim or raft to reduce warping
- Sand and prime after printing for smooth, paintable surfaces
- Consider acetone vapor smoothing if printing in ABS
Q2: Is it possible to achieve a mirror-like surface finish with 3D printing?
Directly from the printer, rarely. But through post-processing, yes:
- SLA resin parts: Sand with progressively finer grits (up to 2000+), then polish with compound
- Metal parts: Electroplating after surface preparation creates reflective surfaces
- ABS parts: Acetone vapor smoothing creates glossy finish, then polish
- Material jetting parts: Some come close as-printed; light polish finishes
Q3: Does the color of the 3D-printing material affect the surface finish?
Generally, color itself doesn't directly affect surface finish. However:
- Some pigments may slightly alter flow characteristics
- Dark colors may show layer lines more prominently
- Transparent materials reveal internal structures
- With proper parameter tuning for the base material, color impact is minimal
Q4: What's the best technology for smooth surfaces straight from the printer?
SLA (Stereolithography) and Material Jetting produce the smoothest as-printed surfaces. Layer heights down to 0.025 mm make layers nearly invisible. For many applications, these surfaces need no post-processing.
Q5: How long does post-processing take?
Depends on part size and desired finish:
- Simple support removal: 5–15 minutes
- Light sanding: 30 minutes to 2 hours
- Full sanding + priming + painting: 2–8 hours (may span multiple days for curing)
- Professional finishing services: 1–3 days turnaround
Q6: Can I automate surface finishing?
For production volumes, yes:
- Tumbling/vibratory finishing for multiple small parts
- Media blasting for consistent texture
- Robotic sanding for large parts
- Chemical smoothing systems for specific materials
Q7: What surface finish can I expect without any post-processing?
- FDM: Rough, visible layer lines (Ra 20–100 μm)
- SLA: Smooth, minimal layers (Ra 1–5 μm)
- SLS: Slightly rough, grainy (Ra 10–20 μm)
- Material Jetting: Very smooth (Ra 1–3 μm)
- Metal printing: Rough, granular (Ra 10–50 μm)
Contact Yigu Technology for Custom Manufacturing
Ready to achieve the perfect surface finish for your 3D-printed project? At Yigu Technology, we combine advanced printing technologies with expert post-processing. Our team helps you select the right approach for your requirements—whether you need functional surfaces, medical-grade smoothness, or cosmetic perfection.
Visit our website to see our capabilities. Contact us today for a free consultation and quote. Let's create parts that look as good as they perform.