Introduction
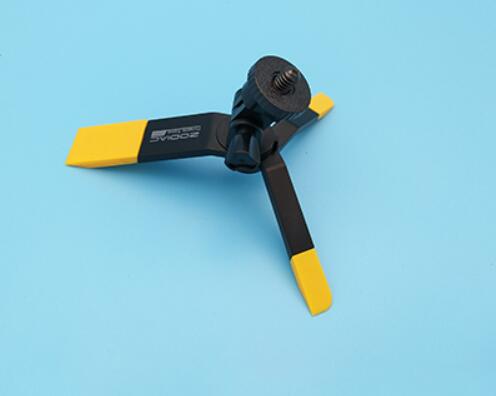
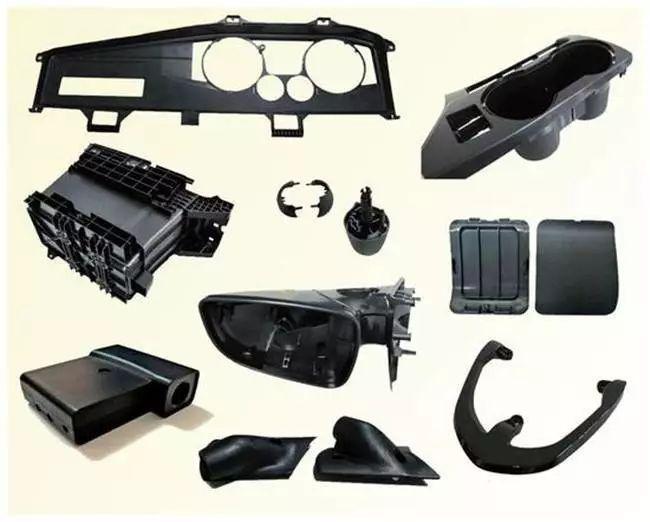
High-Impact Polystyrene (HIPS) offers a compelling mix of affordability and toughness. It is the material behind many toys, appliance housings, and automotive components you see every day.
But molding HIPS is not as straightforward as molding general-purpose polystyrene. The rubber content that gives HIPS its impact strength also introduces unique challenges. Manufacturers often struggle with weld lines, warpage, and balancing impact resistance with process efficiency.
This guide walks you through the critical aspects of HIPS injection molding. You will learn the optimal process parameters, material characteristics, design guidelines, and troubleshooting techniques. By the end, you will have the knowledge to produce high-quality HIPS parts consistently.
What Are the Key Process Parameters for HIPS?
Getting HIPS right starts with controlling the molding process.
Melt Temperature
HIPS melts at 200°C to 240°C . This range is higher than general-purpose polystyrene (GPPS) because of the rubber content.
Going below 190°C causes poor flow. The melt does not fill the mold completely, leading to short shots.
Exceeding 260°C is equally problematic. The rubber phase degrades, and impact strength drops significantly.
Injection Speed
A moderate injection speed of 40 to 80 mm/s works best for HIPS.
Slow speeds—below 30 mm/s—create weak weld lines. The melt fronts meet without fusing properly.
Very high speeds—over 100 mm/s—shear the rubber particles. This lowers impact resistance.
Match speed to part geometry. Thin walls need faster speeds to fill before cooling. Thick sections require slower speeds to prevent shear damage.
Holding Pressure
Set holding pressure at 60% to 70% of injection pressure. Typical values range from 600 to 1000 bar .
Hold for 2 to 5 seconds. This prevents sink marks in thick areas without overpacking the cavity. Overpacking creates internal stresses that lead to warpage.
Screw Design
Use a screw with an L/D ratio of 20:1 to 24:1 . This ensures proper melting and mixing of the rubber and polystyrene phases.
Screws with ratios below 18:1 leave unmelted particles. These weak spots reduce part strength.
Cooling Time
HIPS cools slower than GPPS because of its rubber content. Typical cooling times range from 15 to 40 seconds .
You can reduce cooling time by 10% to 15% using conformal cooling channels or increasing coolant flow. But avoid rapid cooling. It traps stress in the part.
The table below summarizes optimal process parameters:
| Parameter | Recommended Range | Impact of Deviation |
|---|---|---|
| Melt Temperature | 200°C – 240°C | Below 190°C: short shots. Above 260°C: degraded rubber. |
| Injection Speed | 40 – 80 mm/s | Too slow: weak weld lines. Too fast: reduced impact strength. |
| Holding Pressure | 60-70% of injection pressure | Too low: sink marks. Too high: stress, warpage. |
| Holding Time | 2 – 5 seconds | Insufficient: voids. Excessive: overpacking. |
| Cooling Time | 15 – 40 seconds | Too short: deformation. Too long: reduced productivity. |
| Screw L/D Ratio | 20:1 – 24:1 | Lower: poor mixing, unmelted particles. |
What Makes HIPS Material Unique?
Rubber Content
HIPS contains 5% to 15% polybutadiene rubber by weight. This rubber forms particles dispersed throughout the polystyrene matrix.
Higher rubber content increases impact strength. Izod impact strength ranges from 2 to 5 kJ/m² , compared to about 1 kJ/m² for GPPS.
But higher rubber content also reduces rigidity and increases cost. Choose the grade that matches your application.
Melt Flow Index (MFI)
MFI for HIPS ranges from 1 to 20 g/10min (measured at 200°C/5kg).
Higher MFI (10 to 20) improves flow. This suits complex parts with thin walls. Impact strength is slightly lower.
Lower MFI (1 to 5) offers better toughness. Use this for structural components where strength matters more than flow.
Transparency vs. Toughness
HIPS is opaque. The rubber particles scatter light, making it impossible to achieve the clarity of GPPS.
This is a deliberate trade-off. You sacrifice transparency for up to 5 times higher impact resistance .
Functional Additives
UV-stabilized grades include carbon black or UV absorbers. These protect against sunlight degradation. Use them for outdoor applications like garden tools or furniture.
Flame-retardant grades use phosphorus-based or brominated additives. They meet fire safety standards like UL 94 V-0 for electrical enclosures. Note that flame retardants may slightly reduce impact strength.
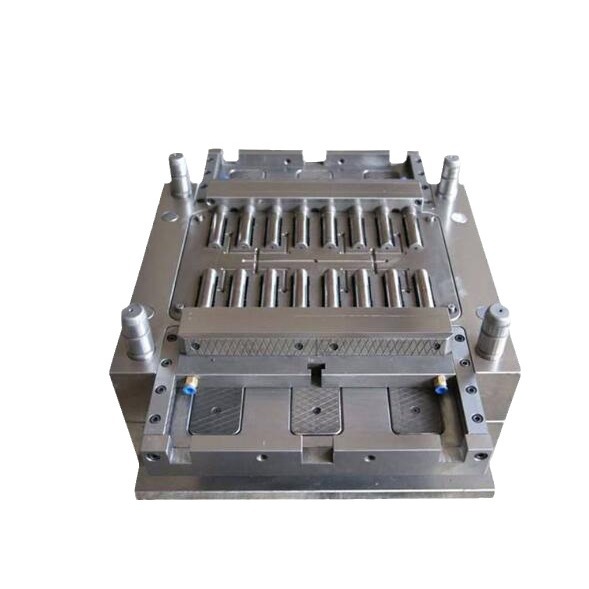
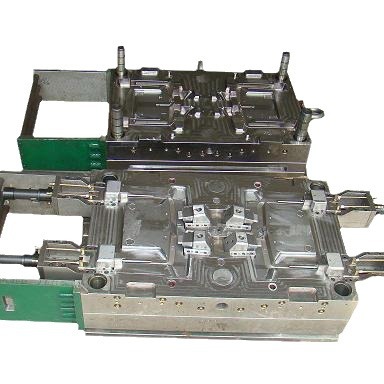
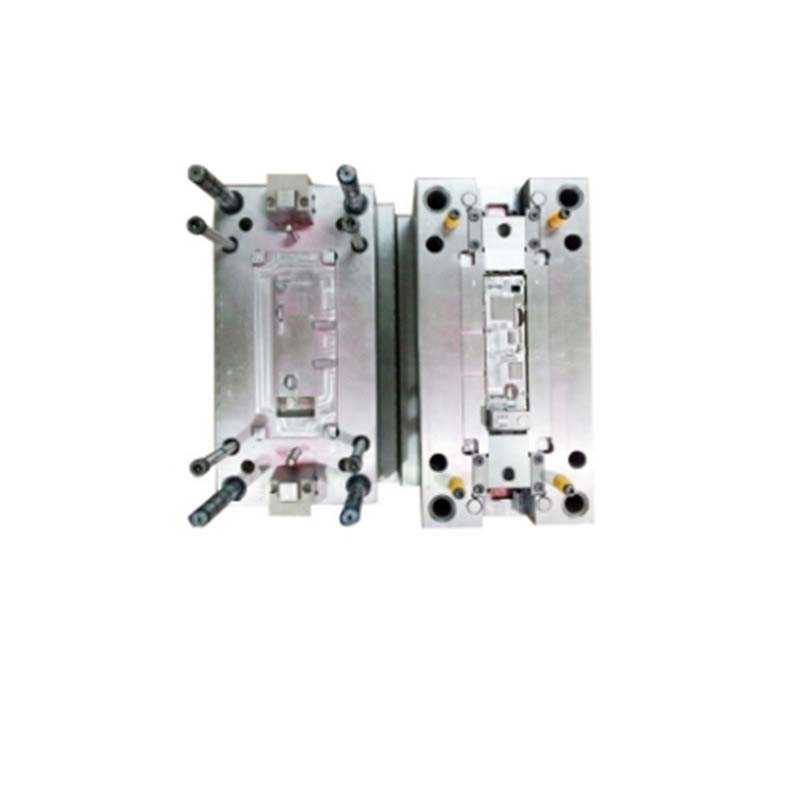
How Should You Design Molds and Parts for HIPS?
Gate Design
Use larger gates than you would for GPPS. Aim for 1.0 to 2.0 mm diameter .
Edge gates and tab gates work well. They minimize shear on the rubber particles.
Avoid pinpoint gates. They concentrate shear forces and can damage the rubber phase.
Place gates to minimize weld lines in high-stress areas. A weld line in a critical impact zone reduces strength significantly.
Draft Angles
HIPS is more flexible than GPPS. It can stick to molds if draft angles are insufficient.
For thick sections—over 3 mm —use draft angles of 1.5° to 2° .
For thin walls—under 2 mm —1° draft is sufficient.
Rib Design
Ribs add stiffness without adding excessive thickness. But they can cause sink marks if not designed properly.
Keep ribs at 50% to 70% of the parent wall thickness. For a 3 mm wall, ribs should be 1.5 to 2.1 mm thick.
This ratio prevents uneven cooling and maintains impact strength.
Venting
HIPS requires deeper vents than GPPS. Use vent depths of 0.03 to 0.06 mm .
Inadequate venting traps air. The trapped air compresses, heats, and causes burn marks. Burn marks weaken the part and ruin appearance.
Place vents at the end of flow paths and in areas where air is likely to be trapped.
Mold Temperature
Maintain mold temperature between 40°C and 60°C .
Higher temperatures—50°C to 60°C —improve surface gloss. Use this for visible parts like appliance panels.
Lower temperatures—40°C to 45°C —speed cooling. Use this when cycle time is critical.
Shrinkage Compensation
HIPS shrinks 0.5% to 0.8% , slightly more than GPPS.
Compensate by enlarging mold cavities by about 0.6% . For parts with medium dimensions, this helps meet tolerances of ±0.2 mm .
How Do You Troubleshoot Common HIPS Defects?
Silver Streaks
Cause: Moisture in the material. Even small amounts vaporize during molding, creating streaks.
Solution: Dry HIPS at 70°C to 80°C for 2 to 4 hours . Target moisture content below 0.05% .
Weld Line Weakness
Cause: Two melt fronts meet without fully bonding. Weld lines can reduce impact strength by 30% to 50% .
Solutions:
- Increase melt temperature by 10°C to 15°C
- Raise injection speed
- Use weld line enhancer additives
- Relocate gates to move weld lines away from high-stress areas
Warpage
Cause: Uneven cooling or excessive shear that orients rubber particles.
Solutions:
- Use uniform wall thickness throughout the part
- Optimize cooling channel layout for even heat extraction
- Reduce holding pressure by 5% to 10% to minimize stress
Short Shots
Cause: Insufficient injection speed or low melt temperature. HIPS has higher viscosity than GPPS and needs enough energy to fill the cavity.
Solutions:
- Increase injection speed by 10% to 20%
- Raise melt temperature by 5°C to 10°C
- Avoid excessive shear while making these adjustments
Sink Marks Behind Ribs
Cause: Uneven cooling. Thick ribs cool slower than surrounding walls.
Solutions:
- Increase cooling time by 10% to 15% for thick ribs
- Adjust holding pressure to pack more material into the area
- Reduce rib thickness to 50% to 70% of the parent wall
Color Streaks
Cause: Undispersed color masterbatch trapped in the rubber phase.
Solutions:
- Use masterbatch specifically designed for HIPS
- Increase screw speed by 10% to 15% for better mixing
- Pre-blend masterbatch with HIPS pellets before feeding
The table below summarizes common defects and fixes:
| Defect | Primary Cause | Key Fixes |
|---|---|---|
| Silver streaks | Moisture | Dry at 70-80°C for 2-4 hours |
| Weld line weakness | Poor melt fusion | Increase temperature and speed, relocate gates |
| Warpage | Uneven cooling | Uniform wall thickness, optimize cooling channels |
| Short shots | Insufficient fill | Increase speed or temperature |
| Sink marks | Uneven cooling behind ribs | Increase cooling time, reduce rib thickness |
| Color streaks | Poor masterbatch dispersion | Use HIPS-specific masterbatch, increase screw speed |
What Does a Real-World Example Look Like?
A manufacturer of appliance housings switched from GPPS to HIPS to improve impact resistance. But they encountered warpage on large flat panels. Parts came out of the mold with unacceptable curvature.
The root cause was uneven cooling. The mold had a standard cooling channel layout that worked for GPPS but not for HIPS. HIPS’ rubber content made it more sensitive to temperature differences.
The solution involved redesigning the cooling channels. Conformal cooling was added near the areas that cooled slowest. Mold temperature was adjusted to 50°C for consistent surface gloss. Holding pressure was reduced slightly to minimize stress.
After implementation, warpage dropped by 90% . The parts met dimensional specifications, and impact strength remained within target range.
Conclusion
HIPS injection molding requires attention to detail. The rubber content that gives HIPS its impact strength also affects how it flows, cools, and behaves in the mold.
Key process parameters include melt temperature between 200°C and 240°C, injection speed of 40 to 80 mm/s, and holding pressure at 60% to 70% of injection pressure. Cooling times range from 15 to 40 seconds.
Material selection matters. Higher rubber content increases impact strength but reduces rigidity. MFI choices balance flow versus toughness.
Mold design must accommodate HIPS’ characteristics. Use larger gates, deeper vents, and proper draft angles. Compensate for 0.5% to 0.8% shrinkage.
When defects occur, targeted troubleshooting solves them. Dry material to prevent silver streaks. Adjust temperature and speed to improve weld lines. Use uniform wall thickness and optimized cooling to prevent warpage.
With the right approach, HIPS delivers durable, affordable parts for a wide range of applications.
FAQ
How does HIPS compare to ABS in impact strength?
HIPS offers impact strength of 2 to 5 kJ/m² . ABS is stronger, with impact strength of 10 to 20 kJ/m² . However, HIPS is 20% to 30% cheaper , making it the better choice for non-critical applications like toys, packaging, and appliance housings where the highest impact resistance is not required.
Can HIPS be recycled?
Yes. HIPS carries resin code 6 and is recyclable. It retains most of its impact strength after recycling. For high-performance parts, recycled HIPS may need blending with virgin material to maintain consistent properties.
What causes HIPS parts to become brittle over time?
UV exposure without stabilizers degrades the rubber phase. High temperatures—above 80°C —can also cause degradation. Use UV-stabilized grades for outdoor applications. Avoid prolonged heat exposure during use.
What is the optimal drying condition for HIPS?
Dry HIPS at 70°C to 80°C for 2 to 4 hours . Target moisture content below 0.05% . Proper drying prevents silver streaks and other moisture-related defects.
How do I improve weld line strength in HIPS parts?
Increase melt temperature by 10°C to 15°C. Raise injection speed. Add weld line enhancer additives if needed. Most importantly, design gate locations to move weld lines away from areas that will experience mechanical stress.
Contact Yigu Technology for Custom Manufacturing
At Yigu Technology , we specialize in HIPS injection molding. Our engineers understand how to balance process parameters to maximize impact strength while maintaining efficiency.
We optimize melt temperature and injection speed for your specific part geometry. Our mold designs incorporate proper rib ratios, venting, and cooling channels to minimize defects. When issues arise, our troubleshooting expertise resolves them quickly.
Whether you need toy components, appliance housings, or automotive parts, we deliver consistent, high-quality results.
Contact Yigu Technology today to discuss your HIPS injection molding project.