Introduction
Mastering the 3D printing process requires more than just owning a printer. Success comes from understanding each stage—from initial concept through final delivery. Whether you're creating prototypes, functional parts, or end-use products, knowing how to navigate design, material selection, printing, and post-processing makes the difference between frustration and exceptional results.
This comprehensive guide walks you through the entire 3D printing workflow, sharing professional insights and practical techniques. You'll learn how to avoid common pitfalls, optimize your designs, choose the right materials, and deliver finished parts that meet your exact specifications.
How Do You Design Models That Print Perfectly?
The design phase determines everything that follows. A well-designed model prints successfully, while poor design choices lead to failed prints and wasted materials.
Which 3D Modeling Software Should You Use?
Your choice of 3D modeling software shapes what you can create. Each program offers different strengths for different applications.
| Software | Cost | Best For | Key Strengths |
|---|---|---|---|
| Blender | Free | Organic shapes, characters, art | Powerful sculpting, free, large community |
| Fusion 360 | Subscription | Engineering parts, functional prototypes | Parametric design, simulation tools |
| SolidWorks | Commercial (expensive) | Professional mechanical design | Extensive engineering features, industry standard |
| Tinkercad | Free | Beginners, simple models | Browser-based, intuitive, zero learning curve |
| ZBrush | Commercial | Ultra-detailed organic models | Industry-leading sculpting capabilities |
Real-world example: A product designer creating ergonomic handles for medical tools uses Fusion 360 for its parametric capabilities—allowing quick adjustments to curves based on user feedback. For the artistic details on limited-edition collectibles, the same designer switches to ZBrush for its sculpting power.
What Design Factors Ensure Print Success?
Critical design considerations separate successful prints from failures:
Structural strength depends on wall thickness and internal geometry. Parts designed for function need adequate material where stress occurs. A general rule: minimum wall thickness of 1-2mm for small plastic parts, increasing with part size and expected loads.
Internal structures dramatically affect strength-to-weight ratios. Research shows that honeycomb or lattice infill can provide up to 50% more strength than solid structures of the same weight. For example, a mounting bracket with 20% gyroid infill weighs less but handles similar loads to a solid version.
Support structures hold overhanging features during printing. Design with supports in mind:
- Orient models to minimize support needs
- Add chamfers (45° or steeper) to reduce overhangs
- Design breakaway contact points for easy removal
Printing direction affects both strength and surface quality. Parts are strongest in the direction parallel to layer lines. A study found that tensile strength increases 20-30% when load aligns with layer planes rather than perpendicular to them.
How Do You Design for Different Applications?
What Makes Medical Designs Different?
Medical 3D printing demands biocompatibility and patient-specific customization. Implants must integrate with living tissue without adverse reactions.
Key medical design considerations:
- Materials must be ISO 10993 certified for biocompatibility
- Surface texture promotes osseointegration (bone fusion)
- Patient anatomy captured through 3D scanning
- Sterilization compatibility required
Case study: A dental lab produces custom surgical guides for implant placement. Using intraoral scans, they design guides in under an hour that fit each patient perfectly—something impossible with standard stock guides. Surgery time drops by 40%, and implant success rates improve.
How Does Aerospace Design Differ?
Aerospace applications prioritize extreme strength-to-weight ratios and heat resistance. Every gram saved reduces fuel consumption over an aircraft's lifespan.
Aerospace design priorities:
- Topology optimization removes unnecessary material
- Lattice structures achieve 70-80% weight reduction
- Heat-resistant alloys withstand extreme temperatures
- Stringent certification requirements
Industry data: Airbus reported that 3D-printed titanium components in their aircraft achieve 30% weight reduction compared to traditionally manufactured parts. Over a 20-year service life, this translates to significant fuel savings and emissions reduction.
What Matters in Consumer Product Design?
Consumer products balance aesthetics, functionality, and cost. The design must appeal visually while performing reliably.
Consumer design considerations:
- Surface finish expectations (smooth, textured, glossy)
- Ergonomic comfort for hand-held items
- Color options and branding integration
- Cost targets for commercial viability
How Do You Choose the Right Material?
Material selection fundamentally determines your part's properties, appearance, and cost. Understanding material options helps you match them to applications.
What Plastics Work Best for Different Needs?
PLA (Polylactic Acid) dominates beginner and hobbyist printing:
- Renewable source (corn starch, sugarcane)
- Printing temperature: 180-220°C
- Minimal odor during printing
- Excellent layer adhesion
- Tensile strength: 40-60 MPa
- Cost: $20-50 per kg
Best for: Figurines, decorative items, educational models, low-stress prototypes
ABS (Acrylonitrile Butadiene Styrene) offers durability for functional parts:
- Higher strength and heat resistance
- Printing temperature: 220-250°C
- Requires heated bed to prevent warping
- Tensile strength: 40-50 MPa
- Heat deflection: 90-110°C
- Cost: $30-60 per kg
Best for: Mechanical components, electronic enclosures, automotive parts
PETG (Polyethylene Terephthalate Glycol) combines benefits of both:
- Better impact resistance than PLA
- Better layer adhesion than ABS
- Semi-transparent options available
- Reduced warping compared to ABS
- Good chemical resistance
- Cost: $30-60 per kg
Best for: Containers, mechanical parts, outdoor applications
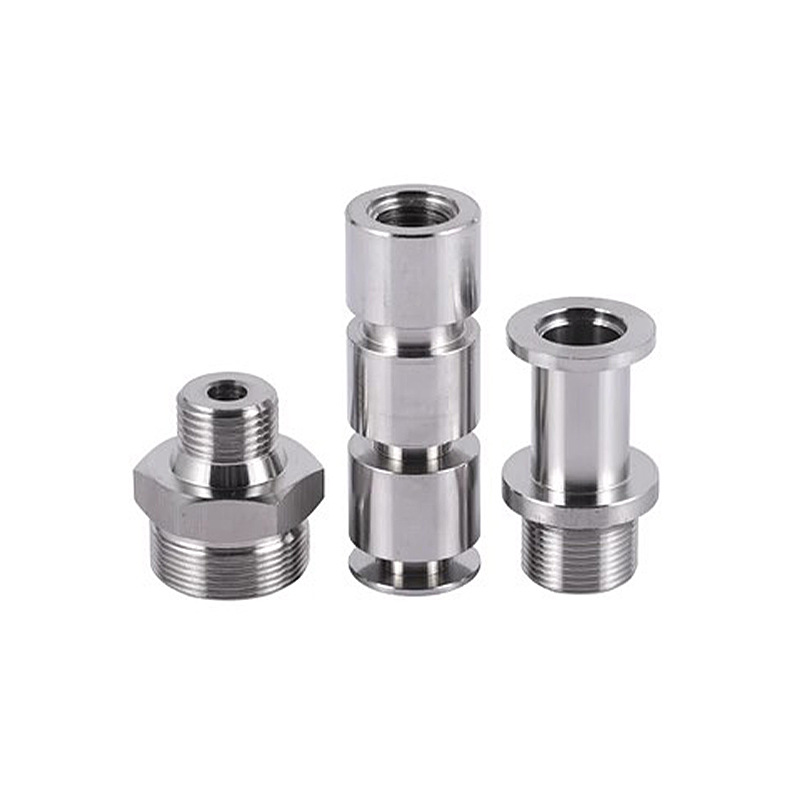
When Should You Use Metal Printing?
Metal 3D printing enables production of fully functional metal components with complex geometries impossible to machine.
Aluminum alloys (AlSi10Mg) :
- Lightweight with good thermal conductivity
- Strength-to-weight ratio ideal for aerospace and automotive
- Powder cost: $500-1500 per kg
- Applications: Engine parts, brackets, heat exchangers
Titanium alloys (Ti6Al-4V) :
- Exceptional strength-to-weight ratio
- Excellent corrosion resistance
- Biocompatible for medical implants
- Withstands temperatures above 500°C
- Powder cost: $1000+ per kg
- Applications: Aerospace structural components, medical implants
Real-world example: A racing team produces custom titanium suspension components that weigh 60% less than steel equivalents while maintaining strength. Each car saves 15kg, improving acceleration and handling.
What Resin Options Exist for High-Detail Prints?
Standard photopolymer resins deliver smooth, detailed surfaces:
- Layer resolution as fine as 25 microns
- Ideal for jewelry, miniatures, dental models
- Cost: $100-300 per liter
High-temperature resins withstand thermal stress:
- Heat deflection up to 250°C
- Used for injection mold inserts, hot air applications
- Cost: $300-1000+ per liter
Flexible resins provide elastic properties:
- Shore hardness ranging from 30A to 90A
- Applications: Gaskets, soft-touch handles, flexible joints
- Cost: $200-500 per liter
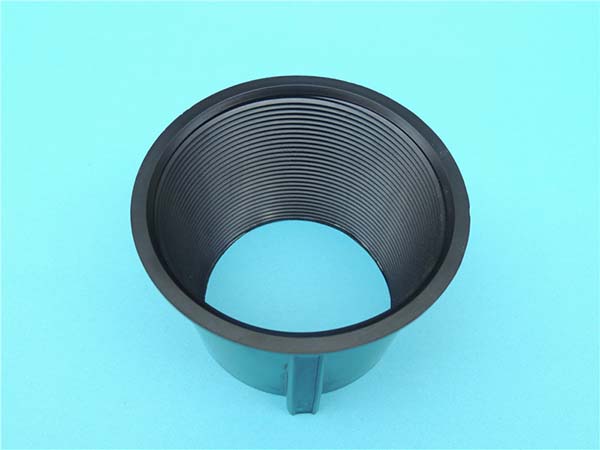
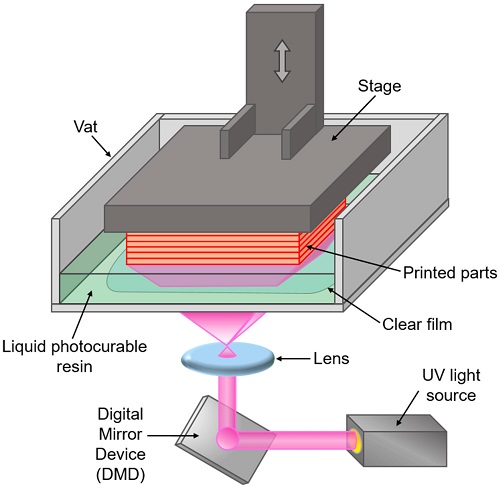
How Do Different Printing Technologies Compare?
Understanding 3D printing technologies helps you select the right process for your application.
| Technology | Method | Advantages | Disadvantages | Best Applications |
|---|---|---|---|---|
| FDM | Extrudes melted filament | Low cost, large material selection, simple operation | Visible layer lines, requires supports | Prototypes, jigs, fixtures, large parts |
| SLA/DLP | Cures liquid resin with light | High detail, smooth surfaces, fast for small parts | Resin cost, post-processing required, limited build volume | Jewelry, dental models, miniatures |
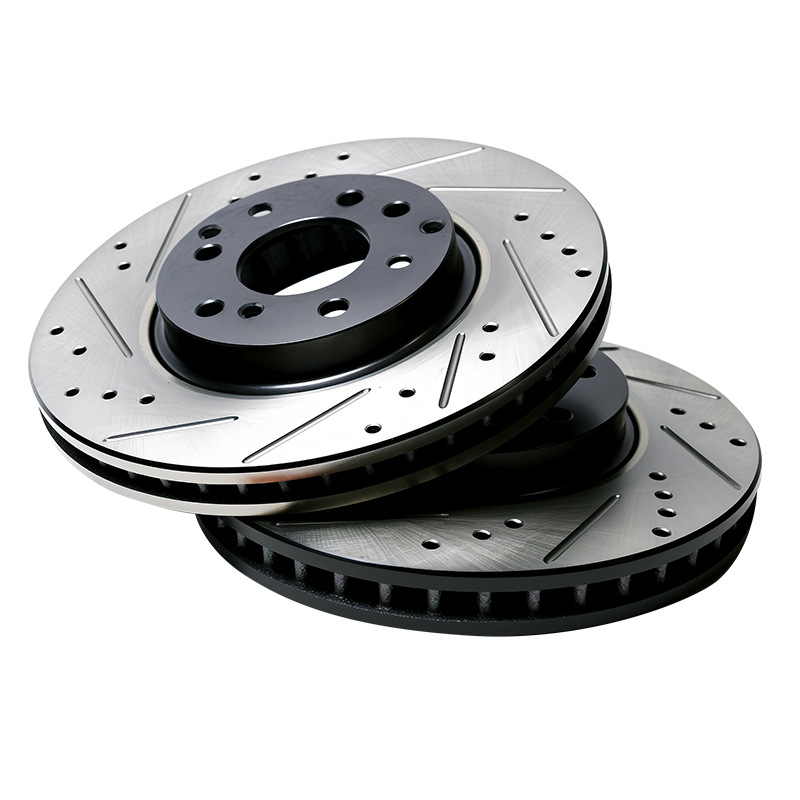
| SLS | Fuses powder with laser | No supports needed, durable parts, good mechanical properties | High cost, rough surface finish, powder handling | Functional prototypes, end-use parts, complex geometries |
| Metal PBF | Melts metal powder with laser/electron beam | Fully dense metal parts, complex geometries | Very high cost, slow, post-processing required | Aerospace, medical implants, high-performance components |
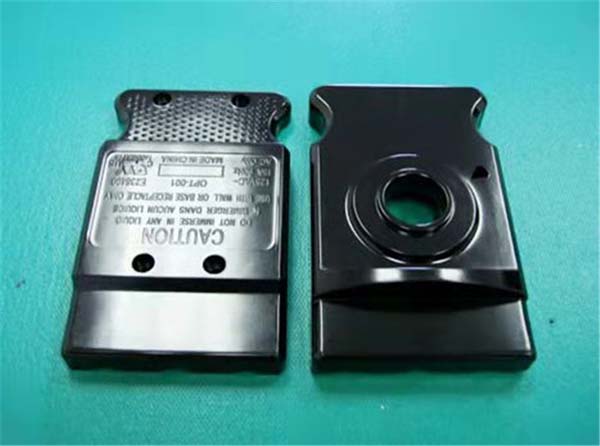
What Post-Processing Transforms Raw Prints into Finished Products?
Post-processing separates amateur results from professional-quality parts. The effort invested here determines final appearance and functionality.
How Do You Remove Support Structures?
Support removal requires care to avoid damaging the part:
For FDM prints:
- Snap off supports with pliers for easy-break interfaces
- Use flush cutters for precision removal
- Sand remaining contact points smooth
For SLA prints:
- Gently break away cured resin supports
- Clean residual nubs with sandpaper or files
- Wash in isopropyl alcohol to remove uncured resin
What Sanding Techniques Produce Smooth Surfaces?
Progressive sanding follows a systematic grit progression:
| Stage | Grit | Purpose |
|---|---|---|
| Coarse removal | 80-120 | Eliminate layer lines and major imperfections |
| Intermediate | 220-400 | Smooth surface texture |
| Fine finishing | 600-1000 | Prepare for painting or polishing |
| Ultra-fine | 1200-2000 | Achieve glossy, polished finish |
Pro tips:
- Wet sanding prevents clogging and heat buildup
- Use sanding sticks for flat surfaces
- Clean between grit changes to avoid contamination
- Consider filler primer between sanding stages
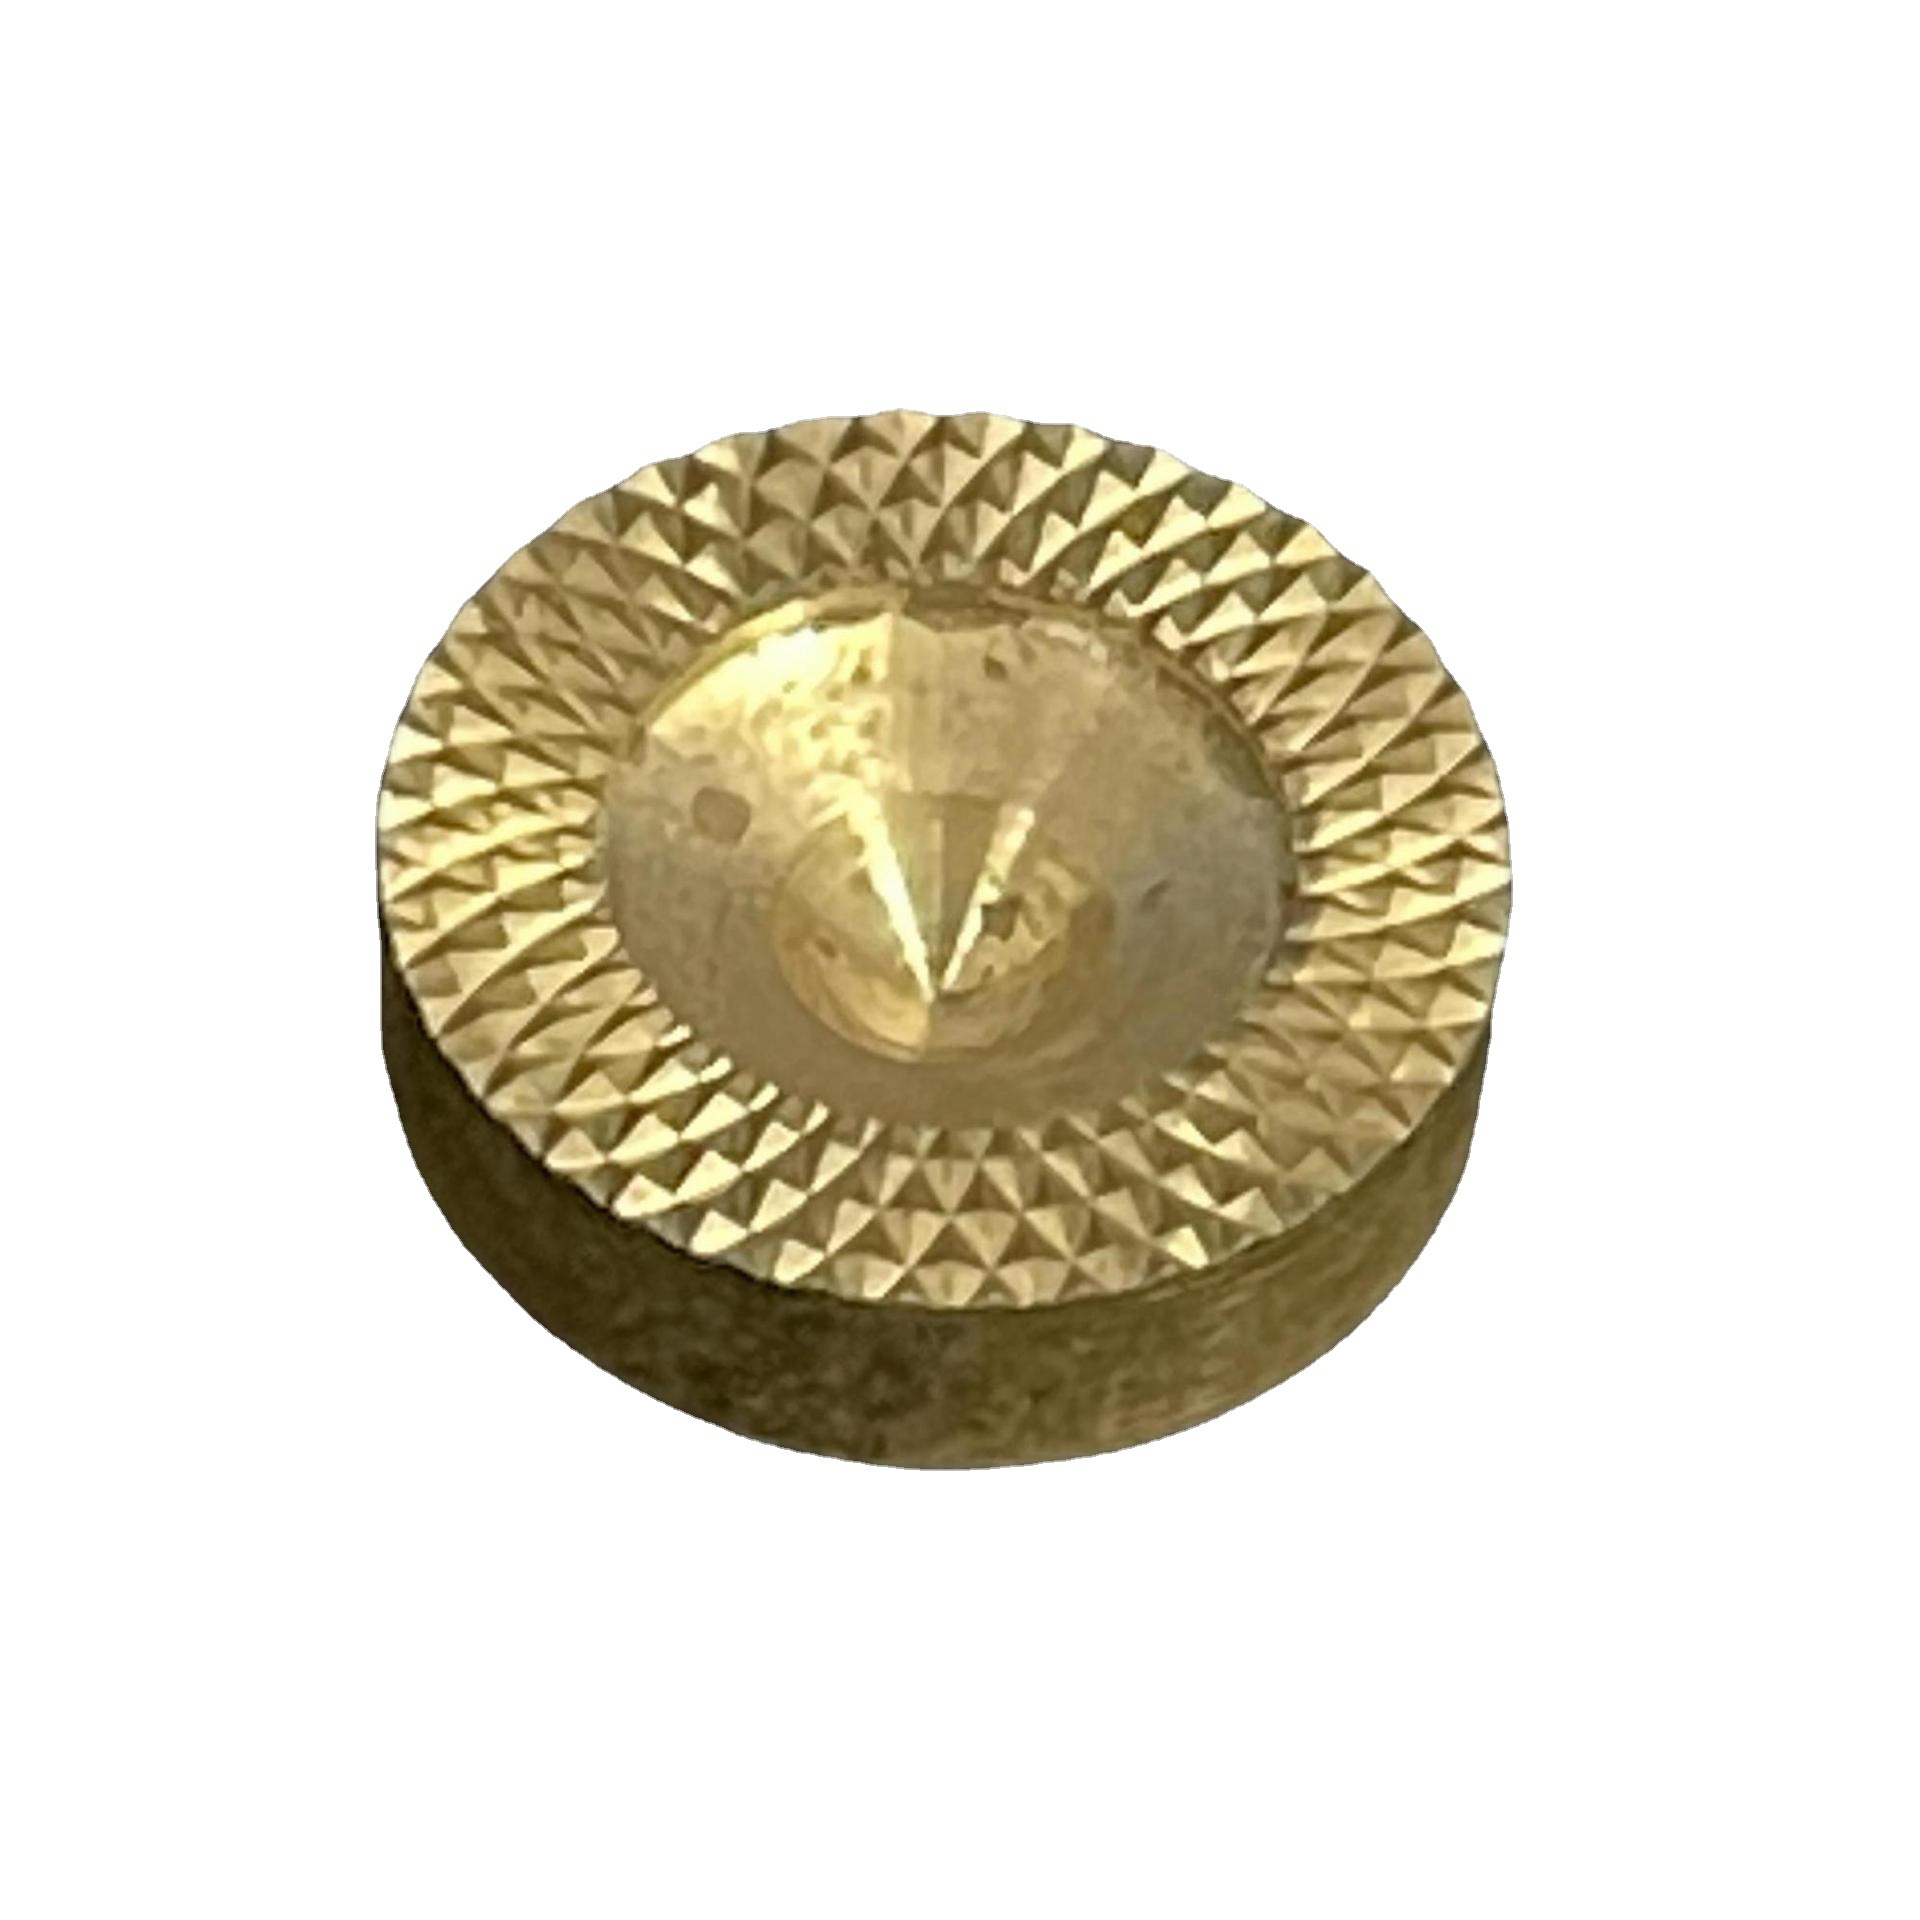
How Do You Achieve Professional Polishing?
Polishing methods vary by material:
Chemical polishing for ABS:
Acetone vapor exposure melts the surface slightly, allowing layers to flow together. Parts emerge with injection-molded gloss. Critical: Control exposure time—over-exposure destroys detail.
Mechanical polishing for metals:
Progressive buffing with compounds creates mirror finishes. Start with coarse compound, move to fine, finish with jeweler's rouge.
Resin polishing:
Wet sand to 2000 grit, then use plastic polish with soft cloth for optical clarity.
What Coloring Options Transform Your Prints?
Spray painting works for most materials with proper preparation:
- Prime first for adhesion
- Use multiple thin coats rather than one thick coat
- Sand between coats for glass-smooth results
- Clear coat protects finished paint
Dyeing penetrates certain materials (nylon, some resins):
- Produces color throughout the part
- Won't chip or scratch off like paint
- Limited to compatible materials
Multi-material printing embeds colors during printing:
- Print with multiple filaments in one job
- Achieve logos, text, or patterns without post-processing
When Is Heat Treatment Necessary?
Heat treatment primarily serves metal parts:
Stress relief annealing:
- Heats part to specific temperature
- Holds for calculated duration
- Slowly cools to relieve internal stresses
- Prevents distortion during machining or service
Solution treatment and aging:
- Optimizes mechanical properties
- Increases strength and hardness
- Critical for aerospace and medical applications
Industry data: Proper heat treatment of 3D-printed titanium alloys can increase fatigue life by 300-500% compared to as-printed condition.
Conclusion: Mastering the Complete Workflow
Mastering the 3D printing process from design to delivery requires understanding each stage and how they connect. Success comes from:
- Thoughtful design that considers printing constraints and end-use requirements
- Strategic material selection matching properties to application demands
- Appropriate technology choice balancing quality, speed, and cost
- Meticulous post-processing transforming raw prints into finished products
The most successful practitioners view 3D printing as an integrated system, not isolated steps. They design with post-processing in mind, select materials based on final requirements, and choose technologies that align with production goals.
Whether you're creating prototypes for client presentations, functional parts for industrial applications, or artistic pieces for display, this holistic approach delivers consistent, professional results.
Frequently Asked Questions
What is the best 3D printing material for beginners?
PLA is the best choice for beginners. It prints easily at 180-220°C, requires no heated bed, produces minimal odor, and comes in many colors. Its low cost ($20-50 per kg) and forgiving nature make it ideal for learning.
How can I improve the surface finish of my 3D printed objects?
Start with progressive sanding (coarse to fine grits). For ABS, acetone vapor smoothing creates glossy finishes. For PLA, consider filler primer between sanding stages. For resin prints, wet sanding followed by plastic polish works well.
Is 3D printing suitable for large-scale production?
It depends on volume and complexity. For high volumes (10,000+ parts), traditional methods like injection molding are more economical. For low volumes, complex geometries, or high customization, 3D printing excels. Many manufacturers use hybrid approaches—3D printing for prototypes and tooling, traditional methods for mass production.
What's the strongest 3D printing material?
Among plastics, polycarbonate (PC) and nylon-carbon fiber composites offer highest strength. For metals, titanium alloys (Ti6Al-4V) provide exceptional strength-to-weight ratios. Tool steels achieve maximum absolute strength but are heavy.
How much does it cost to 3D print a part?
Costs vary widely by material and size. A small plastic part might cost $1-5 in material. A medium metal part could run $50-200. Complex aerospace components can reach thousands. Factor in design time, printing, post-processing, and equipment depreciation.
Do I need supports for every 3D print?
No. Parts with angles steeper than 45° from vertical often print without supports. Self-supporting designs eliminate support needs entirely. Orientation choices can minimize or eliminate supports. When needed, design supports for easy removal.
What's the difference between FDM, SLA, and SLS?
FDM melts and extrudes filament—cost-effective, good for large parts, visible layer lines. SLA cures liquid resin with light—high detail, smooth surfaces, smaller build volume. SLS fuses powder with laser—no supports needed, durable parts, rougher surface finish, higher cost.
Contact Yigu Technology for Custom Manufacturing
Mastering the 3D printing process requires expertise across design, materials, technologies, and post-processing. At Yigu Technology, we combine years of hands-on experience with state-of-the-art equipment to deliver parts that meet your exact specifications.
Our comprehensive capabilities include:
- Design optimization for manufacturability
- Material selection guidance based on application requirements
- Multiple printing technologies (FDM, SLA, SLS, Metal PBF)
- Professional post-processing: sanding, polishing, painting, heat treatment
- Quality assurance and dimensional verification
- Prototyping through production quantities
Whether you need a single prototype for validation or production runs of specialized components, our team delivers consistent, high-quality results.
Contact us today to discuss your project requirements. Let our expertise guide you through every stage of the 3D printing process—from initial design to final delivery.