Introduction
You bought a resin 3D printer for one reason: detail. The promise of smooth surfaces, crisp edges, and precision that FDM printers cannot match. But your first prints are disappointing. The part sticks to the tank instead of the build plate. Layers cure unevenly, leaving visible lines. The final model is brittle and shatters when handled. What went wrong? Photopolymer resins offer unmatched resolution, but they demand a different approach than filament-based printing. Success requires understanding how resin cures, mastering exposure settings, and perfecting post-processing. This guide will help you avoid common pitfalls and create parts that showcase the incredible detail that resin printing promises.
What Are Photopolymer Resins and How Do They Work?
Material Composition: The Science Behind Resins
Photopolymer resins are liquid materials that harden when exposed to UV light. But not all resins are the same. Their composition determines their properties and applications.
Base formulations fall into several categories:
- Acrylic resins: Affordable, general-purpose, good for most applications
- Epoxy resins: High strength, chemical resistance, engineering applications
- Polyester resins: Flexible, impact-resistant, for parts that need to bend
All resins contain:
- Monomers: Small molecules that form the building blocks
- Oligomers: Larger chains that give structure
- Photoinitiators: Chemicals that trigger polymerization when exposed to UV light
- Cross-linking agents: Help link molecules into solid polymers
When UV light hits the resin, photoinitiators absorb energy and start a chain reaction. Monomers and oligomers link together, forming solid polymers. This process is called cross-linking—and it happens in seconds.
Additives tweak performance:
- Flexibilizers: Make parts bendable instead of brittle
- Fillers: Add strength or modify appearance
- Pigments: Provide color
- Viscosity modifiers: Control thickness for printing
Viscosity matters. Low-viscosity resins (50–100 cP) flow easily, ensuring even layers. High-viscosity resins (200–500 cP) hold shape better for tall prints but may need longer exposure times.
How Resin Curing Works
Resin printing relies on a chemical reaction called photopolymerization. UV light at specific wavelengths (typically 385–405 nm) triggers photoinitiators. These initiators create free radicals that start chain reactions, linking molecules into solid polymers.
The process is precise:
- Under-exposure: Incomplete curing, weak parts, sticky surfaces
- Over-exposure: Blown-out details, loss of resolution, overcured supports
- Proper exposure: Strong parts with crisp details
Each resin has an optimal exposure window. Finding it is key to successful prints.
What 3D Printing Processes Use Photopolymer Resins?
Several technologies use photopolymers, each with different strengths.
| Technology | How It Works | Resolution | Speed | Best For |
|---|---|---|---|---|
| SLA (Stereolithography) | Laser traces each layer, curing resin point by point | 0.025–0.1 mm | Moderate | High-detail parts, jewelry, dental models |
| DLP (Digital Light Processing) | Projector cures entire layers at once | 0.035–0.1 mm | Fast | Batch printing, small parts, prototypes |
| LCD/MSLA | LCD screen masks UV light, curing whole layers | 0.025–0.1 mm | Fast | Affordable high-detail printing |
| CLIP (Continuous Liquid Interface Production) | Continuous curing using oxygen-permeable membrane | 0.05–0.1 mm | Very fast | Industrial parts, large prototypes |
Stereolithography (SLA)
How it works: A UV laser traces each layer on the surface of liquid resin. The resin solidifies where the laser hits. The build platform lifts, and fresh resin flows under the cured layer.
Strengths: Exceptional resolution—layer thickness down to 0.025 mm. Smooth surfaces. Ideal for applications where detail matters.
Limitations: Slower than DLP for batch printing. Laser must trace every feature.
Critical settings:
- Laser power: Too low = under-curing, weak parts. Too high = overcuring, lost detail.
- Scan speed: Affects exposure time per point.
- Layer height: Thinner layers = better detail, longer prints.
Digital Light Processing (DLP)
How it works: A projector flashes entire layer images onto the resin. The image cures all points simultaneously.
Strengths: Faster than SLA for most parts. Good for batch printing multiple small objects.
Limitations: Resolution limited by projector pixel size. Slight pixelation possible on curved surfaces.
Critical settings:
- UV wavelength: Typically 385–405 nm—must match resin specifications
- Exposure time: 5–20 seconds per layer depending on resin and layer height
- Light intensity: Affects curing depth and speed
Continuous Liquid Interface Production (CLIP)
How it works: A cutting-edge process that cures resin continuously using an oxygen-permeable membrane. The membrane creates a "dead zone" where curing cannot occur, allowing resin to flow under the part.
Strengths: Up to 100x faster than SLA. Smooth surfaces, strong parts. Ideal for production.
Limitations: Expensive equipment. Limited material selection.
Practical Considerations for All Processes
Resin tank: Holds liquid resin. Must be clean—scratches or residue block UV light.
Build platform: The surface where parts grow. Must be level and clean for good adhesion.
Support structures: Essential for overhangs. Design them carefully:
- Too few: Parts sag or fail
- Too many: Wasted resin, difficult removal, surface damage
- Tree-like supports: Use less material, easier to remove
- Contact points: Small tips minimize surface marks
Slicing software: Tools like Chitubox, PrusaSlicer, or Lychee optimize layer patterns and support placement. Learn their settings—they make the difference between success and failure.
Where Do Photopolymer Resins Excel?
Dental and Medical Applications
Resin printing dominates dental and medical applications because of its precision.
Dental models: Crowns, bridges, aligner prototypes require accuracy that only resin provides. Layer thickness down to 0.025 mm captures tooth textures perfectly.
Surgical guides: Patient-specific guides printed in biocompatible resin ensure precise implant placement. Smooth surfaces—no rough edges to damage tissue.
Anatomical models: Surgeons practice on replicas before operating. Resin's detail shows every structure.
Biocompatible resins: Certified for skin contact or temporary tissue contact. Essential for medical applications.
Jewelry and Prototyping
Jewelry making: Castable resins create detailed wax patterns for investment casting. Designs impossible to carve by hand become reality.
Product prototypes: Resin prototypes look like final products. Smooth surfaces, crisp details—perfect for client presentations and design reviews.
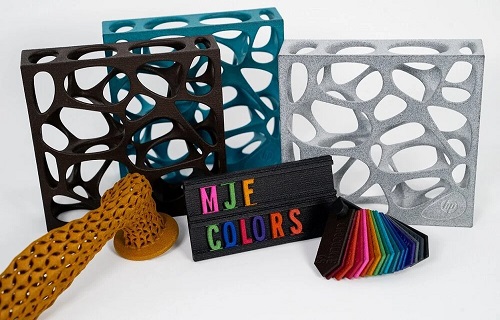
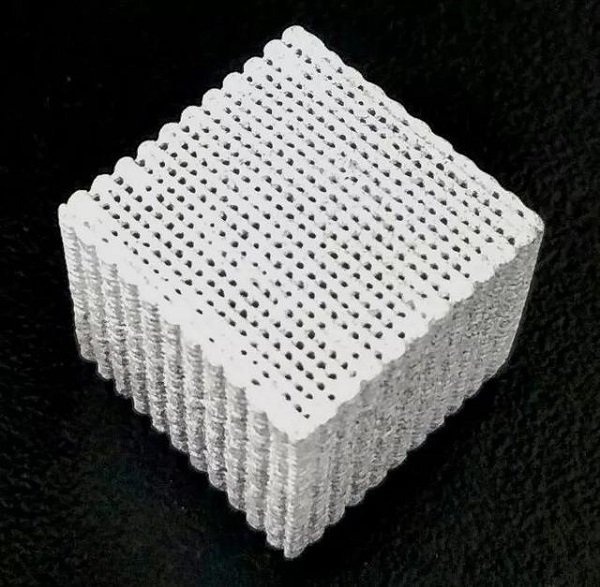
Art and design: Sculptures with intricate details, delicate lattice structures, organic forms. Resin captures what other methods cannot.
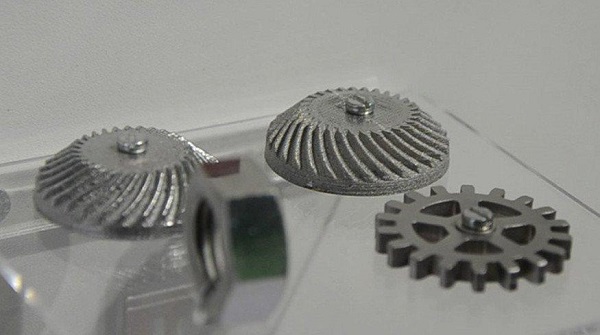
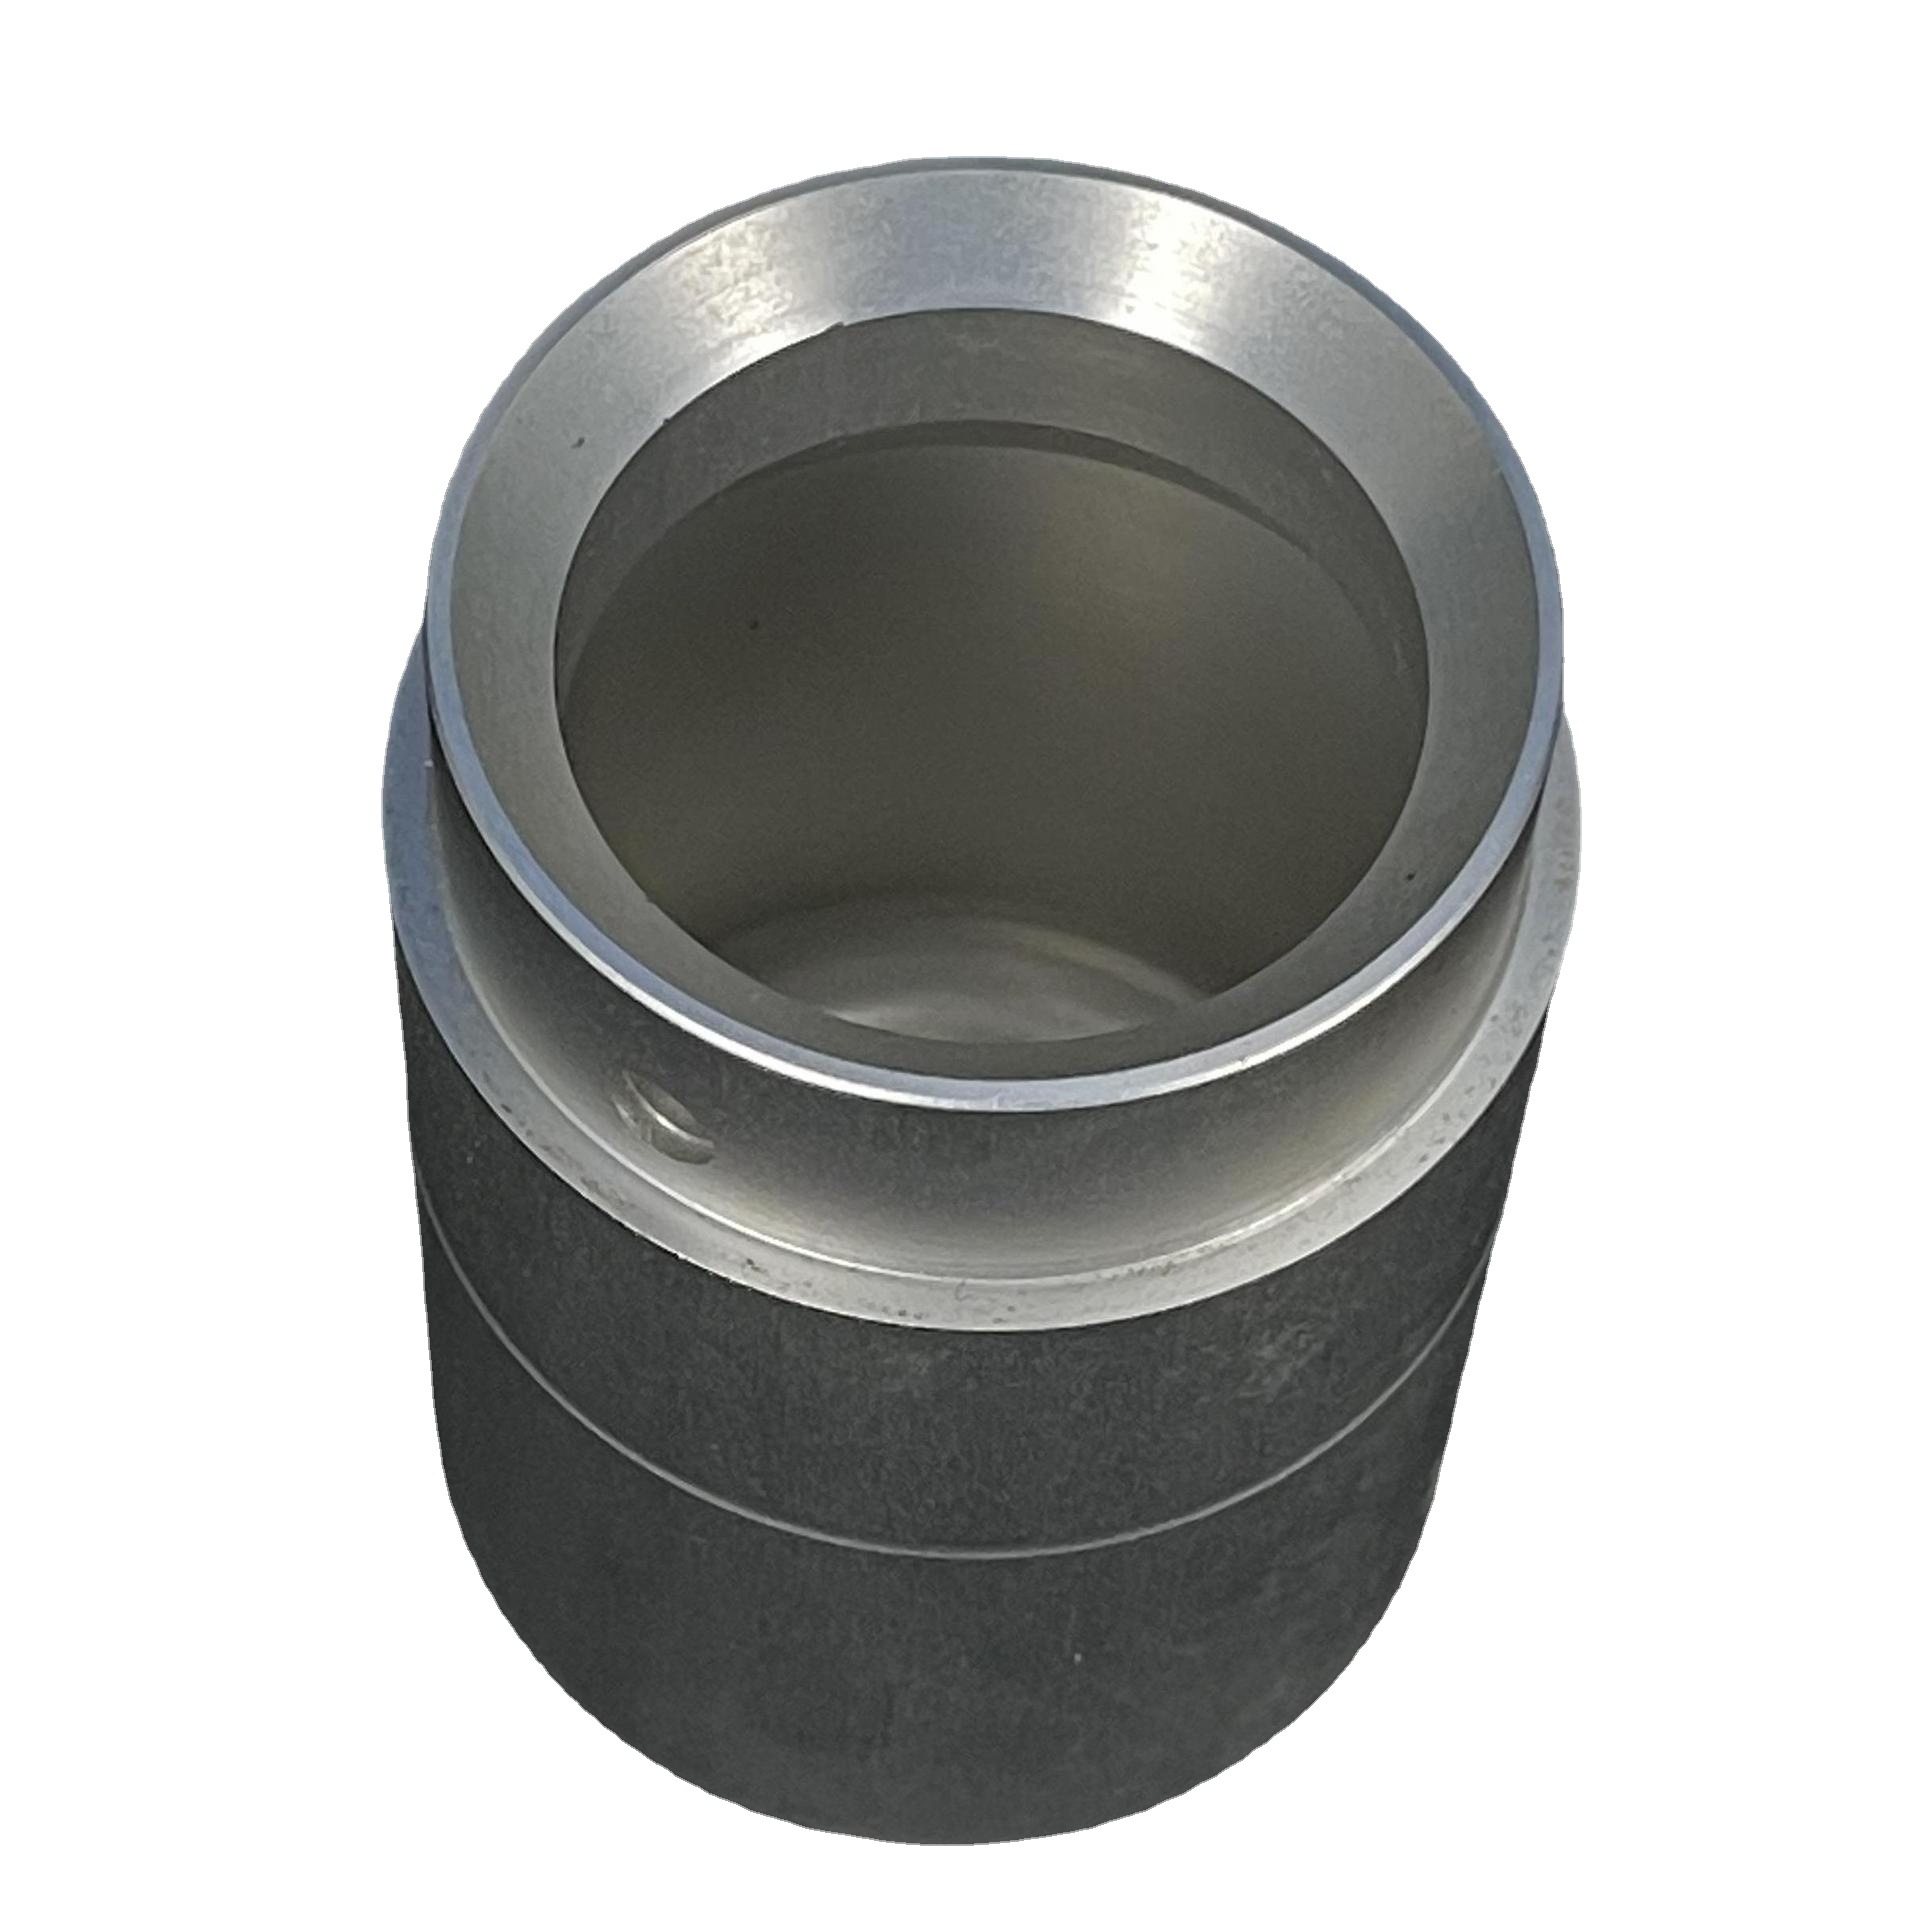
Industrial and Functional Parts
While not as strong as FDM plastics for heavy loads, some resins serve industrial applications:
Engineering epoxies: High strength, chemical resistance. Used for jigs, fixtures, and small functional parts.
Flexible resins: Rubber-like elasticity. Gaskets, seals, grippers, wearable prototypes.
High-temperature resins: Withstand brief heat exposure. Used in mold making and testing applications.
How Do You Match Resin Properties to Your Needs?
| Resin Type | Tensile Strength | Elongation | Heat Resistance | Best For |
|---|---|---|---|---|
| Standard | 30–50 MPa | 5–15% | 50–60°C | General prototyping, visual models |
| Tough/Durable | 50–70 MPa | 15–30% | 60–70°C | Functional parts, snap-fit designs |
| Flexible | 5–20 MPa | 50–200% | 40–50°C | Gaskets, seals, soft-touch parts |
| High-Temperature | 40–60 MPa | 5–10% | 150–200°C | Molds, hot air applications |
| Castable | Low (sacrificial) | Low | Burns clean | Investment casting patterns |
| Biocompatible | 30–50 MPa | 10–20% | 50–60°C | Medical devices, dental appliances |
Mechanical Properties
Standard resins: Good for most applications. Tensile strength 30–50 MPa, moderate impact resistance. Affordable, easy to print.
Engineering resins: Higher strength—60–80 MPa. Better durability. For functional parts under light loads.
Flexible resins: Elongation at break up to 200%. Stretch and return to shape. Unlike standard resins that snap, these bend.
Accuracy and Surface Finish
Resins excel in dimensional accuracy: ±0.1 mm for small parts. Resolution down to 25 microns captures text, textures, and fine details that FDM printers miss.
Surface finish is naturally smooth. Many parts need no sanding—just cleaning and curing. Some resins cure to matte finish, others glossy.
Limitations
Thermal stability: Most resins soften above 50–60°C. Not for hot environments.
Chemical resistance: Can be damaged by alcohols, solvents. Check compatibility.
Shrinkage: Resins shrink 1–5% during curing. Calibration compensates.
UV degradation: Sunlight damages standard resins. Use UV-resistant formulations for outdoor use.
Brittleness: Standard resins can be brittle. Tough resins address this but cost more.
What Post-Processing Do Resin Prints Need?
Resin prints require more post-processing than FDM, but the steps are straightforward.
Support Removal and Cleaning
Support removal: Use flush cutters for small supports. Snip carefully to avoid damaging the part. Sand nubs smooth afterward.
Resin removal: Uncured resin remains on the surface. Must be removed or it will cure later, ruining surface quality.
- Isopropyl alcohol (IPA) : Rinse parts for 5–10 minutes. Agitate to dissolve resin.
- Ultrasonic cleaner: For complex parts with hidden cavities. Reaches everywhere.
- Safety: Wear gloves—uncured resin irritates skin. Work in ventilated area.
UV Post-Curing
Most resins need additional UV exposure to reach full strength.
Post-curing station: Uses 385–405 nm UV light. Cures parts for 5–30 minutes depending on resin.
Effects:
- Increases strength by 20–50%
- Reduces shrinkage
- Completes polymerization
- Stabilizes dimensions
Timing: Check resin specifications. Flexible resins often need less time than rigid ones. Over-curing can cause brittleness.
Smoothing and Finishing
Sanding: 400–1000 grit sandpaper removes layer lines. Many resins need little sanding—they're smooth already.
Polishing: Microfiber cloth adds glossy finish. For transparent resins, polishing restores clarity.
Coating: UV-curable varnish adds durability and UV protection. Clear coat for appearance.
Painting: Clean surface with IPA first for adhesion. Acrylic paints work well. Seal afterward.
Why Are My Resin Prints Failing?
Common Problems and Solutions
Problem: Part sticks to tank instead of build plate
- First layer exposure too short—increase by 50–100%
- Build plate too far from tank—re-level
- Tank bottom scratched or dirty—clean or replace
Problem: Layers visible or uneven
- Exposure time incorrect—calibrate with test prints
- Resin viscosity wrong—check specifications
- Z-axis movement issues—clean and lubricate leadscrew
Problem: Print is brittle or weak
- Under-cured—increase exposure time or post-curing
- Old resin—resin degrades over time, replace
- UV source weak—replace bulbs annually
Problem: Supports leave bad marks
- Support contact points too large—reduce in slicer
- Support density too high—use fewer, lighter supports
- Removal technique—cut carefully, sand smooth
Problem: Print warped or distorted
- Shrinkage not compensated—calibrate exposure
- Part orientation wrong—avoid large flat areas parallel to build plate
- Insufficient supports—add more to hold shape
Problem: Surface rough or grainy
- UV light scattering—check tank clarity, clean bottom
- Resin contaminated—filter or replace
- Over-exposure—reduce exposure time
Calibration Is Key
Every resin and printer combination needs calibration. Use test prints:
- Exposure test: Print small models at different exposure times
- Support test: Verify supports hold without damaging
- Accuracy test: Check dimensional fidelity
Document successful settings. Resin batches vary—calibrate when you open new bottles.
How Does Yigu Technology Approach Resin Printing?
As a non-standard plastic and metal products custom supplier, Yigu Technology uses photopolymer resins where detail matters most.
Our Experience in Action
Dental client: Needed precise crown models for a dental lab. Standard resins captured every tooth texture. Layer thickness 0.025 mm. Surgeons reported perfect fit.
Jewelry designer: Created intricate patterns for investment casting. Castable resin burned clean, leaving no ash. Metal castings captured every detail.
Medical device company: Required surgical guides in biocompatible resin. Each guide patient-specific, printed from CT data. Surgeons reported precise fit, reduced surgery time.
Our Approach
Material selection: We match resin type to application—standard for prototypes, engineering for functional parts, biocompatible for medical, castable for jewelry.
Parameter optimization: Each resin gets calibrated settings. Exposure time, layer height, support design—all tuned for success.
Post-processing: Thorough cleaning, proper curing, careful support removal. Parts arrive ready to use.
Quality assurance: Every part inspected. Dimensional accuracy verified. Surface finish checked.
Conclusion
Photopolymer resin printing delivers detail that other methods cannot match. But success requires understanding the material, mastering the process, and perfecting post-processing.
Key takeaways:
- Resins vary widely: Match material to application
- Exposure is critical: Too little = weak parts, too much = lost detail
- Supports matter: Design them carefully to avoid surface damage
- Post-processing is essential: Clean, cure, finish for best results
- Calibration pays off: Test settings for each resin
Common problems have solutions—sticking parts, visible layers, brittleness, warping. Address them systematically.
When you get it right, resin printing rewards you with parts that amaze—smooth surfaces, crisp details, precision that feels like magic. Jewelry that captures every design element. Dental models that fit perfectly. Prototypes that look like production parts.
The technology is not plug-and-play. It demands attention, learning, and care. But the results are worth the effort.
Master resin printing, and you master detail.
Frequently Asked Questions
Q1: Why is my resin print sticking to the tank instead of the build plate?
This usually happens when first layer exposure is too short or the build plate is too far from the tank. Increase first layer exposure by 50–100%. Ensure the plate is level. Clean the tank bottom—scratches or residue can block UV light.
Q2: How do I prevent my resin print from being brittle?
Brittle prints are under-cured. Increase layer exposure time by 10–20% or extend post-curing by 5–10 minutes. Avoid using old resin—it degrades over time. Ensure your UV source is at full strength; replace bulbs annually.
Q3: Can resin prints be used outdoors?
Most resins degrade in sunlight—UV rays break down polymers, causing fading and brittleness. Use UV-resistant resins or apply a UV-protective coating. With protection, they last 6–12 months outdoors versus 1–2 months for standard resins.
Q4: How do I choose the right resin for my project?
Consider:
- Mechanical needs: Strength, flexibility, durability
- Application: Visual prototype, functional part, medical, jewelry
- Environment: Temperature, chemical exposure, UV
- Post-processing: Painting, coating, casting requirements
Match resin type to these factors.
Q5: How long do resin prints take?
Print time depends on part height and layer thickness. Small parts: 1–4 hours. Medium parts: 4–12 hours. Large parts: 12–48 hours. Add post-processing time: cleaning, curing, finishing.
Q6: Are resin prints safe to handle?
Cured resin parts are generally safe. Uncured resin is hazardous—wear gloves, work in ventilated area, avoid skin contact. Wash hands after handling uncured material. Dispose of waste properly.
Q7: What's the difference between SLA and DLP?
SLA uses a laser to trace each layer—slower but can achieve slightly higher detail. DLP uses a projector to flash entire layers—faster, especially for batch printing. Both produce excellent results. Choice depends on your priorities.
Contact Yigu Technology for Custom Manufacturing
Ready to master photopolymer resin printing for your next project? At Yigu Technology, we combine resin expertise with precision manufacturing. Our team helps you select the right materials, optimize designs for printability, and deliver quality parts on schedule.
Visit our website to see our capabilities. Contact us today for a free consultation and quote. Let's bring your high-detail designs to life.