Introduction
A prototyping project is more than just making a few sample parts. It is a structured process that helps you test ideas, catch problems early, and build confidence before full production. Done well, it saves months of delays and thousands of dollars in rework. Done poorly, it creates confusion, missed deadlines, and prototypes that do not answer the right questions. This guide walks you through the key stages, common techniques, and practical steps to keep your prototyping projects on track.
What Is a Prototyping Project?
A prototyping project is the process of creating a preliminary version of a product. This model lets developers, designers, and stakeholders test the design before committing to mass production.
Prototyping serves several critical purposes:
- Risk reduction: Finding problems early prevents costly fixes later
- Concept validation: Real feedback from users and stakeholders shapes better products
- Manufacturing preparation: Testing assembly and materials reveals production challenges
When developing a new smartphone, a prototype helps test button placement, screen feel, and weight distribution. A focus group can try a new kitchen appliance prototype and give honest feedback on usability. That input leads to design changes that actually matter to customers.
What Are the Three Key Steps?
Most prototyping projects move through three stages. Each stage uses different techniques and serves a different purpose.
Step 1: Rapid Prototyping
Rapid prototyping is often the starting point. It uses 3D printing to turn digital designs into physical models quickly.
This step is highly cost-effective. A startup developing a new consumer electronics product can get a prototype for a few hundred dollars, avoiding the high cost of production tooling.
The real strength of 3D printing is handling complex shapes. Parts with internal channels, curved surfaces, or interlocking features are easy to produce. In aerospace, engineers use 3D printing to create prototypes of parts with lightweight lattice structures—geometries that would be nearly impossible with traditional machining.
Step 2: CNC Machining
CNC machining steps in when you need precision and strength. Computer-controlled machines cut parts from solid blocks of metal or plastic.
CNC parts achieve tolerances of ±0.01–0.1 mm, much tighter than typical 3D printing. This accuracy matters for components that must fit together precisely, like mechanical assemblies or medical instruments.
An automotive engineer developing a new engine part uses CNC-machined prototypes to test how the part behaves under real operating conditions. The solid material structure gives reliable data on strength, vibration, and heat resistance.
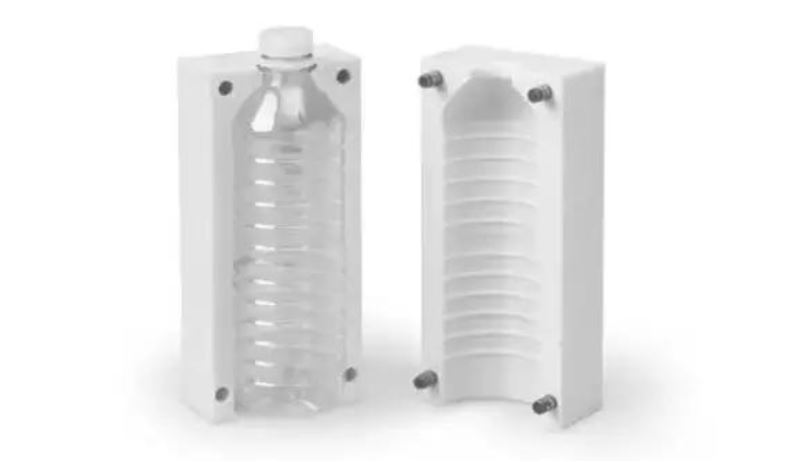
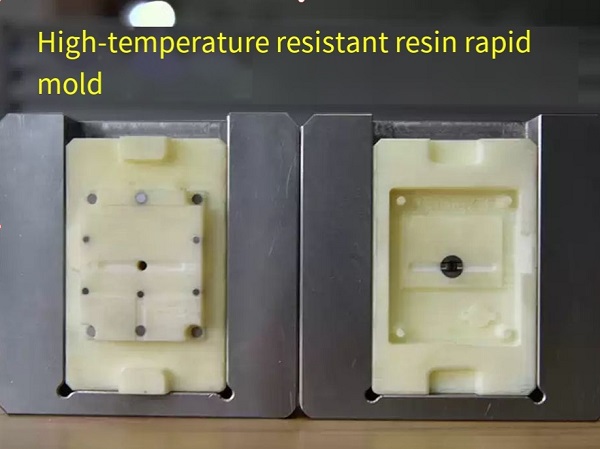
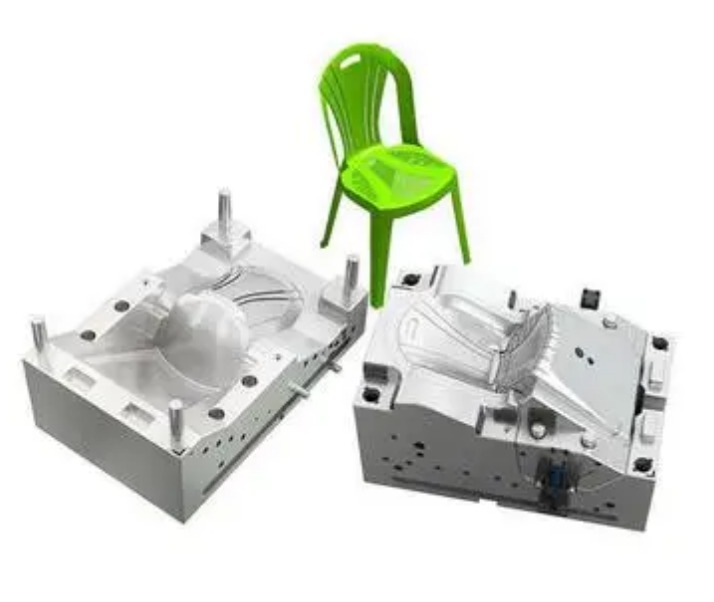
Step 3: Rapid Tooling
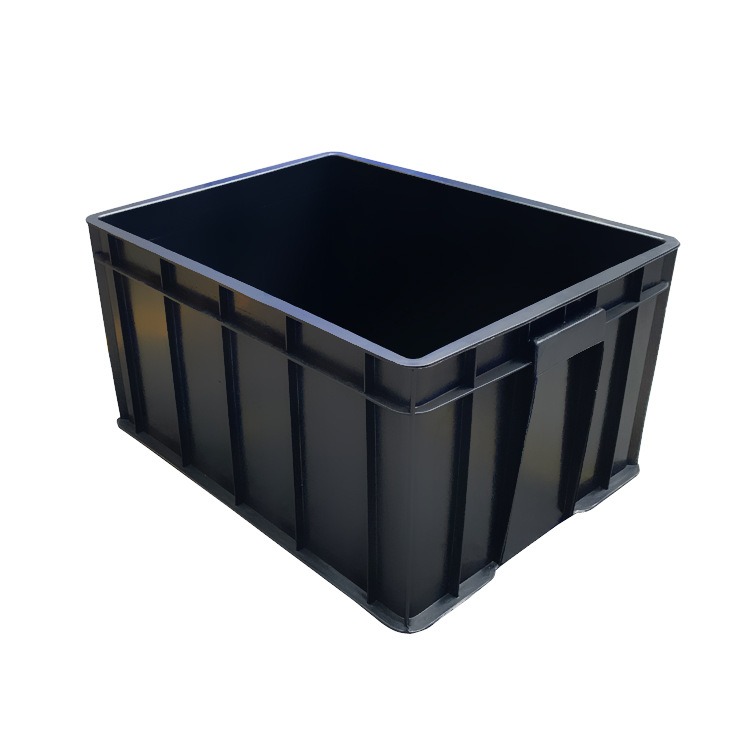
Rapid tooling bridges the gap between prototyping and production. It creates molds quickly and affordably, allowing small to medium batches of parts that closely match final production quality.
A food packaging company used rapid tooling to produce a small batch of new containers. They tested market acceptance, gathered consumer feedback, and made design adjustments—all before investing in high-volume production molds.
Rapid tooling molds are typically made from aluminum or soft steel. They cost less and take just a few weeks to produce, compared to months for traditional production molds.
What Do Real-World Prototyping Projects Look Like?
Seeing how others have approached prototyping helps clarify what works.
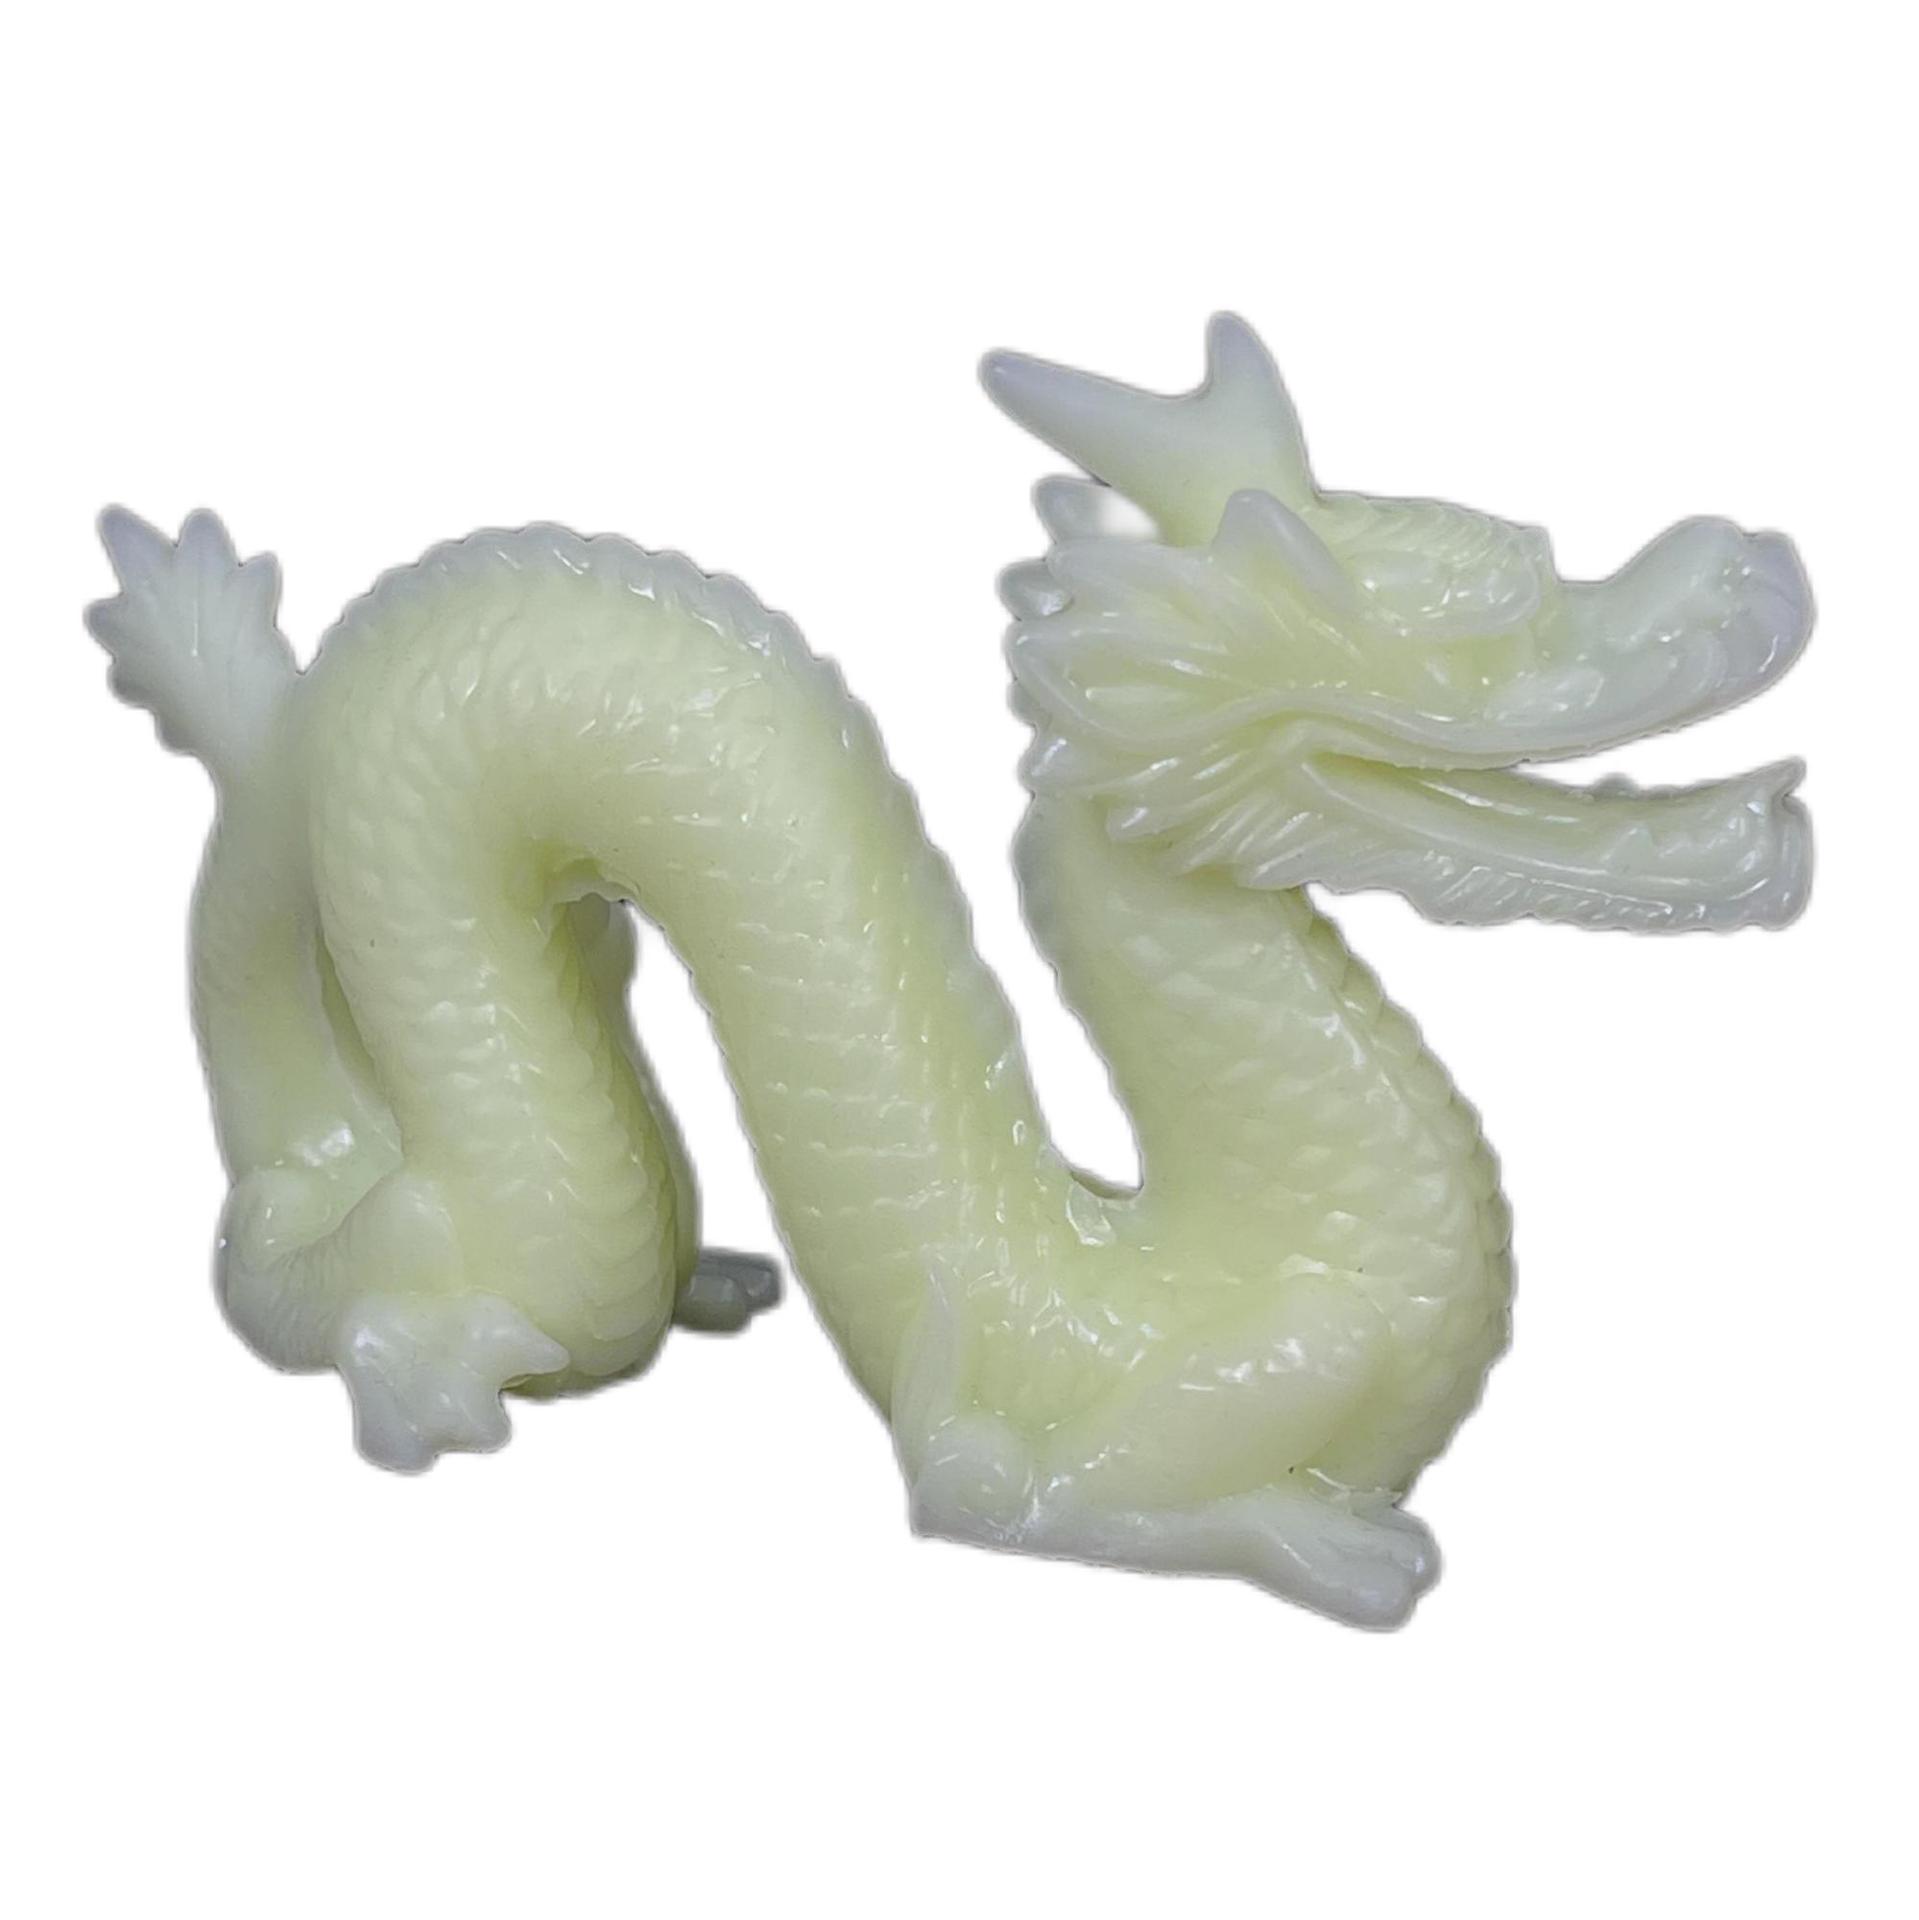
SLA 3D Printing for Automotive Design
An automotive company needed a scaled model of a new car design for a major presentation. They used SLA (Stereolithography) 3D printing to create a detailed prototype.
The SLA process uses photosensitive resin, producing smooth surfaces and sharp details. The prototype captured body lines, headlight shapes, and grille textures with precision. After painting and adding a clear coat, it looked like a real vehicle. The presentation secured executive approval for the next development phase.
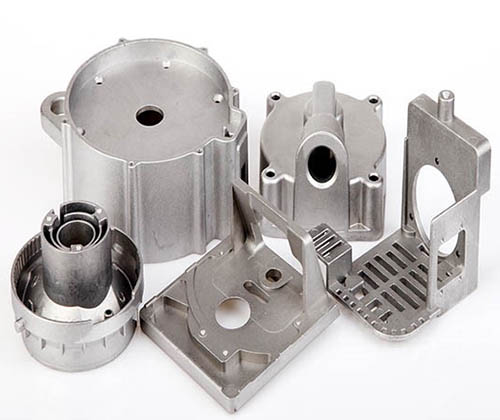
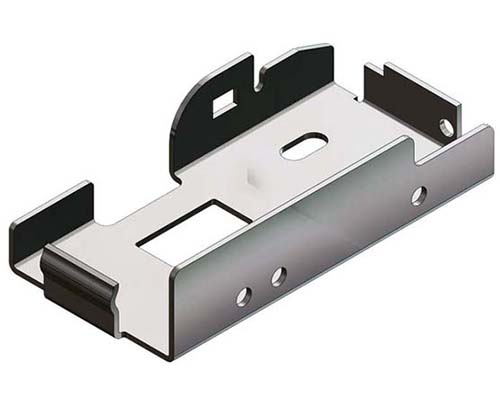
CNC Machining for an Aluminum Enclosure
A client needed a functional prototype of an aluminum casing for a portable device. CNC machining delivered the required precision.
Tolerances were held tight enough that mounting holes aligned perfectly with internal components. The aluminum part withstood drop tests and heat exposure, giving the engineering team reliable data for final design refinements.
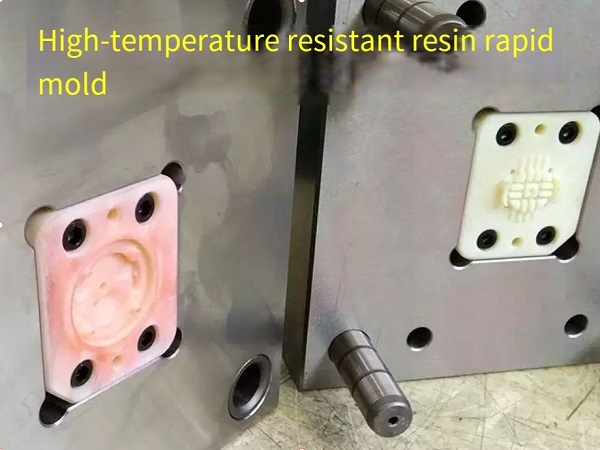
Rapid Tooling for an Automotive Lighting Bezel
A project required 100 plastic bezels for automotive lighting assemblies. The team chose rapid tooling over vacuum casting, even though vacuum casting had a lower upfront cost.
Why? Rapid tooling produced parts in the same material and process as final production. The bezels passed industrial tests for heat resistance and durability. The same tooling later supported a small production run, saving the cost of building separate prototype and production molds.
Before manufacturing, the team conducted a Design for Manufacturing (DFM) analysis to identify potential issues. CAD files were adjusted, and sample parts were sent for quality approval. The project delivered high-quality parts on schedule.
How Do Different Techniques Compare?
Choosing the right method depends on what you need to learn from the prototype.
| Technique | Cost | Accuracy | Materials | Timeline | Best For |
|---|---|---|---|---|---|
| 3D Printing | Low ($50–$500) | ±0.1–0.3 mm | Plastics, resins, some metals | 2–5 days | Concept models, complex shapes |
| CNC Machining | Medium–High ($500–$5,000) | ±0.01–0.1 mm | Metals, engineering plastics | 1–2 weeks | Functional testing, tight tolerances |
| Rapid Tooling | Medium–High ($1,000–$10,000) | Moderate–High | Production plastics | 2–4 weeks | Small batches, market testing |
A startup testing a new product idea might use 3D printing for early iterations. A medical device company validating a surgical tool would likely use CNC machining for functional prototypes. A consumer goods company preparing for a limited launch would turn to rapid tooling.
What Makes a Prototyping Project Successful?
Good planning separates smooth projects from chaotic ones.
Start with Clear Goals
Know what you want to learn from each prototype. Are you testing fit? User comfort? Manufacturing feasibility? Different goals lead to different methods and materials.
A team developing a handheld scanner used a 3D-printed model first to test grip and button placement. After locking the ergonomics, they moved to CNC-machined parts for functional testing. Each round had a clear purpose.
Plan for Iteration
Prototypes rarely work perfectly the first time. That is the point. Budget time and resources for at least two or three rounds.
A consumer electronics company ran five design iterations during prototyping. Each round revealed something new: button feedback was too stiff, the screen angle caused glare, a connector was hard to access. Fixing these in the prototype phase avoided costly production changes.
Communicate Early and Often
Your prototyping partner needs to understand your goals. Share CAD files, tolerance requirements, and any special considerations like sterilization needs or load requirements.
A client needed a medical device prototype that could survive autoclave sterilization. We discussed this early and selected materials that could handle repeated high-temperature cycles. Waiting until after production would have meant starting over.
Validate Before Scaling
Use prototypes to test not just the part, but the manufacturing process. Rapid tooling prototypes that use the same materials and processes as final production give the most reliable data.
How Does Yigu Technology Manage Prototyping Projects?
At Yigu Technology, we treat every prototyping project as a partnership. Our goal is to help you learn what you need to know—without surprises.
We Match Methods to Goals
We do not push one technology. If you need quick form testing, we recommend 3D printing. If you need functional data, we use CNC machining. If you are preparing for production, we offer rapid tooling.
A client developing a wearable health monitor started with 3D-printed models for user testing. After refining the shape, we moved to CNC-machined parts in the final material to test durability. The project moved smoothly from concept to production.
We Conduct DFM Early
Before cutting any material, we review your design for manufacturability. We look for features that may be difficult to produce or that could cause assembly problems. Catching these issues early saves time and cost.
We Communicate Clearly
You get a dedicated contact who knows your project. We provide regular updates and flag potential issues before they become problems.
Conclusion
Managing a prototyping project effectively means understanding what you need to learn and choosing the right methods for each stage. Start with rapid prototyping to explore form and function. Move to CNC machining when you need precision and strength. Use rapid tooling when you are ready to validate small batches before production.
Clear goals, planned iterations, and good communication with your prototyping partner make the difference between a project that drags on and one that moves forward with confidence.
Frequently Asked Questions
How many prototype iterations should I plan for?
Most products go through 3 to 5 prototype rounds. Early rounds test basic form and function. Later rounds validate materials, tolerances, and manufacturing processes. Budgeting for multiple iterations upfront prevents mid-project surprises.
What is the difference between rapid prototyping and rapid tooling?
Rapid prototyping (typically 3D printing) creates single parts quickly for testing. Rapid tooling creates molds that produce multiple parts in production-like materials. Rapid tooling is used when you need small batches that closely match final product quality.
When should I use CNC machining instead of 3D printing?
Use CNC machining when you need tight tolerances (±0.01–0.1 mm), production-grade materials, or parts that must withstand mechanical stress. Use 3D printing for early concept models, complex geometries, or when speed is the priority.
What is a DFM analysis and why does it matter?
DFM (Design for Manufacturing) analysis reviews your design before production to identify features that may be difficult or expensive to manufacture. It helps catch issues like sharp internal corners, inconsistent wall thickness, or unrealistic tolerances early when fixes are cheap.
How do I choose between vacuum casting and rapid tooling?
Vacuum casting works well for small batches (5–20 parts) when you need near-production quality at lower cost. Rapid tooling is better for larger batches (50–500 parts) or when parts must be made in the exact final material and process.
Contact Yigu Technology for Custom Manufacturing
Ready to start your prototyping project? Yigu Technology provides end-to-end support from rapid prototyping to CNC machining and rapid tooling. Our engineers help you select the right methods, optimize your design for manufacturing, and deliver quality prototypes on your timeline. Contact us today to discuss your project.