Introduction
You've designed the perfect model. You've sliced it, loaded the material, and hit "print." Now you wait.
How long?
The answer isn't simple. A small keychain might print in 30 minutes. A detailed dragon statue could run for days. The same model on different printers might finish hours apart.
3D printing time varies wildly based on dozens of factors. Understanding what drives print time helps you plan projects, set expectations, and make smarter choices about printers, settings, and materials.
This guide breaks down everything that affects print speed—from model complexity to printer technology—and gives you practical ways to estimate and optimize your print times.
What Factors Determine 3D Printing Time?
Model Complexity: Simple vs. Intricate
A solid cube prints fast. The printer moves in straightforward patterns, laying down layer after layer with no detours.
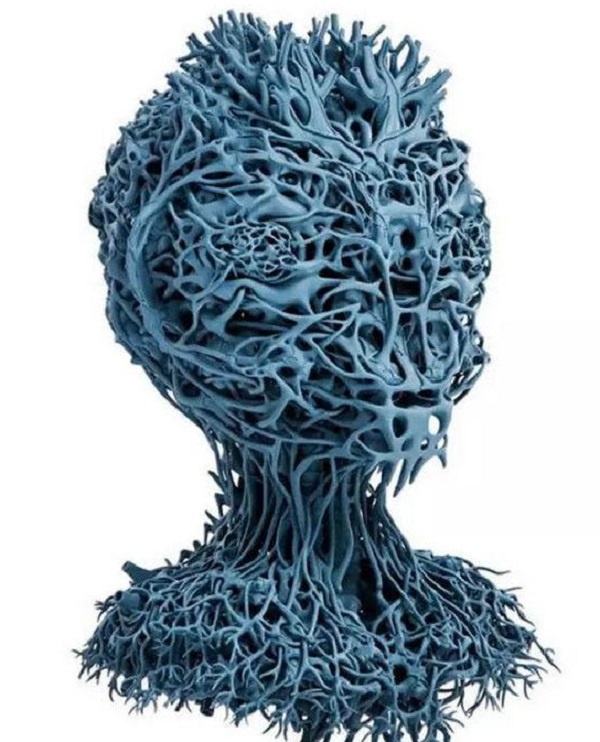
A detailed sculpture prints slowly. Every curve, every overhang, every fine detail requires precise movements. The printer pauses, changes direction, adjusts speed. All that complexity adds time.
Real example: A basic 5cm cube might print in 2 hours on a standard FDM printer. A 5cm detailed dragon head with scales, horns, and teeth could take 8-10 hours—same size, four to five times longer.
Why complexity matters:
- Internal structures – Hollow parts need careful infill patterns
- Overhangs – Require support structures that add time
- Fine details – Need slower speeds for accuracy
- Surface textures – Demand precise toolpaths
Complexity isn't just visual. Internal channels, moving parts, and organic shapes all increase print time.
Object Size: The Obvious Factor
Size has a direct relationship with time. Larger objects need more material and more layers.
A 5cm figurine: 3-5 hours
A 30cm statue: 10-20+ hours
Double the dimensions, and you multiply the volume by eight. That means eight times the material and potentially eight times the layers.
Layer count grows linearly with height. A 10cm model at 0.2mm layer height needs 500 layers. A 20cm model at the same layer height needs 1000 layers—twice the height, twice the layers.
Footprint affects each layer's print time. A wide base means the printer spends more time filling each layer before moving up.
Printer Technology: Not All Printers Are Equal
Different technologies have different speed characteristics.
| Technology | Typical Speed | Why |
|---|---|---|
| FDM | 20-100 mm/s | Extrusion rate limited by melting and cooling |
| SLA/DLP | 20-50mm/hour vertical | Entire layer cures at once, but recoating takes time |
| SLS | Slow | High-power laser scanning, powder handling |
| Multi-jet | Fast | Multiple jets deposit material simultaneously |
FDM printers are the most common for hobbyists. A medium object like a smartphone case might take 4-6 hours. Speed depends on nozzle size, layer height, and material flow rate.
SLA printers deliver higher detail but aren't necessarily faster. A smartphone case might take 8-12 hours—longer than FDM for the same object. The trade-off is surface quality.
Industrial printers can be faster or slower depending on configuration. Multi-laser systems reduce time for large parts. Single-laser systems crawl through complex geometries.
Material Choice: Different Materials, Different Speeds
Material properties affect how fast you can print.
PLA is the speed champion. It flows well at relatively low temperatures (180-220°C), cools quickly, and adheres reliably. You can push PLA faster than almost any other material.
ABS needs higher temperatures (220-250°C) and slower speeds to prevent warping. Each layer needs time to bond properly. A part that takes 4 hours in PLA might take 6-7 hours in ABS.
PETG sits between PLA and ABS—slower than PLA, faster than ABS.
Flexible filaments like TPU require slow speeds—often 15-30 mm/s—to prevent jams and ensure proper extrusion. A flexible dragon wing might take twice as long as the same shape in PLA.
Resins cure at speeds determined by laser power and resin chemistry. Some formulations cure faster than others.
Metal powders need careful control. High-power lasers must melt particles completely, but too fast creates defects. Metal printing is inherently slow.
Layer Height: The Resolution Trade-off
Layer height is one of the biggest levers you control.
A 0.1mm layer produces smooth surfaces and fine details. But it doubles the layer count compared to 0.2mm. A model with 500 layers at 0.2mm needs 1000 layers at 0.1mm—twice the print time.
A 0.3mm layer prints fast but shows obvious layer lines. Fine details may be lost.
The choice depends on your priorities:
- Visual quality – Thin layers, slow print
- Speed – Thick layers, faster completion
- Function – Balance based on part requirements
For prototypes where appearance doesn't matter, go thick. For display pieces, go thin.
Infill: Internal Structure Affects Time
Solid parts take longer than hollow ones.
Infill density controls how much material fills the interior:
- 0-20% – Lightweight, fast printing
- 20-50% – Good strength, moderate time
- 50-100% – Heavy, strong, slow
Infill pattern also matters:
- Grid/Lines – Fast to print
- Gyroid – Better strength, slower
- Honeycomb – Good balance
A part with 100% infill might take 30-50% longer than the same part with 20% infill. All those extra passes add up.
Print Speed Setting: The Obvious Dial
Most slicers let you set print speed directly.
Standard speeds:
- 20-40 mm/s – High quality, slow
- 40-60 mm/s – Good balance
- 60-100 mm/s – Fast, potential quality loss
But speed isn't uniform. Most slicers let you set different speeds for:
- First layer – Slower for adhesion
- Perimeters – Medium for appearance
- Infill – Fast because it's hidden
- Support – Fast, quality doesn't matter
Optimizing these separately can speed up prints without visible quality loss.
Support Structures: Necessary Evil
Overhanging features need supports. Supports add time in two ways:
- Printing them – Extra material, extra layers
- Movement – The printer must travel between part and supports
Complex supports can add 20-40% to print time. Design choices that minimize overhangs reduce support time.
Travel Moves: The Hidden Time Eater
The printer spends time just moving between print areas. Every retraction, every reposition, every layer change adds seconds that accumulate.
A model with many small islands (separate pieces) forces constant travel. A solid block minimizes travel.
Slicer software optimizes travel paths, but physics limits how fast the print head can move and change direction.
How Long Do Common Prints Take?
Real numbers help set expectations.
Small Prototypes
- Keychain (30mm x 30mm, 5mm thick): 20-40 minutes
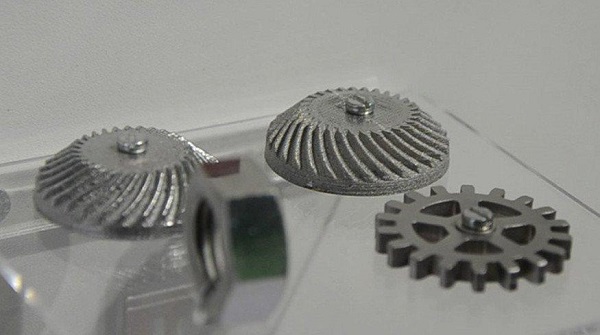
- Simple gear (30mm diameter, 10mm thick): 1-2 hours
- Phone case (standard size): 4-6 hours
Small prints are forgiving. Experiment with settings to find your speed-quality sweet spot.
Medium Objects
- Figurine (100mm tall, moderate detail): 5-10 hours
- Vase (150mm tall, thin walls): 6-8 hours
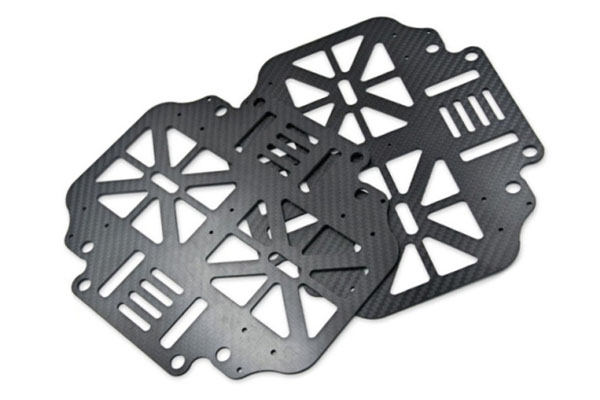
- Functional bracket (100mm x 100mm x 50mm): 4-7 hours
These prints require planning. Starting them in the morning means finishing by evening. Starting at night means waking to a finished part.
Large Objects
- Dragon statue (300mm tall, detailed): 20-40 hours
- Cosplay helmet (full size): 30-50 hours
- Large architectural model (multi-piece): Days
Large prints test patience and printer reliability. A power failure at hour 35 can ruin days of work. Consider splitting large models into pieces.
Production Runs
Multiple copies multiply time:
- 10 keychains: 4-7 hours total (some setup shared)
- 50 phone cases: Days of continuous printing
Batch printing with multiple parts per build plate saves time. Each part adds less time than printing individually because setup and first layer are shared.
How Can You Estimate Print Time Accurately?
Use Your Slicer
Slicer estimates are usually close—within 10-20% of actual time.
Cura, PrusaSlicer, Simplify3D all calculate based on:
- Layer count
- Extrusion distance
- Travel moves
- Speed settings
Trust these estimates for planning. But add a buffer—things happen.
Factor in Real-World Variables
Slicer estimates assume perfect conditions. Reality adds:
- Heating time – Bed and nozzle need time to reach temperature
- Bed leveling – Auto-leveling takes minutes
- Filament changes – Pausing to swap colors adds time
- Print failures – Restarts waste time
Add 15-30 minutes for setup, more for complex jobs.
Learn from Experience
Keep records. Note actual vs. estimated times for different:
- Model types
- Materials
- Printers
- Settings
Patterns emerge. You'll learn that detailed dragons always take longer than slicer estimates. That ABS adds 20% to PLA times. That your printer slows down on complex layers.
Can You Speed Up Printing Without Sacrificing Quality?
Yes—within limits.
Optimize Model Design
- Reduce unnecessary detail – Hidden surfaces don't need high resolution
- Minimize supports – Design self-supporting angles
- Simplify internal structure – Lower infill where strength isn't needed
Design decisions made before printing affect speed more than any post-processing.
Adjust Slicer Settings
- Increase layer height – 0.2mm instead of 0.1mm halves layer count
- Faster infill speed – Hidden areas can print faster
- Optimize travel moves – Enable avoid-print-protection features
- Use larger nozzle – 0.6mm instead of 0.4mm extrudes more material per pass
Each change has trade-offs. Test small sections before committing to full prints.
Choose the Right Technology
Sometimes the fastest printer isn't the one you own.
For detailed small parts, SLA might be faster than FDM because it cures entire layers at once. For large functional parts, FDM wins. For multiple copies, consider batch printing or multi-laser industrial machines.
Maintain Your Printer
A well-maintained printer runs at rated speeds. A neglected printer slows down with:
- Clogged nozzles
- Worn belts
- Misaligned axes
- Dirty guide rods
Regular maintenance keeps speeds consistent.
What Should You Do When Prints Take Too Long?
Check Model Design
Hidden complexity often causes unexpected delays. Open the model in your slicer and inspect:
- Are there internal features you don't need?
- Can you reduce detail on hidden surfaces?
- Is the model oriented optimally?
Small changes can cut hours.
Review Settings
Did you accidentally set 0.05mm layer height? 100% infill? Conservative speed limits?
Slicer defaults vary. Some prioritize quality over speed. Adjust based on your needs.
Consider Printing in Pieces
A 30-hour print risks failure. Four 7.5-hour prints reduce risk and let you optimize each piece separately.
Assembly adds work, but reduces total time if pieces print simultaneously on multiple printers.
Upgrade Equipment
If slow prints consistently frustrate you, consider:
- Faster printer model
- Larger nozzle for quicker rough prints
- Multi-material system for soluble supports (saves cleanup time)
Equipment upgrades cost money but save time over many projects.
What Does Yigu Technology Recommend?
At Yigu Technology, we've printed thousands of parts across every technology. Here's our advice on managing print time:
Plan backward from your deadline. When do you need the part? Work backward to determine when printing must start. Add buffer for failures and delays.
Match resolution to purpose. Prototypes don't need museum-quality finishes. Production parts may need strength over appearance. Choose settings accordingly.
Test before committing. Print small sections to verify settings. A 30-minute test saves hours of failed prints.
Monitor critical prints. Long prints need attention. Check first layer adhesion. Watch for signs of failure. Be ready to pause and adjust.
Keep a log. Note actual times, settings, and results. Build your own reference database. It pays off project after project.
Conclusion: Time Is Part of the Process
3D printing takes time. That's inherent in the layer-by-layer process. But understanding what drives print time gives you control.
Model complexity, size, technology, material, layer height, infill, speed settings—each factor adds or subtracts hours. Learn to balance them based on your priorities.
Sometimes speed matters most. Use thick layers, low infill, fast materials. Other times quality dominates. Accept longer prints for better results.
The key is knowing the difference and making conscious choices.
Your next print will finish when it finishes. Make sure it's worth the wait.
Frequently Asked Questions
How can I estimate 3D printing time for my project?
Use your slicer software—Cura, PrusaSlicer, Simplify3D all provide estimates based on your model and settings. Add 15-30 minutes for setup and heating. Compare actual times to estimates to calibrate future projections.
Is it possible to speed up 3D printing without sacrificing quality?
Yes, within limits. Increase layer height (0.2mm instead of 0.1mm), optimize infill patterns, reduce unnecessary details in design, and set appropriate speeds for different features (faster infill, slower perimeters). Test small sections to find your balance.
What should I do if my 3D printing takes much longer than expected?
First, check your model for hidden complexity. Then review slicer settings—layer height, infill percentage, speed settings. Consider reorienting the model to reduce supports or splitting into multiple pieces. A faster printer technology might be justified for recurring projects.
How much does material choice affect print time?
Significantly. PLA prints fastest. ABS and PETG require slower speeds to prevent warping. Flexible filaments like TPU need very slow speeds (15-30 mm/s). Resins cure at material-dependent rates. Metal printing is inherently slow due to high-energy requirements.
Why does the same model take different times on different printers?
Printers vary in maximum speed, acceleration, nozzle size, and technology. A 0.4mm nozzle on a fast FDM printer might finish in 4 hours while a 0.2mm nozzle on a precision-focused machine takes 8 hours. Industrial multi-laser systems can be faster for large parts.
Contact Yigu Technology for Custom Manufacturing
Need parts printed on a timeline? At Yigu Technology, we match the right technology to your deadline. Fast prototypes, production runs, or detailed display pieces—we deliver on schedule.
Contact us today to discuss your project. Let's make sure your prints finish when you need them.