Introduction
You just unboxed your first 3D printer. The excitement is real. But then you open your slicer software and freeze. What should you actually print first?
Here's the truth most guides won't tell you: your project choice matters more than your printer specs. 2,000 machine will frustrate you if you jump into something too complex.
The right first project does three things. It builds your confidence. It saves your filament. And it teaches you real skills you'll use forever.
This guide gives you proven, beginner-friendly 3D printing projects that actually work. No wasted plastic. No random trinkets collecting dust. Just functional, rewarding prints that make you feel like a pro.
Let's dive in.
1. Functional Home Organizers
These are the best starting projects for a reason. They solve real problems in your house. You'll use them every single day. And they teach you core skills like tolerances, snap fits, and wall thickness.
1.1 Cable Clips and Cord Winders
Cable management clips are the #1 project I recommend to every beginner. Why? They're tiny, print fast (under 20 minutes), and use almost zero filament.
You can print clips that snap onto your desk edge. Or winders that keep your charging cables tidy. Sites like Thingiverse have hundreds of free designs.
Pro tip: Start with a 2-prong cable clip. It uses only 8 grams of PLA. If it fails, you barely notice.
Here's a quick comparison of popular cable clip designs:
| Design Type | Print Time | Filament Used | Difficulty |
|---|---|---|---|
| 2-prong desk clip | 12 min | 8g PLA | ⭐ Easy |
| Cord winder spool | 25 min | 15g PLA | ⭐ Easy |
| Multi-cable holder | 35 min | 22g PLA | ⭐⭐ Medium |
1.2 Custom Drawer Dividers
Store-bought drawer organizers never fit right. 3D printed dividers solve this perfectly. Measure your drawer with a tape measure. Then model or download a divider that matches.
A simple cross-shaped divider takes about 45 minutes to print. You'll learn about infill patterns and structural strength along the way.
Real example: One of our users printed a custom kitchen utensil divider. It cost 0.30infilament.Thestoreversionwas18. That's a massive win for a first-week project.
1.3 Wall-Mounted Remote Holders
Tired of digging through couch cushions for the remote? A wall-mounted remote holder is a quick, satisfying print. It takes about 30 minutes and uses screw-in wall anchors for mounting.
This project teaches you orienting parts for strength. You'll learn why printing flat vs. standing up changes how strong the final part is.
2. Practical Repair & Replacement Parts
This is where 3D printing truly shines. Instead of buying a 40replacementpart,youprintonefor0.50. These projects also teach you how to measure real-world objects — a critical skill.
2.1 Broken Appliance Knobs
That plastic knob on your dryer? Washing machine? It broke last year. You've been living without it. Now you can fix it.
Here's how to approach this:
- Remove the broken knob (or measure the old one carefully)
- Search Thingiverse or Printables for your exact model number
- Print at 20% infill with 3 perimeters for durability
- Press-fit it into place
Fact: According to a 2023 survey by MakeIt, 62% of 3D printer owners said their most-used prints were replacement parts — not toys or decorations.
2.2 Vacuum Attachment Adapters
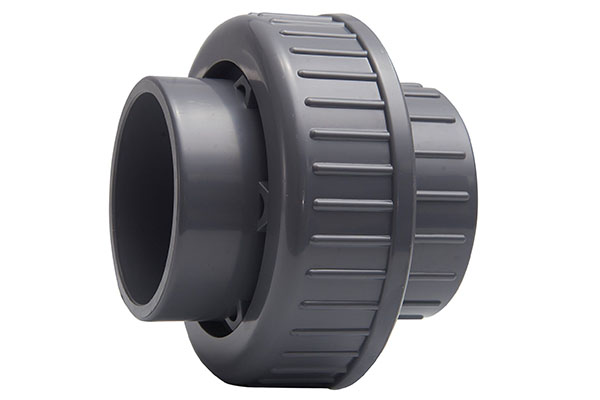
Vacuum brands change their attachment sizes every few years. Adapter pieces let you use old tools with new vacuums. These prints are cylinder-shaped and very forgiving.
They print standing up with no supports needed. That means cleaner surfaces and less post-processing work.
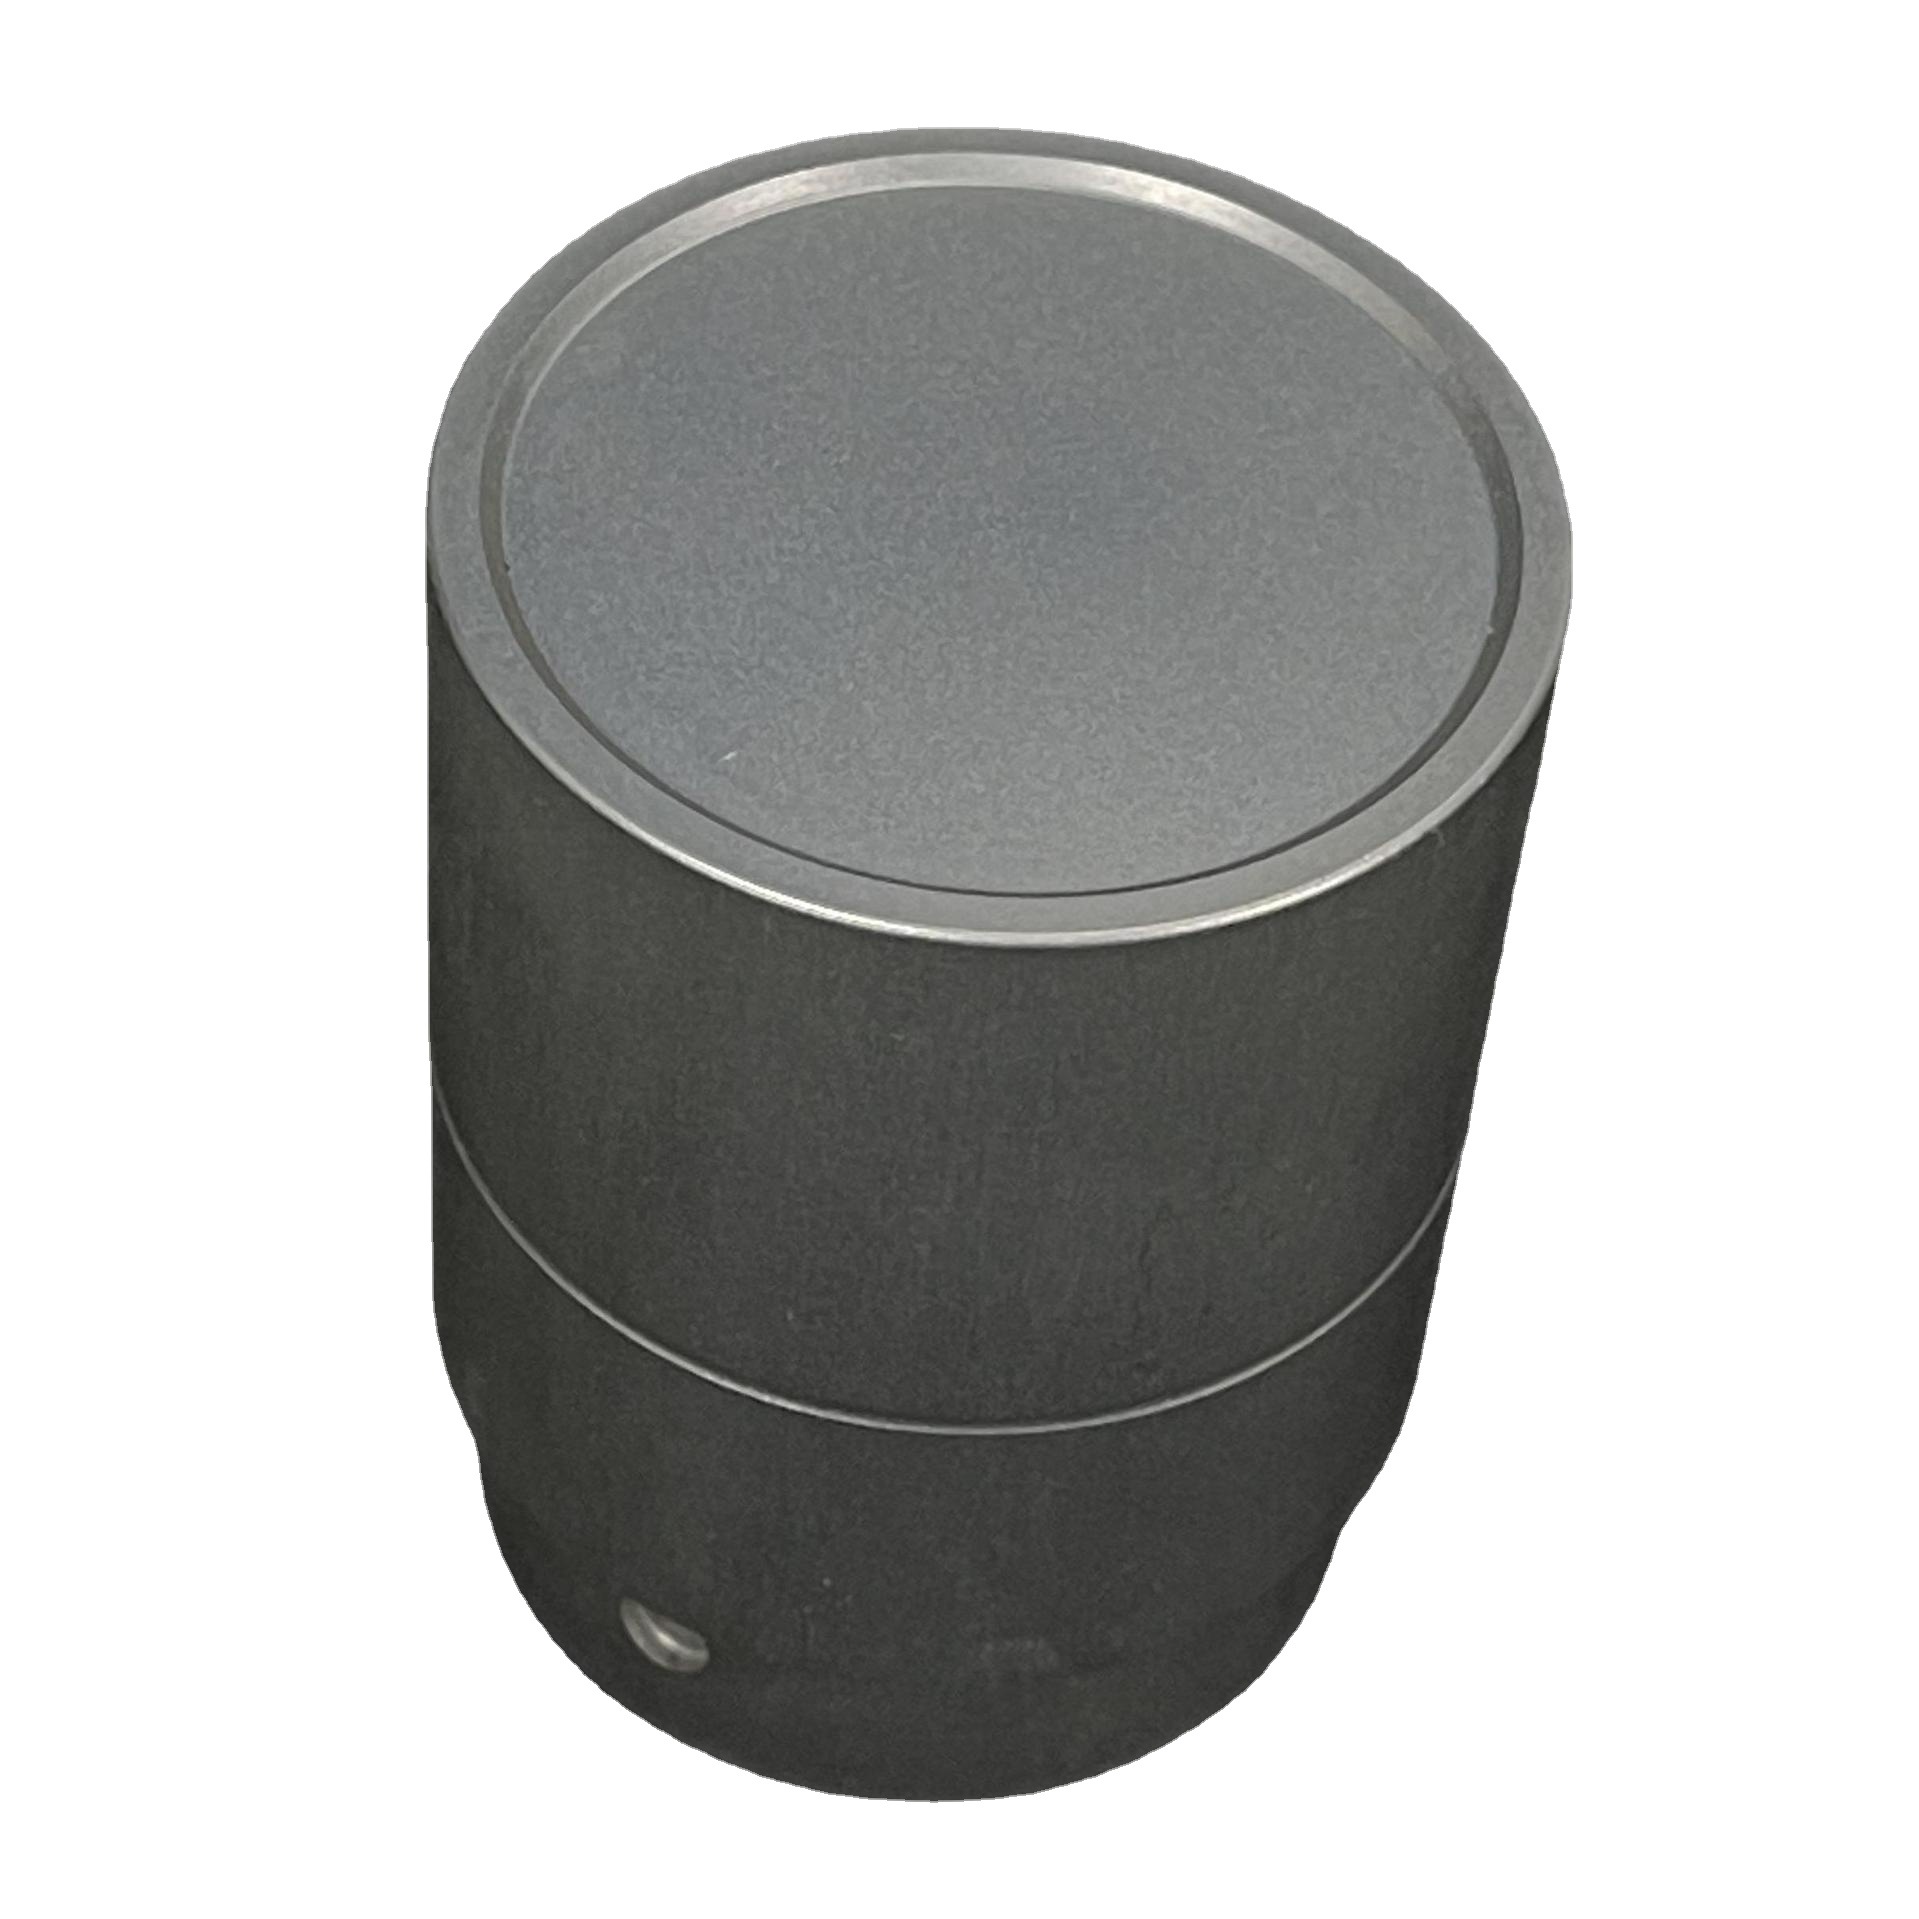
2.3 Furniture Leg Caps
Scratched hardwood floors? Furniture leg caps are a lifesaver. They're simple cylinders or caps that slide over chair and table legs.
Print them in TPU (flexible filament) for a tight grip. Or use PLA for a permanent fit. Either way, this project teaches you about material selection — a skill that separates beginners from intermediates.
| Part Type | Best Material | Infill | Support Needed? |
|---|---|---|---|
| Appliance knob | PLA | 30% | No |
| Vacuum adapter | PETG | 20% | No |
| Furniture cap | TPU | 15% | No |
3. Learning-Focused Mechanical Models
Once you've printed 5–10 functional parts, it's time to level up. Mechanical models teach you how moving parts work together. They're also incredibly fun to print.
3.1 Simple Gear Systems
A two-gear system is the perfect next step. You'll learn about clearance, backlash, and gear ratios. Print two gears that mesh together. If they spin smoothly, you've nailed your tolerances.
Start with a 20-tooth and 40-tooth gear pair. Use 0.2mm clearance between meshing teeth. This is a golden rule most beginners don't know.
3.2 Spring-Powered Toys
A spring-loaded jumping frog or a wind-up car teaches you about energy storage and mechanical design. These prints use snap-fit assembly — no glue needed.
Case study: A teacher in Ohio used spring-powered 3D printed cars in her physics class. Students learned about potential and kinetic energy. The prints cost under $1 each. The educational value? Priceless.
3.3 Snap-Fit Hinges (No Supports Needed)
Snap-fit hinges are the holy grail for beginners. They require zero supports. That means faster prints and no sanding marks.
A simple box with a snap-fit lid teaches you three skills at once:
- Tolerance tuning (how tight should the snap be?)
- Print orientation (print the hinge axis horizontally)
- Assembly testing (does it click or does it break?)
4. Low-Failure First Prints (Tested & Verified)
Before you tackle custom projects, run these calibration prints first. They're not "fun" — but they'll save you hours of frustration later.
4.1 Benchy Boat – Calibration Check
The 3D Benchy is the most printed model in history. It's not just a boat. It's a diagnostic tool.
Every part of Benchy tests a different printer setting:
| Benchy Feature | What It Tests |
|---|---|
| Hull bottom | Bed adhesion |
| Overhangs | Cooling fan performance |
| Small holes | Dimensional accuracy |
| Text on side | Extrusion width calibration |
| Chimney | Retraction settings |
If your Benchy looks good, your printer is dialed in. Print this first. Every time you change filament.
4.2 Temperature Tower for Filament Tuning
Every filament brand prints differently. A temperature tower prints the same model at different temperatures (190°C to 230°C in 5°C steps). You'll see exactly which temp gives the cleanest layers and strongest bridges.
This takes about 1 hour. It's the single most useful print you'll ever make.
4.3 Overhang Test Model
This model has overhangs from 0° to 90°. It shows you the max angle your printer can handle without supports. Most printers max out around 45°–60°.
Knowing this number lets you orient every future print for success. No guessing. No failed overhangs.
5. Post-Processing Made Easy
A great print with bad finishing looks amateur. Post-processing is what makes your prints look professional. But it doesn't have to be complicated.
5.1 Removing Supports Cleanly
Use flush cutters, not scissors. Snip the support as close to the part as possible. Then use a hobby knife at a shallow angle to scrape the remainder.
Rule of thumb: Always remove supports while the print is still slightly warm. Cold supports are harder to remove and leave worse marks.
5.2 Sanding with Wet/Dry Paper
Start with 220-grit sandpaper to remove layer lines. Then move to 400-grit for a smooth finish. For a glossy look, finish with 800-grit.
Pro trick: Wet sanding (sanding with water) produces a much smoother surface. It also reduces dust. Keep a spray bottle nearby.
| Grit | Purpose | Result |
|---|---|---|
| 220 | Remove layer lines | Smooth matte |
| 400 | Refine surface | Satin finish |
| 800 | Final polish | Near-glossy |
5.3 Painting with Acrylics and Primer
Primer is non-negotiable for painted prints. It fills layer lines and gives paint something to grip.
Use spray primer for even coverage. Wait 15 minutes to dry. Then apply acrylic paint with a foam brush. Two thin coats beat one thick coat every time.
Here's the simple painting workflow:
- Clean the print with isopropyl alcohol
- Apply 2 coats of spray primer (15 min dry time each)
- Light sand with 400-grit between coats
- Apply 2 coats of acrylic paint
- Seal with a matte or gloss clear coat
Total cost: Under $10 for all supplies. Your prints will look store-bought.
Conclusion
The best 3D printing projects for beginners aren't the flashiest ones. They're the ones that teach you skills, solve real problems, and build your confidence step by step.
Start with cable clips and drawer dividers. Move to replacement parts and mechanical models. Run your Benchy and temperature tower to keep your printer dialed in. And always finish your prints with proper sanding and painting.
The goal isn't to print the most things. It's to print the right things — and enjoy every step of the process.
Your first print won't be perfect. That's okay. Every failed print is a lesson. And every successful one is proof that you're getting better.
Now go hit that print button.
FAQ
What is the easiest 3D print for a complete beginner?
The 3D Benchy boat is the universal first print. It tests everything and takes about 1 hour. Cable clips are even simpler and faster.
How much filament do I need for my first project?
Most beginner projects use 10–30 grams of PLA. A standard 1kg spool will last you 30–100 prints. That's months of printing for about $20.
Should I use PLA or PETG for beginner projects?
Start with PLA. It's easier to print, warps less, and smells less. Switch to PETG when you need more strength or heat resistance.
Why do my prints keep failing?
90% of beginner failures come from bad bed leveling, wrong temperature, or no supports on overhangs. Run a temperature tower and level your bed before every print session.
Do I need to sand every print?
No. Functional parts (like clips and holders) don't need sanding. Visible or decorative parts benefit from 220–400 grit sanding and a coat of paint.
Where can I find free 3D print files?
Thingiverse, Printables, and MakerWorld are the top three free sites. They have thousands of beginner-tested designs ready to download.
Contact Yigu Technology for Custom Manufacturing
Need a custom 3D printed part but don't have a printer? Yigu Technology offers professional 3D printing and rapid prototyping services. From functional prototypes to end-use production parts, we handle materials like PLA, ABS, PETG, Nylon, TPU, and resin.
📧 Get a free quote today. Tell us what you need, and we'll tell you if it's print-ready — or how to make it print-ready.
🌐 Yigu Technology — Turning Your Ideas Into Real Parts.